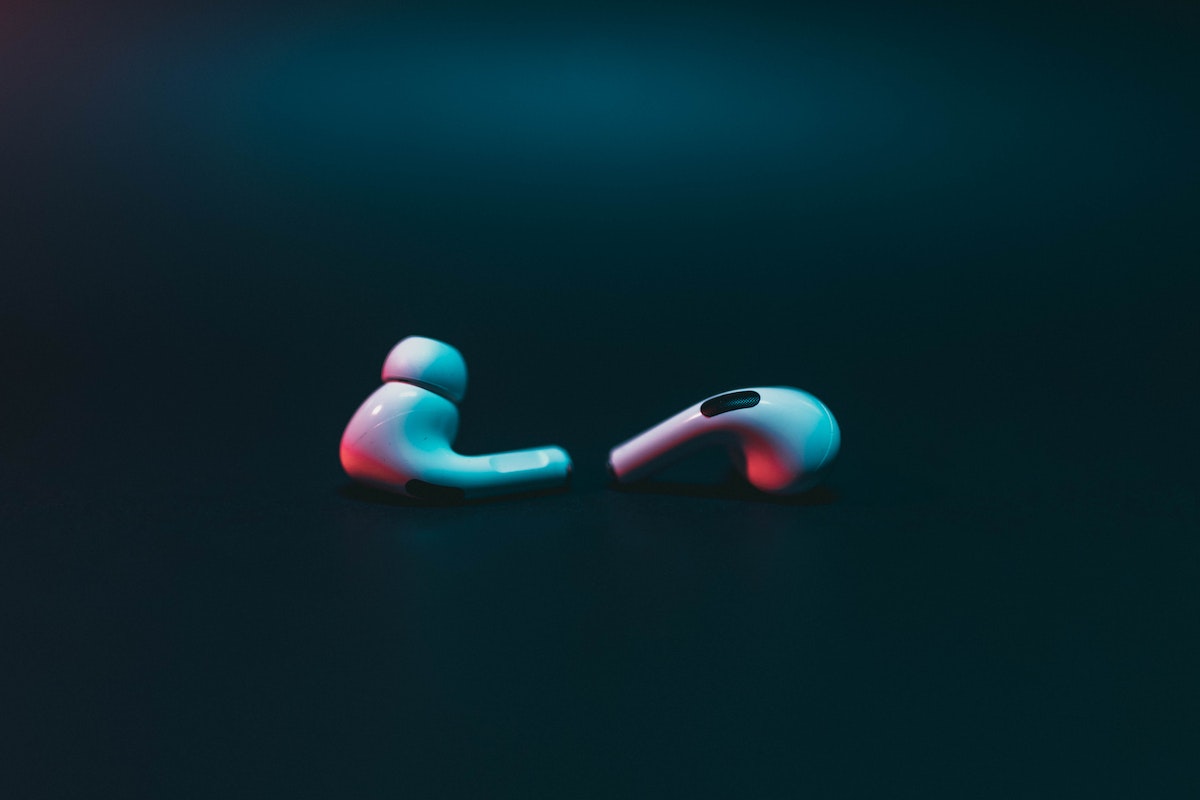
Connecting your AirPods Pro to your device can be a quick and easy process.
Whether you’re connecting to your iPhone, Mac, or Windows computer, the steps are relatively similar.
With just a few taps and clicks, you’ll be able to enjoy your music, podcasts, and phone calls in no time.
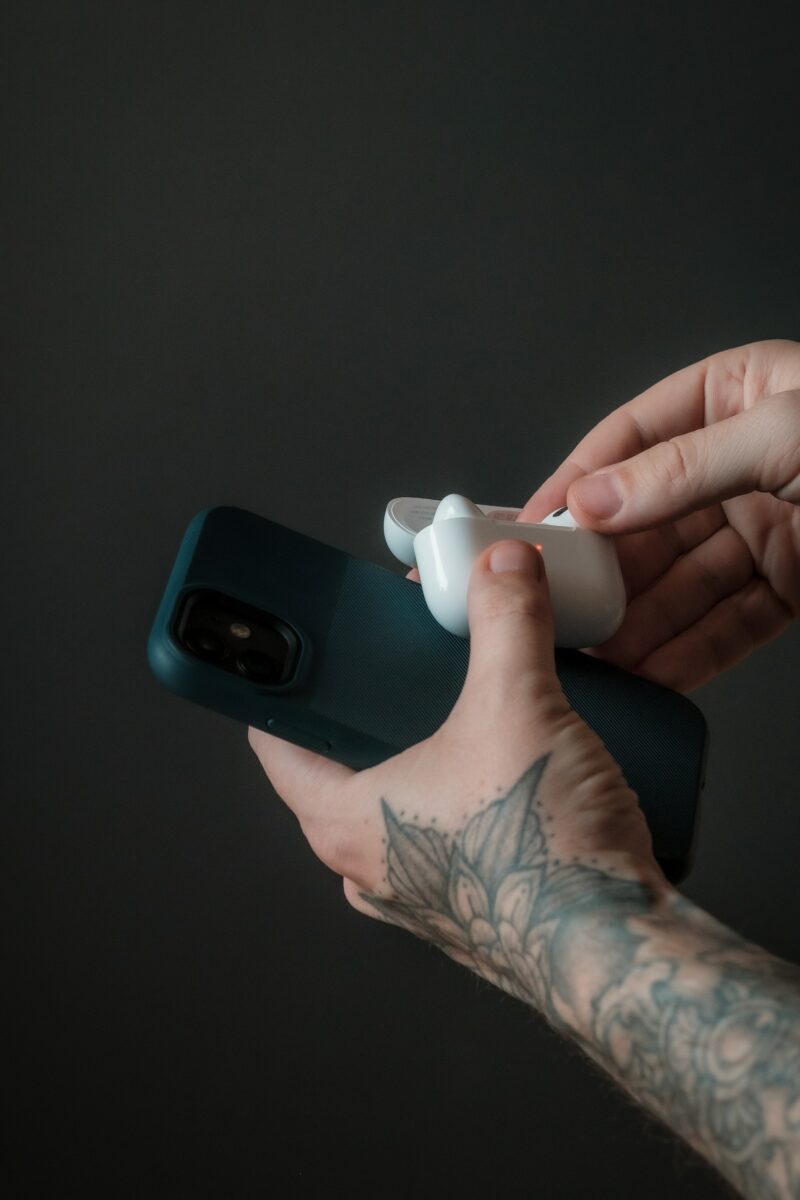
To connect your AirPods Pro to your iPhone, simply hold the charging case near your unlocked smartphone and open the lid.
A setup dialog will appear on your screen, and you can tap the “Connect” button to pair your AirPods Pro.
If you’ve already set up “Hey Siri” on your iPhone, you can use this feature with your AirPods Pro as well.
Connecting your AirPods Pro to your Mac or Windows computer is just as straightforward.
Make sure your device has the latest version of macOS or Windows installed and turn on Bluetooth.
Open the case with your AirPods Pro inside and hold it next to your device.
Your AirPods Pro should appear on the list of available Bluetooth devices, and you can click “Connect” to pair them.
Table of Contents
ToggleConnecting AirPods Pro To Apple Devices
If you’ve recently purchased a pair of AirPods Pro, you’re probably wondering how to connect them to your Apple devices.
Fortunately, the process is straightforward and can be completed in just a few steps.
Connecting AirPods Pro To iPhone Or iPad
To connect your AirPods Pro to your iPhone or iPad, follow these steps:
- Open the charging case lid and make sure your AirPods are inside.
- On your iPhone or iPad, go to the Home screen and open the Settings app.
- Tap Bluetooth.
- Make sure Bluetooth is turned on.
- Your AirPods Pro should appear in the list of available devices. Tap on them to connect.
If your AirPods Pro don’t appear in the list, make sure they’re in pairing mode.
To do this, press and hold the button on the back of the case until the status light flashes white.
Once your AirPods Pro are connected to your iPhone or iPad, you can use them to listen to music, take phone calls, and more.
Connecting AirPods Pro to Mac
To connect your AirPods Pro to your Mac, follow these steps:
- Open the charging case lid and make sure your AirPods are inside.
- On your Mac, click the Bluetooth icon in the menu bar.
- Select your AirPods Pro from the list of available devices.
If your AirPods Pro don’t appear in the list, make sure they’re in pairing mode.
To do this, press and hold the button on the back of the case until the status light flashes white.
Once your AirPods Pro are connected to your Mac, you can use them to listen to music, take phone calls, and more.
If you have multiple Apple devices, your AirPods Pro will automatically switch between them depending on which one you’re using.
That’s it! With just a few simple steps, you can connect your AirPods Pro to your Apple devices and enjoy wireless listening on the go.
Connecting AirPods Pro To Other Devices
If you own AirPods Pro, you can connect them not only to your iPhone or iPad, but also to other devices such as Android smartphones or Windows 10/11 PCs.
In this section, we’ll show you how to connect your AirPods Pro to these devices.
Connecting AirPods Pro To Android Devices
Connecting your AirPods Pro to an Android device is a straightforward process. Here are the steps:
- Open the lid of your AirPods Pro case and press the button on the back of the case until the LED light on the front starts flashing white.
- On your Android device, go to Settings > Bluetooth and turn on Bluetooth.
- Look for your AirPods Pro on the list of available devices and tap on them to connect.
Once connected, you should be able to listen to music or take phone calls through your AirPods Pro.
Connecting AirPods Pro to Windows 10 or Windows 11 PC
Connecting your AirPods Pro to a Windows 10 or Windows 11 PC is also a simple process. Here are the steps:
- Open the lid of your AirPods Pro case and press the button on the back of the case until the LED light on the front starts flashing white.
- On your PC, go to Settings > Devices > Bluetooth & other devices and turn on Bluetooth.
- Click on “Add Bluetooth or other device” and select “Bluetooth”.
- Look for your AirPods Pro on the list of available devices and click on them to connect.
Once connected, you should be able to listen to music or take phone calls through your AirPods Pro.
Note that some Windows PCs may require you to download additional drivers or software to use your AirPods Pro.
Check your PC’s documentation or contact the manufacturer for more information.
Overall, connecting your AirPods Pro to other devices is a simple process that only takes a few steps.
With true wireless earbuds like AirPods Pro, you can enjoy high-quality audio on all your devices.
Troubleshooting AirPods Pro Connection Issues
If you’re having trouble connecting your AirPods Pro, there are a few things you can try to fix the issue.
Below are some troubleshooting steps you can take to get your AirPods Pro connected to your devices.
Troubleshooting Connection Issues On Apple Devices
If you’re having trouble connecting your AirPods Pro to your Apple device, try the following steps:
- Make sure your AirPods Pro are charged and in their case.
- Open the lid of the AirPods Pro case and hold the setup button until the setup animation appears on your device.
- Follow the on-screen instructions to connect your AirPods Pro to your device.
- If your AirPods Pro are already connected to your device but you’re still having trouble, try disconnecting and reconnecting them.
- If you’re still having trouble, try resetting your AirPods Pro by holding the setup button for 15 seconds until the status light flashes amber.

Troubleshooting Connection Issues On Other Devices
If you’re having trouble connecting your AirPods Pro to a non-Apple device, try the following steps:
- Make sure your AirPods Pro are charged and in their case.
- Press and hold the setup button on the back of the AirPods Pro case until the status light flashes white.
- Go to the Bluetooth settings on your device and select “AirPods Pro” from the list of available devices.
- If you’re still having trouble, try resetting your AirPods Pro by holding the setup button for 15 seconds until the status light flashes amber.
It’s worth noting that some features of the AirPods Pro, such as Hey Siri and automatic ear detection, may not work on non-Apple devices.
Additionally, certain media, such as movies and podcasts, may not play in stereo on non-Apple devices.
If you’re still having trouble connecting your AirPods Pro to your devices, you can visit the Apple Support website or contact Apple support for further assistance.
How To Connect AirPods Pro: Common Issues When AirPods Won’t Connect
If you’re having trouble connecting your AirPods Pro to your device, don’t worry, you’re not alone.
Here are some common issues you might encounter and how to fix them:
Bluetooth Connection Issues
The most common reason why AirPods Pro won’t connect is due to Bluetooth issues.
To make sure your Bluetooth is on, go to your device’s settings and select Bluetooth.
If your AirPods Pro are connected, make sure they’re selected as your audio device.
If your AirPods Pro appear in the list of devices but they don’t connect, try removing them from the list and then reconnecting them.
Charging Issues
Another reason why your AirPods Pro may not connect is due to low battery.
Make sure your AirPods Pro are charged before attempting to connect them.
To charge them, place them in their charging case and make sure the case is charged as well.
Outdated Software
If your AirPods Pro still won’t connect, check to see if your device’s software is up to date.
Outdated software can cause connectivity issues.
To update your software, go to your device’s settings and select Software Update.
Resetting AirPods Pro
If all else fails, try resetting your AirPods Pro.
To reset them, place them in their charging case and press and hold the setup button on the back of the case for about 15 seconds until the status light changes from amber to white.
Then, with the lid still open, place your AirPods Pro close to your device to reconnect.
By following these steps, you should be able to connect your AirPods Pro to your device without any issues.
Key Takeaways
When it comes to using AirPods Pro, there are a few key takeaways to keep in mind.
Here are some tips to help you get the most out of your AirPods Pro:
- Pairing your AirPods Pro: To pair your AirPods Pro with your iPhone, simply hold the charging case within several inches of your unlocked smartphone. Open the case’s lid, and a setup dialog will appear on your screen. When you’re ready to connect the AirPods Pro to your iPhone, tap on the “Connect” button.
- Answering phone calls: To answer a phone call with your AirPods Pro, simply double-tap on either AirPod. You can also use the force sensor on the stem of the AirPod to answer or end a call.
- Controlling audio playback: You can control audio playback on your AirPods Pro by using the force sensor on the stem of the AirPod. For example, to pause or resume audio playback, simply double-tap on either AirPod.
- Customizing your AirPods Pro settings: To customize your AirPods Pro settings, go to Settings > Bluetooth on your iPhone. Tap the “i” button next to your AirPods Pro, and you’ll see a range of options, including the ability to customize the force sensor controls, and to enable or disable noise cancellation.
- Keeping your AirPods Pro charged: To keep your AirPods Pro charged, simply place them in the charging case. The charging case itself can be charged using a Lightning cable.
By keeping these key takeaways in mind, you’ll be able to use your AirPods Pro to their full potential.
Whether you’re listening to music, taking phone calls, or just enjoying some peace and quiet with noise cancellation, your AirPods Pro are a versatile and powerful tool.

