If you’re wondering how to connect AirPods to iPad, the process is straightforward and can be completed in just a few steps.
Whether you have the first, second, or third generation AirPods or the AirPods Pro, the steps remain the same.
First, ensure that your iPad’s Bluetooth is enabled.
Then, open the lid of your AirPods case and bring it near your iPad.
Your AirPods will be detected in the Bluetooth settings, and you can connect to them with a simple tap.
If you’re having trouble connecting your AirPods to your iPad, there are a few things you can try.
First, make sure that your AirPods are charged and that they’re in range of your iPad.
If you’re still having trouble, try resetting your AirPods by holding down the button on the back of the case until the light flashes amber.
Then, try connecting them to your iPad again.
If you’re still having trouble, you can contact Apple Support for further assistance.
Table of Contents
ToggleCheck Compatibility
Before connecting your AirPods to your iPad, it’s important to make sure that they are compatible.
Here are some things to keep in mind:
- Your AirPods should be first, second, or third-generation AirPods or AirPods Pro, or AirPods Max to work with your iPad. If you’re not sure which generation your AirPods are, you can check the model number on the bottom of the charging case.
- Your iPad should be running iOS 10 or later. To check which version of iOS your iPad is running, go to Settings > General > About > Version.
- Make sure that your iPad has Bluetooth turned on. To turn on Bluetooth, go to Settings > Bluetooth and toggle the switch to the on position.
- If you have multiple Apple devices, make sure that your AirPods are paired with the correct device. You can check which device your AirPods are currently connected to by going to Control Center on your iPad and looking for the AirPlay icon.
By checking compatibility and ensuring that your iPad has Bluetooth turned on, you can be confident that your AirPods will work seamlessly with your device.
Update Your Device
To ensure that your AirPods work properly with your iPad, it’s important to keep your devices updated with the latest firmware.
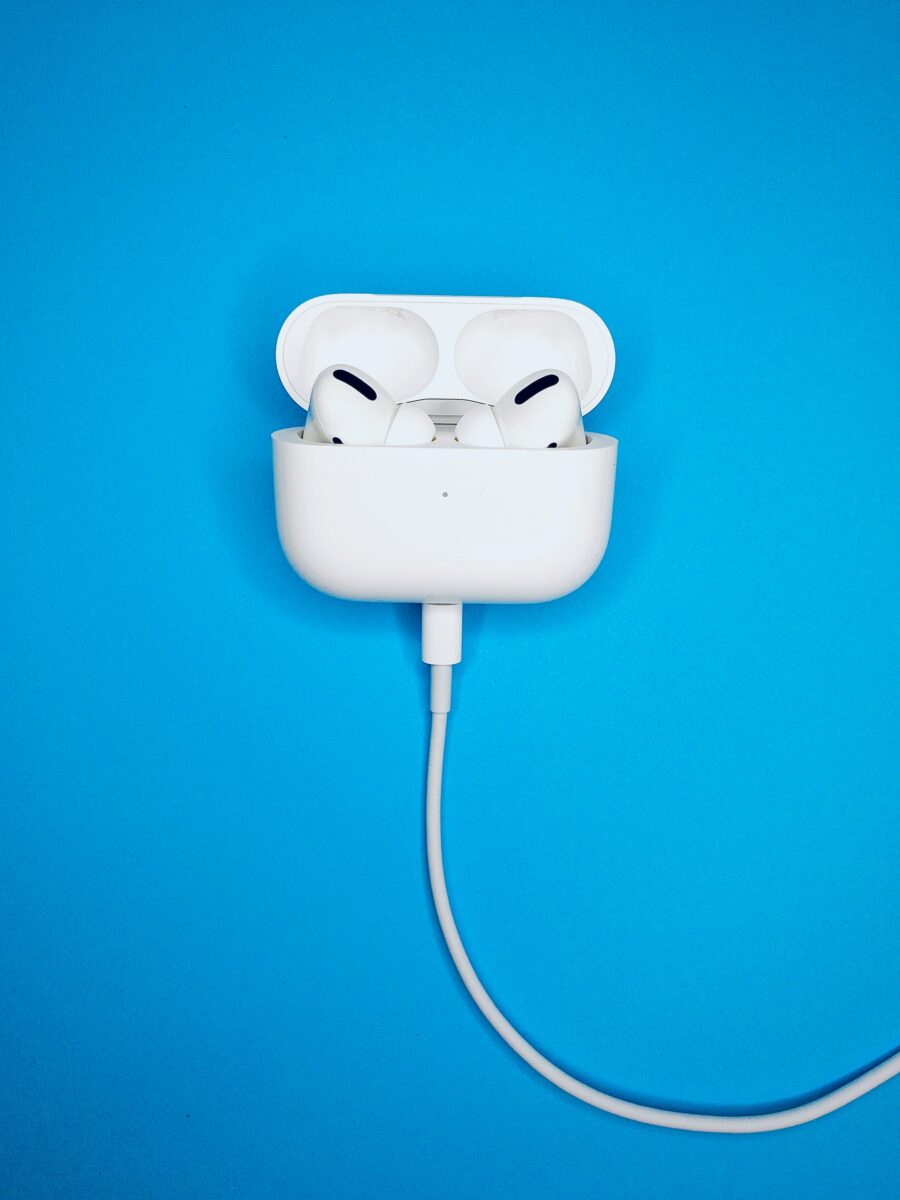
Here’s how to update your AirPods:
- Put both AirPods in their charging case.
- Connect the charging case to a power source.
- Make sure your iPad has an active internet connection.
- Open the Settings app on your iPad.
- Tap on General, then tap on About.
- Look for your AirPods in the list of devices and tap on them.
- Check the firmware version listed next to “Firmware Version” and make sure it’s up to date.
If your AirPods are not up to date, you can update them manually. Here’s how:
- Make sure your iPad is connected to the internet.
- Put both AirPods in their charging case and close the lid.
- Keep the lid closed and place the charging case near your iPad.
- Wait for a few seconds until a message appears on your iPad screen, saying that an update is available for your AirPods.
- Tap on “Install” to start the update process.
It’s important to note that during the update process, your AirPods will be out of use.
It’s recommended to keep them in their charging case until the update is complete.
Updating your AirPods ensures that they work correctly with your iPad and that you have access to the latest features and improvements.
Keep your AirPods up to date to ensure the best user experience.
How To Connect AirPods To iPad
Connecting your AirPods to your iPad is a simple process.
There are two ways to connect your AirPods to your iPad: automatically and manually.
In this section, we will guide you through both methods.
Automatic Connection
If your AirPods are already paired with your iPad, they will automatically connect when you put them in your ears.
If you’re not sure whether your AirPods are paired with your iPad, follow these steps:
- Open the lid of your AirPods case.
- On your iPad, go to the Home Screen and swipe down from the top-right corner to open Control Center.
- Tap on the Bluetooth icon to turn it on.
- Look for your AirPods in the list of devices and tap on them to connect.
Once your AirPods are connected, you will hear a chime in your ears.
You can now start listening to the audio on your iPad.
Manual Connection
If your AirPods are not paired with your iPad, you can connect them manually by following these steps:
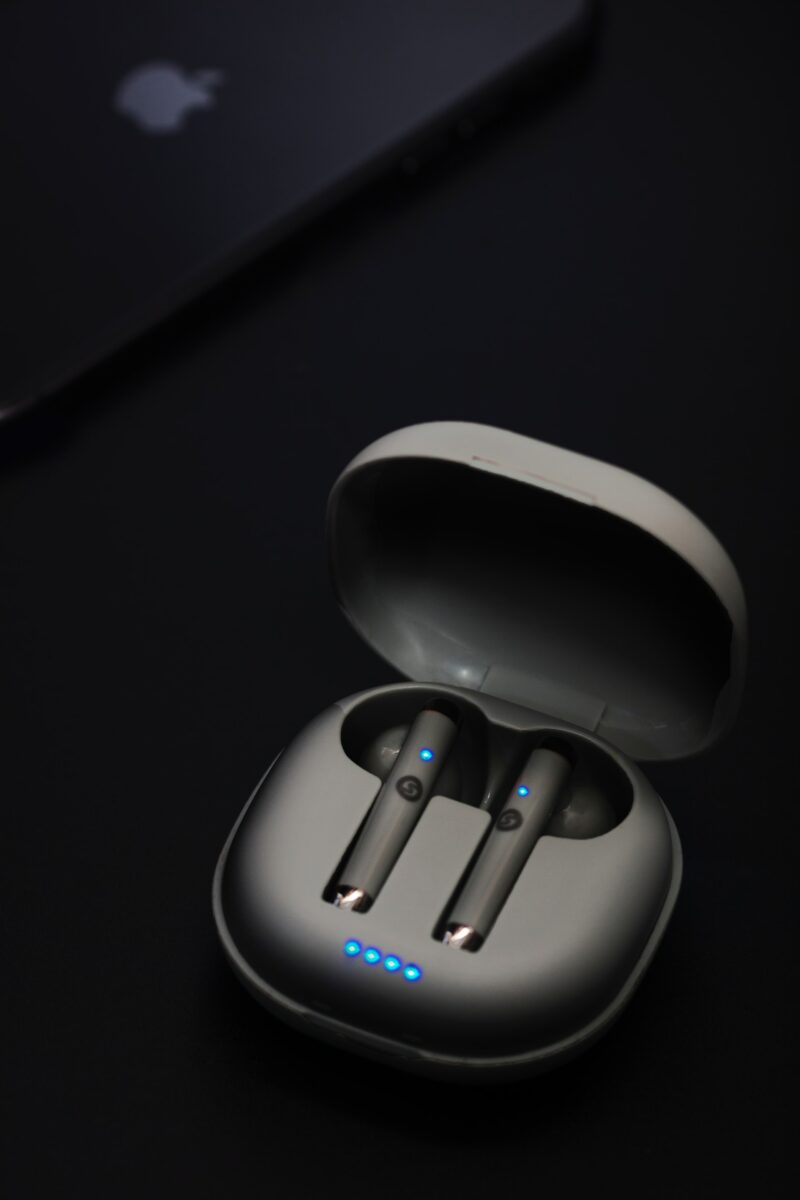
- Put your AirPods in their charging case.
- Press and hold the button on the back of the case until the status light starts flashing white.
- On your iPad, go to the Home Screen and swipe down from the top-right corner to open Control Center.
- Tap on the Bluetooth icon to turn it on.
- Look for your AirPods in the list of devices and tap on them to connect.
Once your AirPods are connected, you will hear a chime in your ears.
You can now start listening to the audio on your iPad.
Additional Information
Here are a few additional things to keep in mind when connecting your AirPods to your iPad:
Your AirPods will automatically connect to any device that they are paired with and in range of.
- If you have multiple Apple devices, you can switch between them by going to the Bluetooth settings on the device you want to use and selecting your AirPods.
- If you’re having trouble connecting your AirPods to your iPad, make sure that Bluetooth is turned on and that your AirPods are charged.
- You can also connect your AirPods to other devices, such as your iPhone, Mac, or Apple TV, using the same process.
By following these steps, you can easily connect your AirPods to your iPad and start enjoying your favorite audio content.
Troubleshooting
If you’re having trouble connecting your AirPods to your iPad, don’t worry.
There are a few things you can try to troubleshoot the problem.
Here are some steps you can take to get your AirPods working with your iPad.
Check For Updates
First, make sure that your AirPods and your iPad are both up to date.
Check for software updates on your iPad by going to Settings > General > Software Update.
If there is an update available, download and install it.
You should also check for firmware updates for your AirPods.
To do this, make sure your AirPods are connected to your iPad, then go to Settings > Bluetooth > (i) next to your AirPods > Firmware Version. If there is an update available, download and install it.
Check Bluetooth Connection
If your AirPods still won’t connect to your iPad, check your Bluetooth connection.
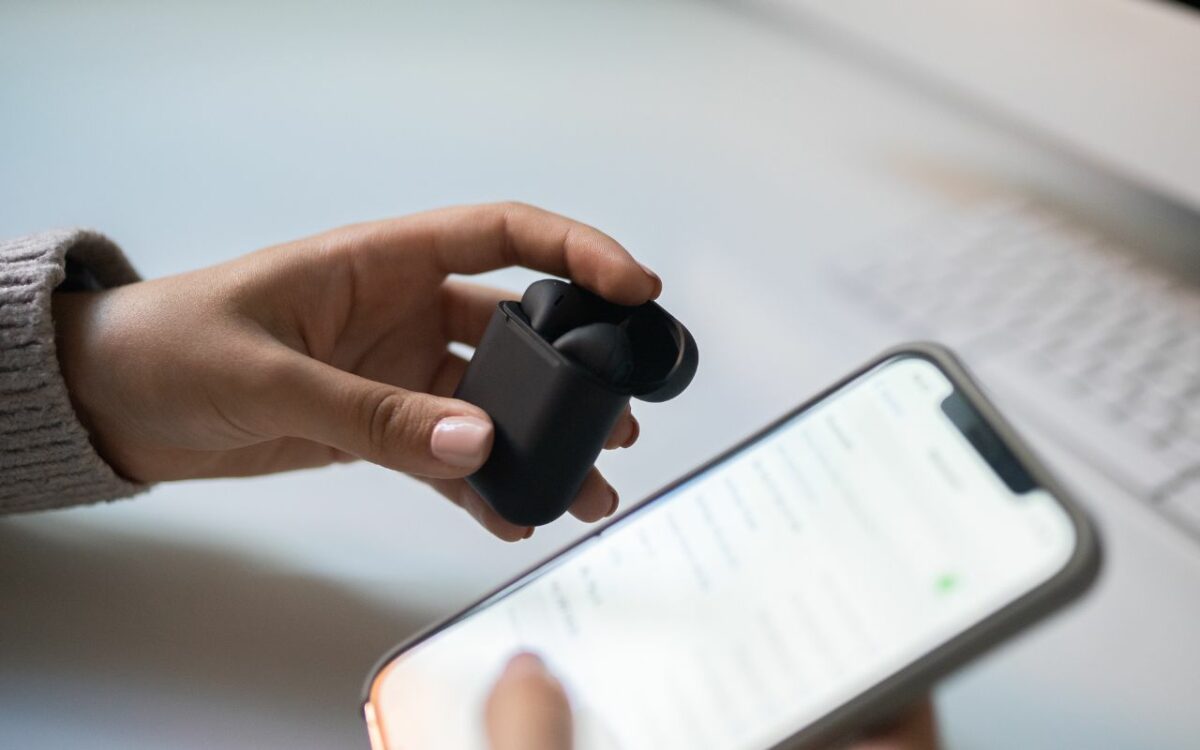
Make sure that your iPad’s Bluetooth is turned on by going to Settings > Bluetooth and making sure the switch is green.
If it is, try turning Bluetooth off and on again.
You should also make sure that your AirPods are fully charged and in range of your iPad.
If you’re still having trouble, try forgetting your AirPods in the Bluetooth menu and then reconnecting them.
Reset AirPods
If your AirPods are still not connecting to your iPad, try resetting them.
To do this, put both AirPods in their case and close the lid.
Wait 30 seconds, then open the lid and press and hold the setup button on the back of the case until the status light flashes amber.
Then, reconnect your AirPods to your iPad.
By following these troubleshooting steps, you should be able to get your AirPods working with your iPad.
If you’re still having trouble, you may want to consult the instructions that came with your AirPods or contact Apple support for further assistance.
Advanced Settings
If you want to customize your AirPods to your liking, you can do so in the Settings app on your iPad.
Here are a few things you can do:
Customize AirPods
You can customize your AirPods’ double-tap gesture to perform different actions.
For example, you can set it to play/pause music, skip to the next track, go back to the previous track, or activate Siri. Here’s how:
- Open the Settings app on your iPad.
- Tap Bluetooth.
- Tap the “i” icon next to your AirPods.
- Tap Left or Right under Double-Tap on AirPod.
- Choose the action you want to perform.
Automatic Switching
If you have multiple Apple devices signed in to the same Apple ID and iCloud account, you can use Automatic Switching to seamlessly switch between them when using your AirPods.
For example, if you’re listening to music on your iPad and then start a video on your iPhone, your AirPods will automatically switch to your iPhone’s audio output.
Here’s how to enable Automatic Switching:
- Make sure your devices are updated to at least iOS 14, iPadOS 14, watchOS 7, or macOS 11.0 Big Sur.
- Open the Settings app on your iPad.
- Tap Bluetooth.
- Tap the “i” icon next to your AirPods.
- Turn on Automatic Switching.
Hey Siri
If you have Hey Siri enabled on your iPad, you can use it to control your AirPods without having to tap them or use your iPad.
Here’s how to enable Hey Siri:
- Open the Settings app on your iPad.
- Tap Siri & Search.
- Turn on Listen for “Hey Siri”.
- Follow the on-screen instructions to set up Hey Siri.
That’s it! With these advanced settings, you can customize your AirPods to your liking and make the most out of your listening experience.
How To Connect Airpods To iPad: What You Should Remember
Connecting your AirPods to your iPad is a seamless process that can be done in just a few steps.
Here are some things to keep in mind when connecting your AirPods to your iPad:
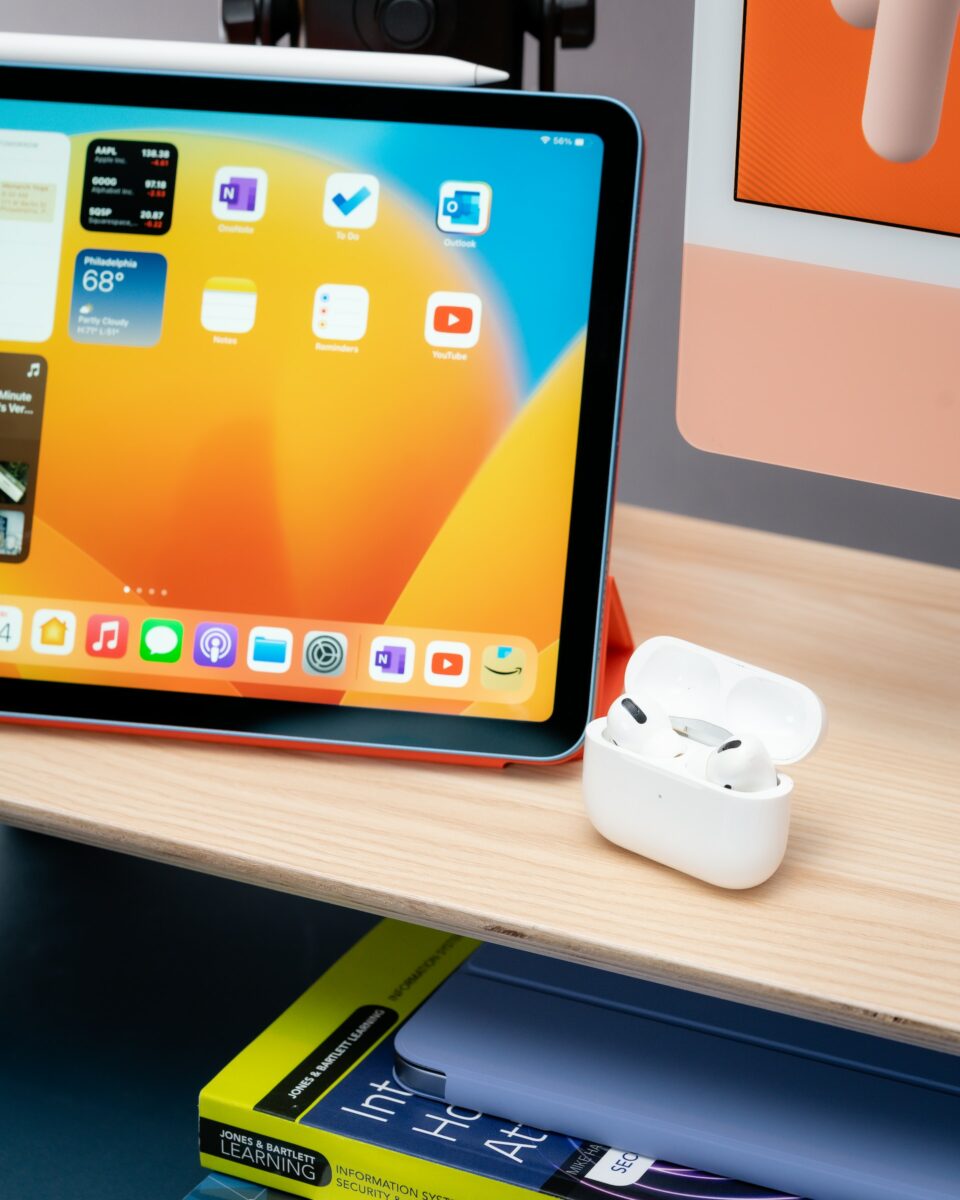
Step 1: Turn On Bluetooth
Before connecting your AirPods to your iPad, make sure that Bluetooth is turned on.
You can do this by going to Settings > Bluetooth on your iPad.
Step 2: Open The AirPods Case
Open the lid of your AirPods case and make sure that your AirPods are inside.
The AirPods should automatically connect to your iPad if they have been previously paired with it.
Step 3: Manually Connect AirPods
If your AirPods don’t connect automatically, you can manually connect them by going to Settings > Bluetooth on your iPad and selecting your AirPods from the list of available devices.
Tips For A Successful Connection
- Make sure that your AirPods are fully charged before connecting them to your iPad.
- Keep your AirPods close to your iPad during the connection process.
- If your AirPods still won’t connect, try resetting them by holding down the button on the back of the case until the LED light flashes.
By following these simple steps, you can easily connect your AirPods to your iPad and enjoy wireless listening.
Key Takeaways
Connecting your AirPods to your iPad is a quick and easy process.
To do so, follow these simple steps:
- Make sure your AirPods are charged and in their case.
- Turn on Bluetooth on your iPad by going to Settings > Bluetooth.
- Open the lid of the AirPods case and hold it near your iPad.
- Your AirPods should appear in the list of devices in your Bluetooth settings. Tap on them and choose to connect.
- Once connected, you can enjoy your favorite audio content on your AirPods.
It’s important to note that if you have multiple devices connected to your AirPods, they will automatically switch between them depending on which one is in use.
This means you can seamlessly switch from listening to music on your iPad to taking a phone call on your iPhone without having to manually disconnect and reconnect your AirPods.
Additionally, you can customize your AirPods’ settings by going to Settings > Bluetooth > (i) next to your AirPods.
From here, you can adjust settings such as double-tap actions, microphone settings, and more.
Overall, connecting your AirPods to your iPad is a simple process that can enhance your audio experience and make it easier to stay connected on the go.

