Can you screen record on iPad?
The answer is yes! With the latest iOS updates, screen recording has become a built-in feature on iPhones and iPads.
This means you can easily record and share your screen with others, whether it’s to show off a new app or to create a how-to video.
To get started with screen recording on your iPad, you’ll need to add the Screen Recording feature to your Control Center.
Once you’ve done this, you can start recording your screen by simply tapping the record button.
You can even record audio along with your screen recording, which is great for creating tutorials or walkthroughs.
And when you’re done recording, you can easily share your video with others via AirDrop or other sharing methods.
Table of Contents
ToggleCan You Screen Record On iPad?
If you own an iPad, you might be wondering if you can screen record on it.
The answer is yes! In fact, screen recording is a built-in feature on all iPads running iOS 11 or later.
It allows you to capture everything that’s happening on your iPad screen, including audio, and save it as a video file.
How To Enable Screen Recording On iPad
Before you can start screen recording on your iPad, you need to enable the screen recording feature in the Settings app.
Here’s how:
- Open the Settings app on your iPad.
- Tap on Control Center.
- Tap on Customize Controls.
- Scroll down to find Screen Recording and tap the green plus button next to it.
How To Access Screen Recording On iPad
Once you’ve enabled screen recording on your iPad, you can access it from the Control Center.
Here’s how:
- Swipe up from the bottom of the screen to open the Control Center.
- Tap on the screen recording icon (it looks like a circle with a dot inside it).
- Wait for the three-second countdown to finish.
How To Use Screen Recording On iPad
Once you’ve started screen recording on your iPad, you can do whatever you want on your device, and everything will be captured in the recording.
Here are some tips for using the screen recording feature:
- If you want to record audio as well, long-press the screen recording icon in the Control Center and toggle on the microphone option.
- To stop recording, tap the red bar at the top of the screen or return to the Control Center and tap the screen recording icon again.
- The recording will be saved to your Photos app, where you can edit, trim, and share it.
- You can also use third-party apps to edit or add filters to your recordings.
- Keep in mind that screen recording can take up a lot of storage space, so make sure you have enough available before you start recording.
- Screen recording also uses a lot of processing power, which can affect your iPad’s performance. If you notice any issues, try closing other apps or turning on the Do Not Disturb mode.
- By default, screen recordings have a time limit of 10 minutes, but you can change this in the Settings app under Control Center.
- If you want to crop or adjust the recording, you can do so in the Photos app or using a screen recorder tool like the one included in iOS 15 and iPadOS 15.
- You can also use screen recording to capture gameplay, video calls, messages, and more.
In conclusion, screen recording is a useful feature that can come in handy in many situations.
With just a few taps, you can capture anything that’s happening on your iPad screen and save it as a video file.
So go ahead and give it a try!
How To Enable Screen Recording On iPad
If you want to record your iPad’s screen, you can do so with the built-in screen recording feature.
Here’s how you can enable screen recording on your iPad:
- Open the Settings app on your iPad.
- Tap on Control Center.
- Scroll down and tap on Customize Controls.
- Find Screen Recording and tap on the green plus sign next to it to add it to your Control Center.
- Exit the Settings app.
Now that you have added screen recording to your Control Center, you can start recording your iPad’s screen.
To start recording, follow these steps:
- Swipe up from the bottom of your iPad’s screen to open Control Center.
- Tap on the Screen Recording button. If you don’t see it, swipe left or right to find it.
- Wait for the three-second countdown to finish.
- Start recording your screen.
- When you’re done recording, tap on the red recording icon in the top left corner of your screen or swipe up from the bottom of your screen and tap on the red recording icon in the Control Center.
It’s important to note that when you enable screen recording on your iPad, it will also record any sounds that your iPad is playing.
This includes any music, videos, or other media that you may have playing on your iPad.
Additionally, if you want to edit your screen recording after you’ve finished recording, you can do so using the built-in video editing tools on your iPad.
Simply open the Photos app, find your screen recording, and tap on the Edit button to start editing your video.
Overall, enabling screen recording on your iPad is a simple process that can be done in just a few steps.
Once you’ve enabled it, you can start recording your iPad’s screen with ease and share your recordings with others.
How To Access Screen Recording On iPad
If you want to record your iPad’s screen, you can easily do so using the built-in screen recording feature.
Here’s how to access it:
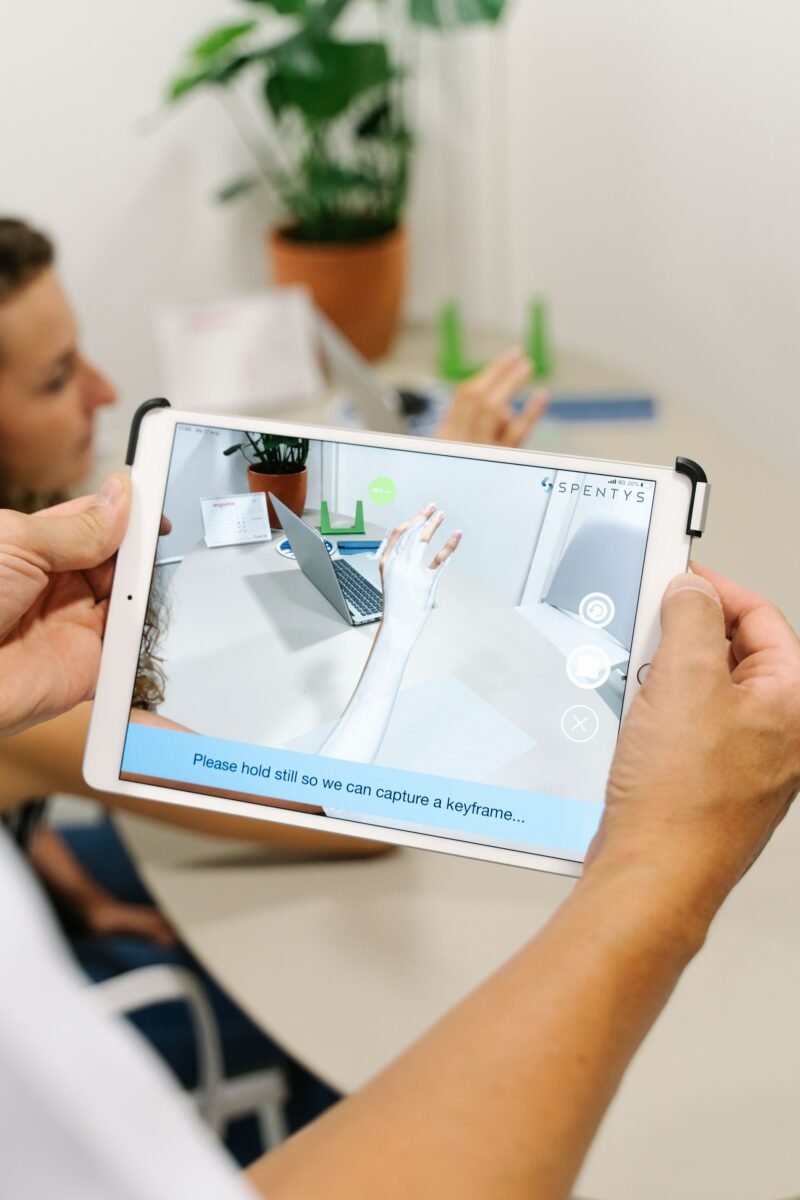
Accessing Screen Recording On Control Center
- Swipe down from the top-right corner of your iPad to open the Control Center.
- Look for the Screen Recording icon, which looks like a circle with a dot inside it. If you don’t see it, you may need to add it to your Control Center by going to Settings > Control Center > Customize Controls and tapping the green plus sign next to Screen Recording.
- Tap the Screen Recording icon to start recording. You’ll see a three-second countdown before the recording begins.
- To stop recording, tap the red status bar at the top of the screen and then tap Stop.
Accessing Screen Recording On Settings
- Go to Settings on your iPad.
- Tap Control Center.
- Tap Customize Controls.
- Look for the Screen Recording option and tap the green plus sign next to it to add it to your Control Center.
- Swipe down from the top-right corner of your iPad to open the Control Center.
- Tap the Screen Recording icon to start recording. You’ll see a three-second countdown before the recording begins.
- To stop recording, tap the red status bar at the top of the screen and then tap Stop.
Note that when you record your screen, the iPad will also record any sounds that are playing.
If you want to record audio using your iPad’s microphone, long-press the Screen Recording icon in the Control Center and enable the Microphone option.
You can also adjust the volume of the recorded audio by using the volume buttons on your iPad.
Keep in mind that some apps may not allow screen recording due to copyright or privacy concerns.
Additionally, screen recording can take up a lot of storage space on your iPad, so make sure you have enough free space before you start recording.
How To Use Screen Recording On iPad
If you want to record your iPad screen, you can use the Screen Recording feature.
This feature is available on iPads running iOS 11 or later and iPadOS.
With Screen Recording, you can capture video and audio from your iPad screen and save it as a video file.
Here’s how to use it.
Recording Audio And Video
When you use Screen Recording, it captures both audio and video from your iPad screen.
This means that it will record any sound that comes from your iPad’s speakers, as well as any audio that you input using the microphone.
If you want to record sound, make sure that your iPad’s microphone is not muted or covered.
Using The Screen Record Feature
To use the Screen Recording feature, you need to add it to your Control Center.
To do this, go to Settings > Control Center > Customize Controls, then tap the plus sign next to Screen Recording.
Once you’ve added it, you can access it by swiping up from the bottom of your screen to open Control Center and tapping the Screen Recording button.
Stopping And Saving The Recording
To stop recording, open Control Center and tap the red Record button.
You can also stop recording by tapping the red status bar at the top of your screen and tapping Stop.
Your recording will be saved to your Photos app.
Editing And Sharing The Recording
After you’ve recorded your screen, you can edit and share the recording.
To edit your recording, open the Photos app and select the recording.
You can then trim the recording, add filters, and adjust the sound.
To share your recording, tap the share icon and select the app or service you want to use.
Overall, Screen Recording is a useful feature that can help you capture video and audio from your iPad screen.
Whether you want to record games, apps, or notifications, Screen Recording can help you do it.
Just remember to check your microphone and make sure that you have enough storage and performance to handle the recording.
Key Takeaways
If you’re wondering whether you can screen record on iPad, the answer is yes!
With the right settings and a few taps, you can easily record your iPad screen.
To start recording your screen, you need to add the Screen Recording feature to your Control Center.
You can do this by going to Settings > Control Center > Customize Controls.
Locate the Screen Recording option and tap the green plus button to add it to your Control Center.
Once you’ve added Screen Recording to your Control Center, you can start recording your iPad screen by simply swiping up from the bottom of your screen to access the Control Center.
Then, tap the Screen Recording icon and wait for the three-second countdown.
When you’re done recording, you can stop the screen recording by tapping the red status bar at the top of your screen or by opening the Control Center and tapping the Stop button.
It’s important to note that when you record your screen, your iPad will also record any audio that’s playing on your device.
If you want to turn off the audio recording, simply long-press the Screen Recording icon in the Control Center and toggle off the microphone icon.
With these simple steps, you can easily screen record on your iPad and capture all of your favorite moments and memories.

