When it comes to your AirPods Pro, keeping them charged is essential to ensure you can enjoy your favorite tunes or take important calls without interruption.
Fortunately, when you know how to charge AirPods Pro the process can be done in a few easy steps.
To charge your AirPods Pro, you can use a cable to connect the case to a power outlet using a Lightning to USB Cable and a compatible power adapter.
You can also charge your case with or without your AirPods inside.
Charging is fastest when you use an iPhone or iPad USB charger or plug into your Mac.
It’s important to note that the MagSafe Charging Case for AirPods Pro (2nd generation) plays a sound when it begins to charge or when the battery charge is low.
If you find this sound annoying, you can turn it off.
With these simple steps, you can keep your AirPods Pro charged and ready to go whenever you need them.
How To Charge AirPods Pro: An Overview Of AirPod’s Charging Process
AirPods Pro are a popular choice for those who love wireless earbuds.
One of the most important things to keep in mind with AirPods Pro is that they need to be charged regularly.
Here’s a quick overview of how to charge your AirPods Pro.
Charging With A Cable
One way to charge your AirPods Pro is to use a cable.
To charge your AirPods Pro with a cable, follow these steps:
- Connect the charging case to a power outlet using a Lightning to USB cable and a compatible power adapter.
- Wait for the status light on the front of the case to turn on.
- The status light will turn off once your AirPods Pro are fully charged.
Charging Wirelessly
Another way to charge your AirPods Pro is to use a wireless charger.
To charge your AirPods Pro wirelessly, follow these steps:
- Place the charging case with the status light facing up on the center of a MagSafe wireless charger or a Qi-certified charger.
- Wait for the status light on the front of the case to turn on.
- The status light will turn off once your AirPods Pro are fully charged.
Charging The Case
It’s important to note that you also need to charge the AirPods Pro case itself in order to charge your AirPods Pro.
To charge the case, follow these steps:
- Place your AirPods Pro inside the charging case.
- Close the lid of the charging case.
- Wait for the status light on the front of the case to turn on.
- The status light will turn off once the case is fully charged.
In conclusion, charging your AirPods Pro is easy and straightforward.
Whether you choose to charge with a cable or wirelessly, make sure to charge the case as well as the AirPods Pro themselves.
With proper charging, you can enjoy your AirPods Pro for hours on end.
How To Charge AirPods Pro With A Charging Case
To charge your AirPods Pro, you will need to use the charging case that comes with the earbuds.
Here are the steps you should follow:
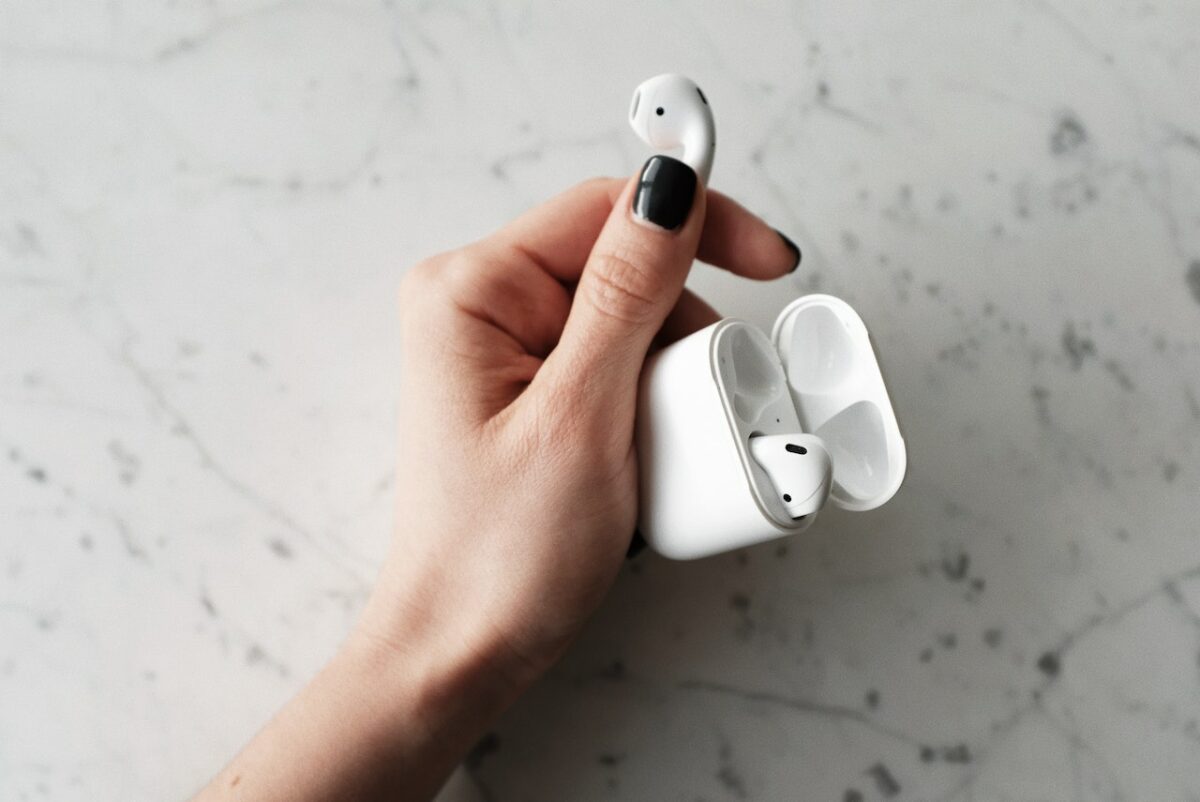
- First, make sure that the charging case has some battery charge left. You can check the battery percentage of the charging case by opening the lid and looking at the status light on the front of the case. If the light is green, the case is fully charged. If it is amber, the case has less than one full charge left.
- If the charging case needs to be charged, you can use a Lightning cable to charge it. Connect one end of the cable to the Lightning port on the bottom of the charging case and the other end to a power source, such as a USB charger or port on your computer. The status light on the front of the case will turn on to indicate that it is charging.
- If you have a wireless charging case, you can also use a Qi-compatible wireless charging mat to charge the case. Simply place the case on the charging mat and make sure that the status light on the front of the case turns on to indicate that it is charging.
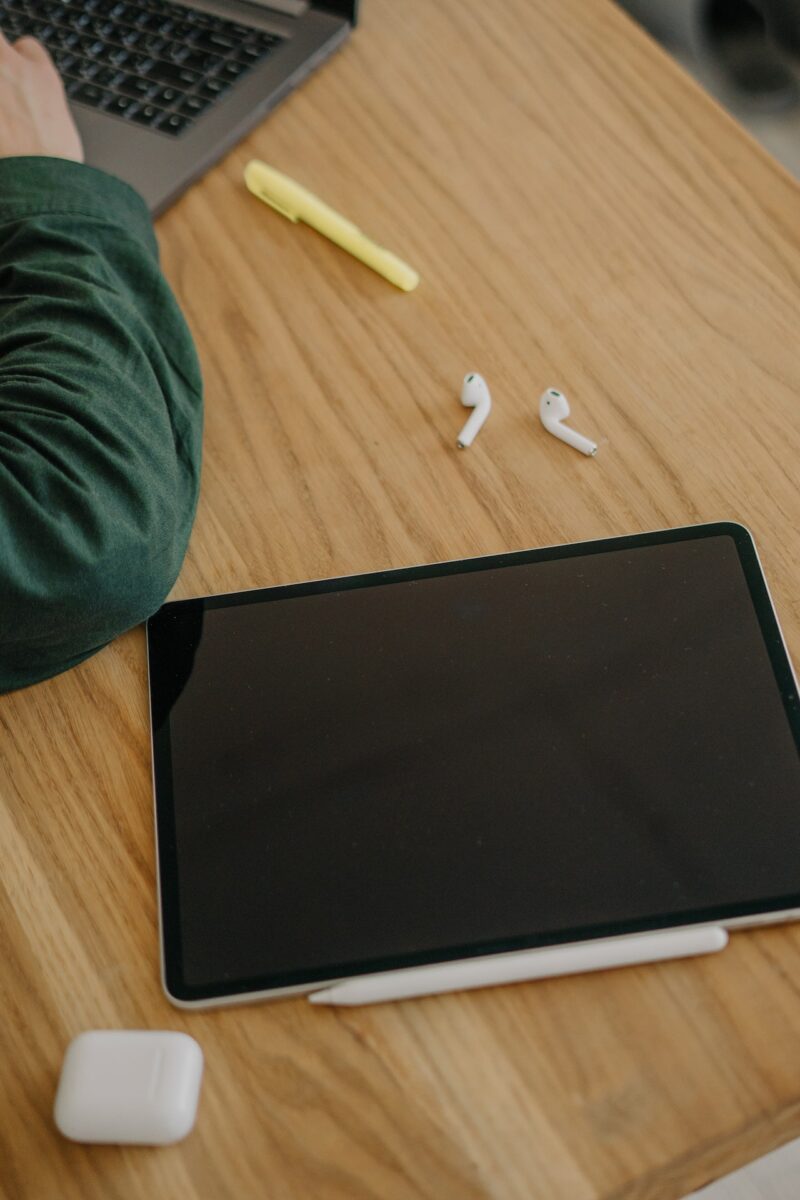
- To charge your AirPods Pro, place them in the charging case and make sure that they are seated properly. The status light on the front of the case will turn on to indicate that the AirPods are charging. If the light is green, the AirPods are fully charged. If it is amber, the AirPods are charging.
- If you want to check the battery charge of your AirPods Pro, you can do so using your iPhone, iPad, iPod touch, or Mac. Open the lid of the charging case with the AirPods inside and hold the case close to your device. The charge status of your AirPods will be displayed on the screen.
- If you want to conserve the battery life of your AirPods Pro, you can turn off Automatic Ear Detection. This feature is turned on by default and allows your AirPods to detect when they are in your ears and automatically play audio. To turn off this feature, go to Settings > Bluetooth > AirPods Pro on your iPhone or iPad and toggle off Automatic Ear Detection.
By following these steps, you can ensure that your AirPods Pro are always charged and ready to use whenever you need them.
How To Charge AirPods Pro Without A Charging Case
If you don’t have your AirPods Pro charging case with you, don’t worry, you can still charge your AirPods Pro. Here’s how:
Method 1: Use A Wireless Charger
You can charge your AirPods Pro wirelessly by placing them on a Qi-certified charger.

Make sure the status light on the front of the case is facing up.
The status light will turn on to indicate that your AirPods are charging.
Keep in mind that charging wirelessly will take longer than using a Lightning to USB cable with a compatible power adapter.
You can expect to get up to 5 hours of listening time or 3.5 hours of talk time on a single charge.
Method 2: Use A Lightning To USB Cable
If you have a Lightning to USB cable and a compatible power adapter, you can charge your AirPods Pro using this method.
Connect the Lightning to USB cable to the Lightning port on the bottom of the case and the USB end into a power adapter.
The status light on the front of the case will turn on to indicate that your AirPods are charging.
You can expect to get up to 4.5 hours of listening time or 3.5 hours of talk time on a single charge.
Method 3: Use An iPhone Or iPad
If you have an iPhone or iPad, you can charge your AirPods Pro by placing them in the charging case and then connecting the Lightning to USB cable to the Lightning port on the bottom of the case and the USB end into your iPhone or iPad.
The status light on the front of the case will turn on to indicate that your AirPods are charging.
You can expect to get up to 5 hours of listening time or 3.5 hours of talk time on a single charge.
Notification Sounds
When you charge your AirPods Pro, you may hear a sound indicating that they are charging.
If you don’t want to hear this sound, you can turn it off in your iPhone or iPad settings.
Battery Life
Your AirPods Pro have a battery life of up to 24 hours when you use them with the charging case.
If you use them without the charging case, you can expect to get up to 5 hours of listening time or 3.5 hours of talk time on a single charge.
Make sure to charge your AirPods Pro regularly to ensure they are always ready when you need them.
How To Check The Charge Status Of AirPods Pro
If you want to check the charge status of your AirPods Pro, there are two ways to do it.
You can either use your connected iPhone, iPad, or Apple Watch, or you can check the LED on the AirPods Pro case itself.
Check Charge Status Using Your Connected Device
To check the charge status of your AirPods Pro using your connected device, follow these steps:
- Make sure your AirPods Pro are connected to your iPhone, iPad, or Apple Watch.
- Open the Settings app on your device.
- Tap on Bluetooth.
- Look for your AirPods Pro in the list of devices.
- The battery percentage of your AirPods Pro will be displayed next to the device name.
Check Charge Status Using The LED On The AirPods Pro Case
To check the charge status of your AirPods Pro using the LED on the case, follow these steps:
- Open the lid of your AirPods Pro case.
- Look at the LED on the front of the case.
- If the LED is green, your AirPods Pro are fully charged.
- If the LED is amber, your AirPods Pro have less than one full charge remaining.
It’s important to note that if you have only one AirPod Pro in the case, the LED will not display the charge status of the individual AirPod.
Instead, the LED will display the charge status of the case itself.
In addition, if you’re using your AirPods Pro with a Mac, the charge status of your AirPods Pro will be displayed in the Control Center.
To access the Control Center, click on the Bluetooth icon in the menu bar and hover over your AirPods Pro.
By following these simple steps, you can easily check the charge status of your AirPods Pro and ensure that they are always ready to use when you need them.
How To Update AirPods Pro
Updating your AirPods Pro is an essential part of keeping them functioning at their best.
Here’s how you can update your AirPods Pro firmware:
- First, ensure that your AirPods Pro are in their charging case and that the case has sufficient charge.
- Connect the charging case to a power source using the included charging cable.
- Ensure that your iPhone or iPad is connected to the internet.
- Bring the charging case close to your iPhone or iPad.
- Open the Settings app on your iPhone or iPad.
- Tap on “General” and then tap on “About.”
- Scroll down until you find your AirPods Pro listed.
- Tap on your AirPods Pro, and you will see the current firmware version.
- If there is a new firmware update available, you will see an option to update your AirPods Pro.
- Tap on “Download and Install” to start the update process.
During the update process, make sure that your AirPods Pro remain in the charging case and that the charging case remains connected to a power source.
The update process can take a few minutes, so be patient and do not remove your AirPods Pro from the charging case until the update is complete.
Updating your AirPods Pro firmware ensures that you have the latest features and bug fixes.
It is recommended that you keep your AirPods Pro up to date to ensure the best possible experience.
How To Use AirPods Pro Features
AirPods Pro is a premium version of Apple’s popular wireless earbuds.
It comes with a host of features that make it a great choice for music lovers and audiophiles alike.
Here’s how to use AirPods Pro features:
Noise Cancellation
AirPods Pro comes with active noise cancellation (ANC) technology that blocks out external noise and provides an immersive listening experience.
To turn on ANC, press and hold the force sensor on the stem of either AirPod.
You’ll hear a chime when it’s activated. To turn it off, press and hold the force sensor again.
Spatial Audio
Spatial Audio is a feature that provides a surround sound-like experience.
It simulates a 3D audio environment that makes you feel like you’re in the middle of the action.
To turn on Spatial Audio, go to Control Center on your iPhone or iPad and tap the AirPlay icon.
Then, select your AirPods Pro and turn on Spatial Audio.
Head Tracking
Head Tracking is a feature that adjusts the sound based on the orientation of your head.
It uses the gyroscope and accelerometer in your AirPods Pro to track your head movements and adjust the audio accordingly.
To turn on Head Tracking, go to Settings on your iPhone or iPad, select Bluetooth, and tap the “i” icon next to your AirPods Pro.
Then, turn on Head Tracking.
Audio Quality
AirPods Pro provides high-quality audio with rich bass and clear treble.

It uses a custom-built high-excursion, low-distortion driver that delivers powerful bass and a superior listening experience.
To get the best audio quality, make sure your AirPods Pro are properly seated in your ears.
Share Audio
Share Audio is a feature that allows you to share audio with another pair of AirPods.
To use Share Audio, make sure both pairs of AirPods are connected to the same device.
Then, place one AirPod on the other person’s ear and select Share Audio from the Control Center.
Control Center
Control Center is a central hub for all your AirPods Pro settings.
To access Control Center, swipe down from the top-right corner of your iPhone or iPad screen.
From there, you can adjust the volume, turn on ANC, and access other AirPods Pro features.
Messages
AirPods Pro allows you to receive and reply to messages hands-free.
When a message arrives, Siri will read it out loud and give you the option to reply.
To reply, just say “Hey Siri” followed by your message.
Siri
Siri is a voice-activated assistant that can help you with a variety of tasks.
To activate Siri, just say “Hey Siri” followed by your command. Siri can help you with everything from setting reminders to playing music.
Setup
To set up AirPods Pro, make sure your iPhone or iPad is running the latest version of iOS or iPadOS.
Then, open the AirPods Pro case and hold it close to your device.
Follow the on-screen instructions to complete the setup process.
MagSafe
MagSafe is a charging technology that allows you to charge your AirPods Pro wirelessly.
To charge your AirPods Pro with MagSafe, place the case with the status light facing up on the center of a MagSafe wireless charger.
Troubleshooting AirPods Pro Charging Issues
If you’re experiencing issues charging your AirPods Pro, there are a few things you can try before reaching out to Apple Support.
Here are some troubleshooting tips:
1. Reset Your AirPods Pro
If your AirPods Pro aren’t charging properly, try resetting them. Here’s how:
- Put both AirPods Pro in their case and close the lid.
- Wait for at least 30 seconds, then open the lid.
- Press and hold the button on the back of the case until the LED light on the front flashes white.
- Pair your AirPods Pro with your device again.
2. Check Your Charging Cable And Adapter
Make sure you’re using a genuine Apple charging cable and adapter.
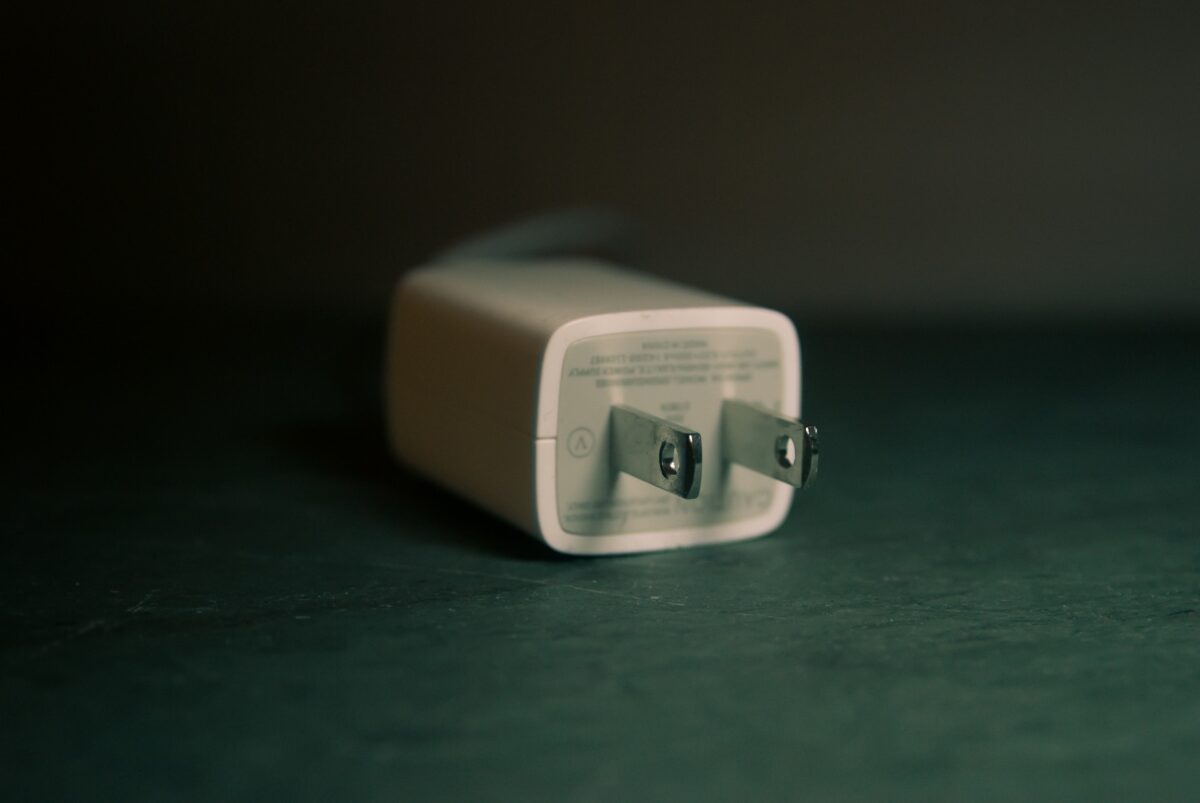
If you’re using a third-party cable or adapter, it may not provide enough power to charge your AirPods Pro.
Also, make sure the cable is plugged in securely to both the adapter and your device.
3. Clean Your AirPods Pro And Charging Case
Dirt and debris can accumulate on your AirPods Pro and charging case over time, which can interfere with the charging process.
Use a soft, dry, lint-free cloth to clean both your AirPods Pro and charging case.
Avoid getting moisture in any openings.
4. Try A Different Charging Method
If your AirPods Pro aren’t charging when connected to your device, try using a different charging method.
You can charge your AirPods Pro with a USB-C to Lightning cable or a Qi-certified wireless charging pad.
If you’re using a wireless charging pad, make sure your AirPods Pro are placed on the pad vertically, with the status light facing up.
5. Contact Apple Support
If you’ve tried all of the above troubleshooting tips and your AirPods Pro still aren’t charging properly, it may be time to contact Apple Support.
They can help you determine if your AirPods Pro need to be repaired or replaced.
Remember, as a consumer, you have the right to expect your AirPods Pro to work properly.
If you’re still experiencing issues, don’t hesitate to reach out for help.
Key Takeaways
Charging your AirPods Pro is a simple process that can be done in a few different ways.
Here are some key takeaways to keep in mind:
- The AirPods Pro come with a charging case that can hold multiple charges. When the case is fully charged, it can charge your AirPods Pro multiple times before needing to be charged again.
- You can charge your AirPods Pro by placing them in the charging case and connecting the case to a power source using the Lightning cable that came with your AirPods Pro.
- If you have a wireless charging case, you can also charge your AirPods Pro by placing the case on a Qi-compatible charging mat. Make sure the charging mat is plugged in and turned on before placing the case on it.
- The AirPods Pro come with a one-year warranty that covers defects in materials and workmanship. If you experience any issues with your AirPods Pro, contact Apple Support for assistance.
- You may be able to find deals on AirPods Pro from time to time, especially during major shopping holidays like Black Friday and Cyber Monday. Be sure to shop around and compare prices to get the best deal.
By following these tips, you can ensure that your AirPods Pro are always charged and ready to use whenever you need them.