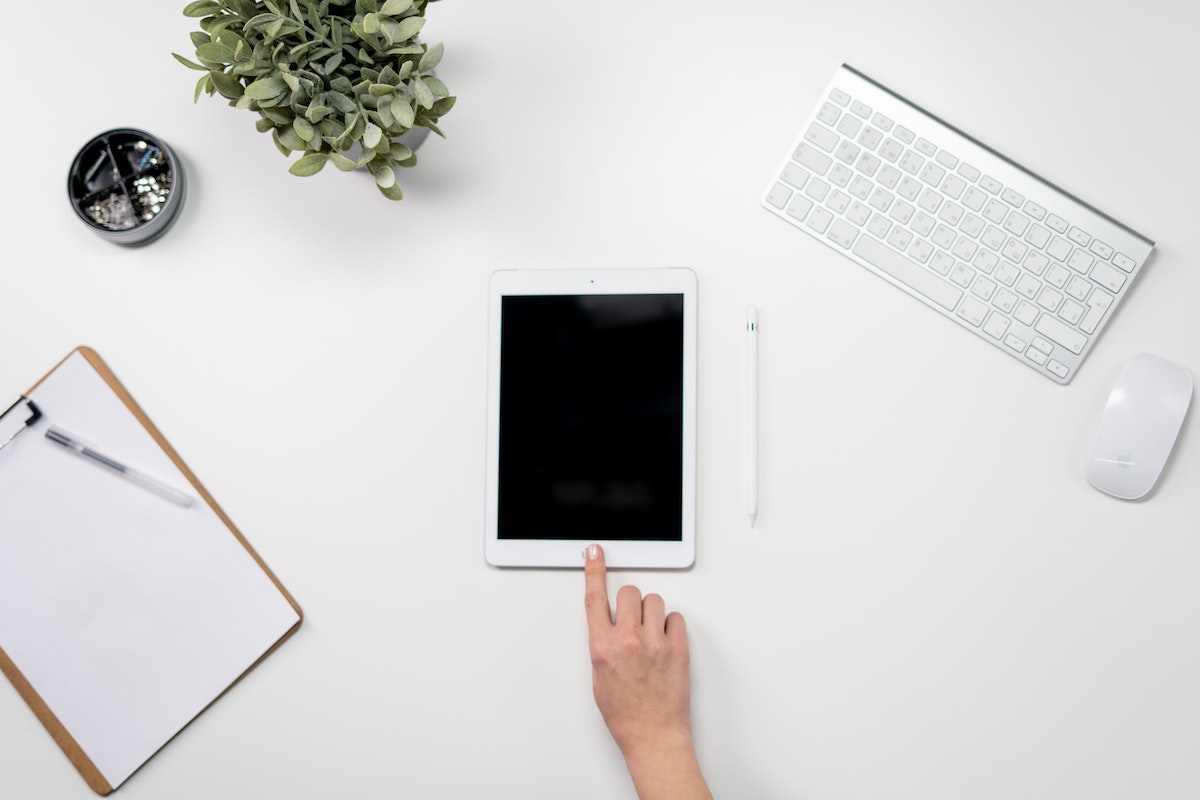
Are you worried about your child accidentally deleting important files or accessing inappropriate content on your iPad?
Knowing how to lock iPad screen from touch could put your mind at ease.
This feature prevents any accidental taps or swipes from interrupting your work or play.
In this article, we will show you how to lock your iPad screen from touch and keep your device secure.
To lock your iPad screen from touch, you can use the Guided Access feature.
This feature lets you restrict your iPad to a single app and disable certain app features, such as touch input.
Guided Access is especially useful for parents who want to control their child’s iPad usage and ensure that they stay within a specific app.
In the following paragraphs, we will provide step-by-step instructions on how to enable Guided Access and lock your iPad screen from touch.
Locking Your iPad Screen
Locking your iPad screen can be an essential step in ensuring the security of your device.
There are several ways to lock your iPad screen, including using the Sleep/Wake button and the Control Center.
In this section, we will explore these options in detail.
Using The Sleep/Wake Button
Using the Sleep/Wake button to lock your iPad screen is a quick and easy method.
To do this, press the Sleep/Wake button on the top of your iPad.
The screen will turn off, and your iPad will be locked.
This method is useful if you need to lock your iPad quickly, such as when you need to step away from your device for a moment.
Using The Control Center
The Control Center is a convenient way to access many of your iPad’s features, including the ability to lock your screen.
To access the Control Center, swipe down from the top-right corner of your iPad’s screen.
Then, tap the lock icon to lock your screen.
You can also customize the Control Center to add the lock icon for quick access.
To do this, go to Settings > Control Center > Customize Controls.
Then, tap the plus sign next to the Lock Screen option to add it to your Control Center.
Additional Tips
Here are some additional tips to help you lock your iPad screen:

- Set a passcode or use Touch ID/Face ID to add an extra layer of security to your device.
- Consider using Guided Access to limit your device to a single app or to restrict certain features.
- Use parental controls, such as Screen Time or Circle, to manage your child’s use of your iPad.
- Enable the Accessibility Shortcut to quickly access features like AssistiveTouch or the Magnifier.
- If your iPad is lost or stolen, use Find My to locate it or erase its data remotely.
- Be mindful of time limits and in-app purchases when allowing young children to use your iPad.
By following these tips and utilizing the Sleep/Wake button and Control Center, you can easily lock your iPad screen and keep your device secure.
Setting Up Passcode Settings
If you want to keep your iPad secure, setting up a passcode is a great way to do it.
Here’s how to create and change your passcode settings.
Creating a Passcode
- Open the Settings app on your iPad.
- Tap on “Touch ID & Passcode” or “Face ID & Passcode” depending on your iPad model.
- Tap “Turn Passcode On” and enter a six-digit passcode.
- Consider using a custom alphanumeric code or custom numeric code for added security.
- Confirm your passcode and activate it.
Changing Your Passcode
- Open the Settings app on your iPad.
- Tap on “Touch ID & Passcode” or “Face ID & Passcode” depending on your iPad model.
- Enter your current passcode.
- Tap on “Change Passcode.”
- Enter your new passcode.
- Confirm your new passcode.
It’s a good idea to change your passcode regularly to keep your iPad secure.
You can also consider using Face ID or Touch ID to unlock your iPad for added convenience.
In addition to passcode settings, there are other ways to secure your iPad, such as parental controls, screen time, and in-app purchases.
If you have young children using your iPad, consider setting up parental controls or enabling single app mode to limit their access.
You can also set time limits and restrict in-app purchases.
If your iPad is lost or stolen, you can use Find My iPad to locate it or remotely erase your data.
It’s also important to keep your Apple ID password secure and to enable two-factor authentication for added security.
By taking these steps to secure your iPad, you can protect your personal information and ensure that your device is only accessible to you.
Using Guided Access
If you want to lock your iPad screen from touch, you can use Guided Access.
Guided Access is an accessibility feature that allows you to limit your device to a single app and control which features are available.
Here’s how to use Guided Access:
Enabling Guided Access
To enable Guided Access, go to Settings > Accessibility > Guided Access, then turn on Guided Access.
You can also enable Accessibility Shortcut for Guided Access by going to Settings > Accessibility > Accessibility Shortcut and selecting Guided Access.
Setting A Time Limit
You can also set a time limit for Guided Access.

To do this, turn on Time Limits in the Guided Access settings and select the desired duration.
You can also choose to play a sound or speak the remaining time before the time limit is up.
Disabling Touch
If you want to disable touch for certain areas of the screen, use one finger to circle those areas.
You can move or resize the circle, or tap the X to remove it.
This is useful if you want to prevent accidental taps or gestures.
Disabling Motion
If you want to disable motion for the entire screen, turn on the Motion option in the Guided Access settings.
This will prevent the device from responding to tilting or shaking.
Exiting Guided Access
To exit Guided Access, triple-click the Home button (or the Side button on iPhone X or later) and enter your Apple ID password if prompted.
You can also set a Guided Access passcode to prevent others from exiting Guided Access without your permission.
Guided Access is a useful feature for parents who want to limit their children’s access to certain apps or features, or for anyone who wants to lock their device to a single app.
It can also help prevent accidental taps or gestures during use.
Using Parental Controls
As a parent, you want to ensure your child is safe while using their iPad.
Parental controls are a great tool to help you manage and restrict your child’s access to certain features and content on their device.
Here are some steps to enable and set up parental controls on your child’s iPad.
Enabling Parental Controls
To enable parental controls on your child’s iPad, you will need to go to Settings and select Screen Time.
From there, tap Turn On Screen Time and select This is My Child’s [Device].
You can then set up a passcode to prevent your child from changing the settings.
It is important to remember this passcode as it will be required to make changes in the future.
Setting Time Limits
With parental controls, you can set time limits on your child’s iPad usage.
This is a great way to ensure your child is not spending too much time on their device.
To set time limits, go to Screen Time and select App Limits.
From there, you can select specific categories or apps to limit, and set a time limit for each.
Blocking In-App Purchases
In-app purchases can quickly add up and result in unexpected charges on your credit card.
To block in-app purchases, go to Screen Time and select Content & Privacy Restrictions.
From there, select iTunes & App Store Purchases and set In-App Purchases to Don’t Allow.
Setting Content Restrictions
Parental controls allow you to restrict access to certain types of content on your child’s iPad.
To set content restrictions, go to Screen Time and select Content & Privacy Restrictions.
From there, you can select specific categories such as Movies, TV Shows, and Apps to restrict access to.
Setting Privacy Restrictions
Privacy is important, especially for young children.

With parental controls, you can restrict access to certain features such as location services, contacts, and more.
To set privacy restrictions, go to Screen Time and select Content & Privacy Restrictions.
From there, you can select specific features to restrict access to.
By using parental controls, you can ensure your child is safe while using their iPad.
It is important to remember that parental controls are not foolproof and it is still important to monitor your child’s device usage.
How To Lock iPad Screen From Touch: Pros And Cons
Locking your iPad screen from touch can be a useful feature in certain situations.
Here are some pros and cons to consider when deciding whether to use this feature:
Pros
- Security: Locking your iPad screen from touch can prevent unauthorized access to your device and protect your personal information.
- Childproofing: If you have young children who like to play with your iPad, locking the screen from touch can prevent them from accidentally deleting apps or making unwanted purchases.
- Accessibility: For users with motor impairments, locking the screen from touch can make it easier to use the device by reducing accidental touches.
Cons
- Inconvenience: Locking the screen from touch can make it more difficult to use your iPad, as you will need to enter a passcode or use another method to unlock the screen every time you want to use it.
- Limited functionality: When the screen is locked from touch, you won’t be able to use certain features of your iPad, such as Siri or the Notification Center.
- False sense of security: While locking your iPad screen from touch can provide some level of security, it is not foolproof. A determined attacker may still be able to gain access to your device if they have the right tools and knowledge.
Overall, whether or not to lock your iPad screen from touch is a personal decision that depends on your individual needs and preferences.
If you value security and have young children who use your device, it may be worth considering.
However, if you find it inconvenient or don’t see a need for it, you may be better off leaving your screen unlocked.
Key Takeaways
To lock your iPad screen from touch, you can use the built-in Guided Access feature. Here are some key takeaways to keep in mind:
- Guided Access is a feature that limits your iPad to a single app and disables certain buttons and features, including touch controls.
- You can enable Guided Access by going to Settings > Accessibility > Guided Access and toggling it on.
- To start a Guided Access session, open the app you want to use and triple-click the Home button (or the Side button on newer models).
- You can circle parts of the screen that you want to disable touch controls for, and adjust the size and position of the circles as needed.
- To exit Guided Access, triple-click the Home button (or the Side button) and enter your passcode.
Using Guided Access can be a great way to lock your iPad screen from touch, especially if you want to lend your device to someone else or use it in a public setting.
It’s also a useful tool for parents who want to limit their children’s access to certain apps or features.
Keep in mind that Guided Access is not foolproof and can be bypassed if someone knows how to do so.
It’s also important to remember your passcode and keep it secure, as it’s the only way to exit Guided Access once it’s enabled.
Overall, Guided Access is a simple and effective way to lock your iPad screen from touch, and it’s worth considering if you’re looking for a way to limit access to your device.