If you’re an avid Apple Pay user, you might be interested in keeping track of your transaction history.
Fortunately, Apple makes it easy to view your transaction history right from your device, but how to see Apple Pay history?
Whether you’re using an iPhone, iPad, or Mac, you can quickly access your transaction history with just a few taps or clicks.
To see your Apple Pay transaction history on an iPhone or iPad, simply open the Wallet app and select the card you want to view.
From there, you can see your latest transactions and filter them by time period.
If you need to see more details about a specific transaction, just tap the Transactions tab to view additional information.
On a Mac with Touch ID, you can access your transaction history through the System Preferences menu.
And on an iPad, you can find it in the Wallet & Apple Pay section of the Settings app.
How To See Apple Pay History
To view your Apple Pay transaction history, you can follow these simple steps:
- Open the Wallet app on your iPhone or iPad.
- Tap on the card that you want to see the transaction history for.
- Under Latest Transactions, you will see the most recent transactions for that card.
- To see more details and filter by time period, tap on the Transactions tab.
It’s important to note that some transactions may look different than the final charge, so for the most accurate record of your actual transactions, refer to the credit or debit statement(s) from your bank or card issuer.
If you have a Mac with Touch ID, you can also view your Apple Pay transaction history by going to System Preferences > Wallet & Apple Pay.
On your iPad, go to Settings > Wallet & Apple Pay.
By keeping track of your Apple Pay transaction history, you can stay on top of your spending and ensure that your purchases are accurate.
How To Access Apple Pay Transaction History On iPhone
If you want to view your Apple Pay transaction history on your iPhone, you can do so by following these simple steps:
Step 1: Open Wallet App
First, open the Wallet app on your iPhone.
This is where you can access your Apple Pay account and view your transaction history.
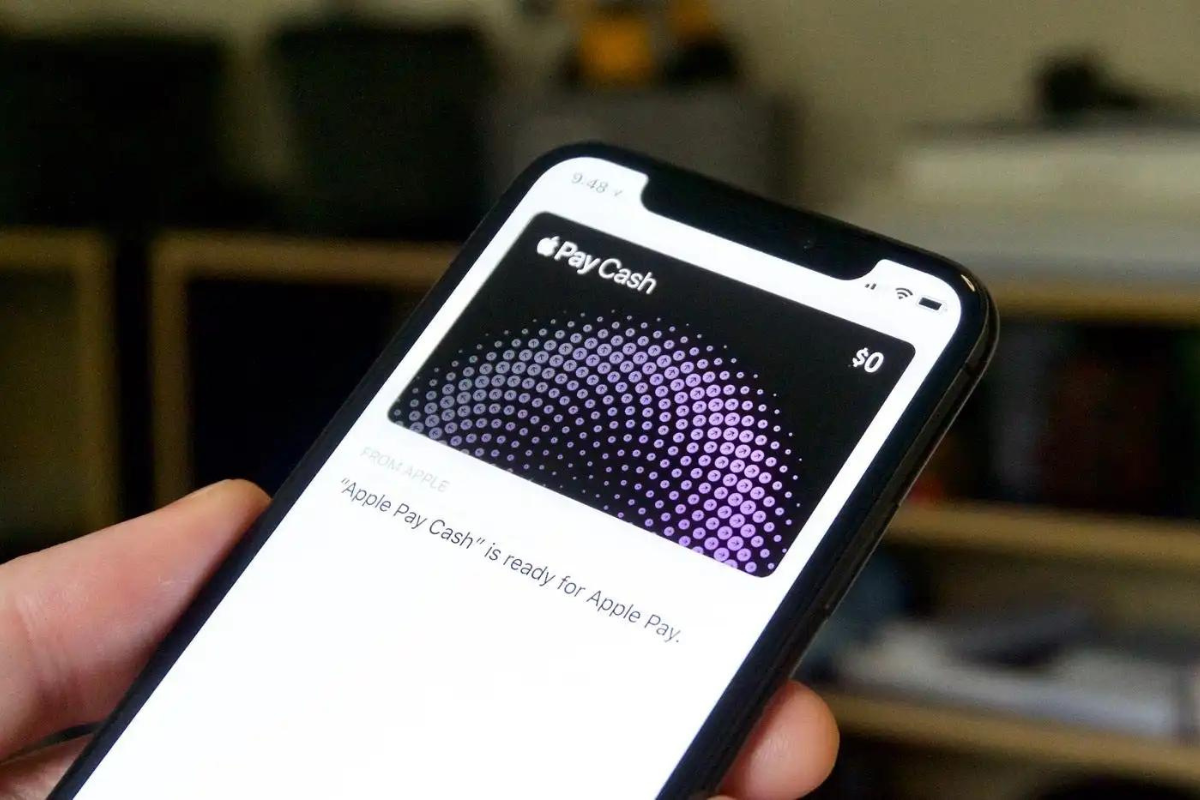
Step 2: Tap On Apple Pay Cash Card
Next, tap on your Apple Pay Cash card.
This will take you to the card’s details page, where you can see your current balance, transaction history, and other information.
Step 3: View Latest Transactions
To view your latest transactions, scroll down to the “Latest Transactions” section.
Here, you will see a list of your most recent transactions, including the date, amount, and the name of the merchant or business where the transaction took place.
If you want to view more details about a specific transaction, simply tap on it.
This will show you additional information, such as the payment method used, the transaction status, and any notes or comments you may have added.
That’s it! With just a few taps, you can easily access your Apple Pay transaction history on your iPhone and stay on top of your finances.
How To Access Apple Pay Transaction History On iPad
If you want to view your Apple Pay transaction history on your iPad, you can easily do so by following these simple steps:
Step 1: Open Settings App
First, open the Settings app on your iPad.
You can find it on your home screen or in your app library.
Step 2: Tap On Wallet & Apple Pay
Once you have opened the Settings app, scroll down until you see the Wallet & Apple Pay option.
Tap on it to access the settings for your Apple Pay account.
Step 3: Tap On Transactions Tab
In the Wallet & Apple Pay settings, you will see a list of all the cards that you have added to your Apple Pay account.
Select the card that you want to view the transaction history for.
Then, tap on the Transactions tab to see a list of all the recent transactions made with that card.
You can filter the transactions by time period to see only the transactions made within a specific date range.
You can also tap on a transaction to see more details, such as the merchant name, transaction date and time, and the amount charged.
Note that some transactions may look different from the final charge due to authorizations, refunds, or other factors.
If you have any questions or concerns about a transaction, you can contact the merchant or your bank for more information.
That’s it! By following these simple steps, you can easily access your Apple Pay transaction history on your iPad and keep track of your purchases.
How To Access Apple Pay Transaction History On Mac
If you want to check your Apple Pay transaction history on your Mac, follow these simple steps:
Step 1: Open Wallet App On Mac
First, you need to open the Wallet app on your Mac.
You can do this by clicking on the Wallet icon in your Dock or by searching for Wallet in Spotlight.
Step 2: Click On Apple Pay Cash Card
Once you have opened the Wallet app, look for the Apple Pay Cash card in the sidebar.
Click on it to select it.
Step 3: View Latest Transactions
After selecting the Apple Pay Cash card, you will see a list of your latest transactions under the Latest Transactions section.
You can also click on the Transactions tab to see more details and filter by time period.
That’s it! Now you know how to access your Apple Pay transaction history on your Mac.
Keep in mind that this method only works for transactions made through Apple Pay Cash.
If you want to view transactions made with other cards, you will need to access them through their respective banking apps or websites.
Using the Wallet app on your Mac is a convenient way to keep track of your Apple Pay transactions.
With just a few clicks, you can view your latest transactions and stay on top of your spending.
How To Dispute A Charge On Apple Pay
If you notice a suspicious or unauthorized transaction on your Apple Pay account, you can dispute the charge with your card issuer.
Here are the steps to follow:
Step 1: Locate The Transaction In Question
To dispute a charge on Apple Pay, you need to locate the transaction in question.
You can do this by checking your transaction history on your iPhone, iPad, or Mac.
On your iPhone or iPad, open the Wallet app, tap on the card associated with the transaction, and select the Transactions tab.
On your Mac, go to System Preferences > Wallet & Apple Pay, select the card, and click on Transactions.
Once you have located the transaction, make a note of the transaction ID, date, amount, and location (if available).
Step 2: Contact The Card Issuer
The next step is to contact your card issuer to dispute the charge.
You can usually do this by calling the customer service number on the back of your physical card or by logging into your online account.

When you speak to a representative, explain that you want to dispute a charge on your Apple Pay account.
Provide them with the transaction details and any other relevant information, such as the reason for the dispute and any evidence you have to support your claim.
Step 3: Provide Necessary Information
To help your card issuer investigate the dispute, they may ask you to provide additional information, such as a copy of the transaction receipt or a screenshot of the transaction details in your Apple Pay account.
Be sure to provide all the necessary information promptly and accurately to avoid any delays in resolving the dispute.
Your card issuer will investigate the dispute and may issue a credit to your account if they find that the charge was unauthorized or fraudulent.
Remember that disputing a charge on Apple Pay is similar to disputing a charge on a physical credit or debit card.
You have the right to dispute any unauthorized or fraudulent charges, and your card issuer is required to investigate your claim and resolve the dispute in a timely manner.
Understanding Apple Pay Transaction History
What Is Apple Pay Transaction History?
Apple Pay Transaction History is a record of all the transactions you have made using Apple Pay. This includes purchases made in stores, online, and in apps.
It also includes refunds, returns, and adjustments made to your account.
How To View Initial Authorization Amounts And Final Charges
When you make a purchase using Apple Pay, the merchant may place an initial authorization hold on your account.
This is to ensure that you have enough funds to cover the purchase.
The actual amount charged to your account may be different from the initial authorization amount.
To view the initial authorization amount and the final charge for a transaction, follow these steps:
- Open the Wallet app on your iPhone or iPad.
- Tap on the card that you used to make the purchase.
- Tap on the transaction that you want to view.
- Scroll down to the bottom of the screen to view the initial authorization amount and the final charge.
Understanding Authorization Amounts For Restaurants, Gas Stations, Hotels, And Rental Car Companies
When you use your Apple Pay account at a restaurant, gas station, hotel, or rental car company, the merchant may place an authorization hold on your account for an amount that is higher than the actual purchase amount.
This is because these merchants typically do not know the final amount of the transaction at the time of authorization.
Here is a breakdown of how authorization amounts work for each of these types of merchants:
- Restaurants: A typical authorization hold for a restaurant is 20% more than the purchase amount to cover the tip.
- Gas Stations: A typical authorization hold for a gas station is $100, but this can vary depending on the merchant.
- Hotels: A typical authorization hold for a hotel is the cost of one night’s stay plus an additional amount for incidentals.
- Rental Car Companies: A typical authorization hold for a rental car company is the cost of the rental plus an additional amount for incidentals.
It is important to keep in mind that these authorization holds can take several days to clear from your account, even if the actual purchase amount was lower.
If you have any questions about authorization holds, you can contact your bank or credit card issuer for more information.
That’s it for this section!
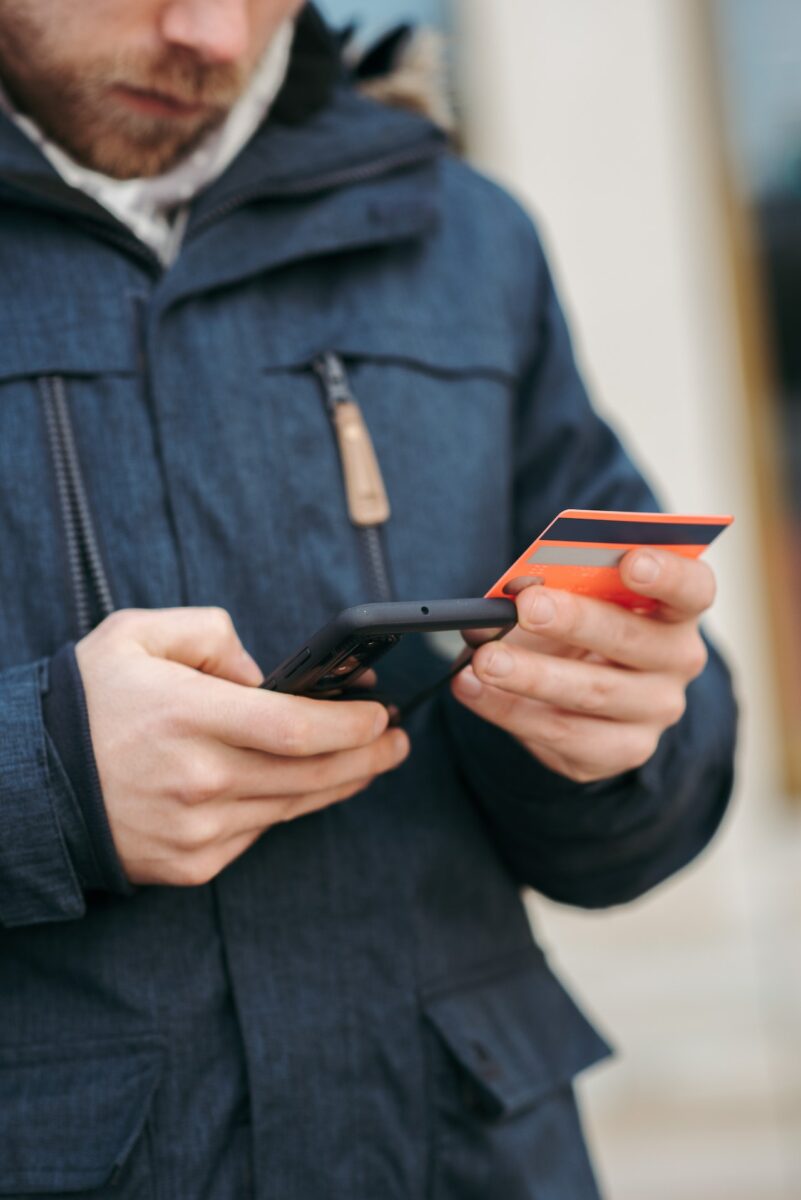
How To Use Apple Pay For In-Store Purchases
If you have set up Apple Pay on your iPhone, you can use it to make purchases at participating stores that accept contactless payments.
Here are the steps to follow:

Step 1: Look For The Apple Pay Logo
When you are ready to pay, look for the contactless payment symbol or the Apple Pay logo at the checkout terminal.
If you don’t see the logo, the store may not accept Apple Pay.
Step 2: Hold Your iPhone Near The Contactless Reader
To pay with Apple Pay, hold your iPhone near the contactless reader.
Your iPhone will automatically detect the reader and display your default payment card.
Step 3: Use Touch ID Or Face ID To Complete The Transaction
Once your payment card is displayed, use Touch ID or Face ID to authenticate the transaction.
If you have a newer iPhone with Face ID, simply look at your phone to authenticate the transaction.
That’s it! Your payment will be processed, and you will receive a notification on your iPhone confirming the transaction.
Using Apple Pay for in-store purchases is a fast and convenient way to make payments without having to swipe your card or carry cash.
Plus, it’s secure and easy to use.
Key Takeaways
Here are the key takeaways to keep in mind when trying to view your Apple Pay transaction history:
- You can view your transaction history for each card in your Wallet app on your iOS device or in System Settings on your Mac with Touch ID.
- Select the card you want to view and tap on the Transactions tab to see more details and filter by time period.
- Keep in mind that some transactions might look different than the final charge.
- For Amex cards, you can see transactions of all types on your account, not just the ones using Apple Pay like with other cards.
- For the Apple Card and the Apple Cash card, you can see the full list of transactions.
- For the most accurate record of your actual transactions, refer to the credit or debit statement(s) from your bank or card issuer.
By following these steps, you can easily view your Apple Pay transaction history and keep track of your spending.
Remember to check your bank or card issuer’s statements for the most accurate record of your transactions.