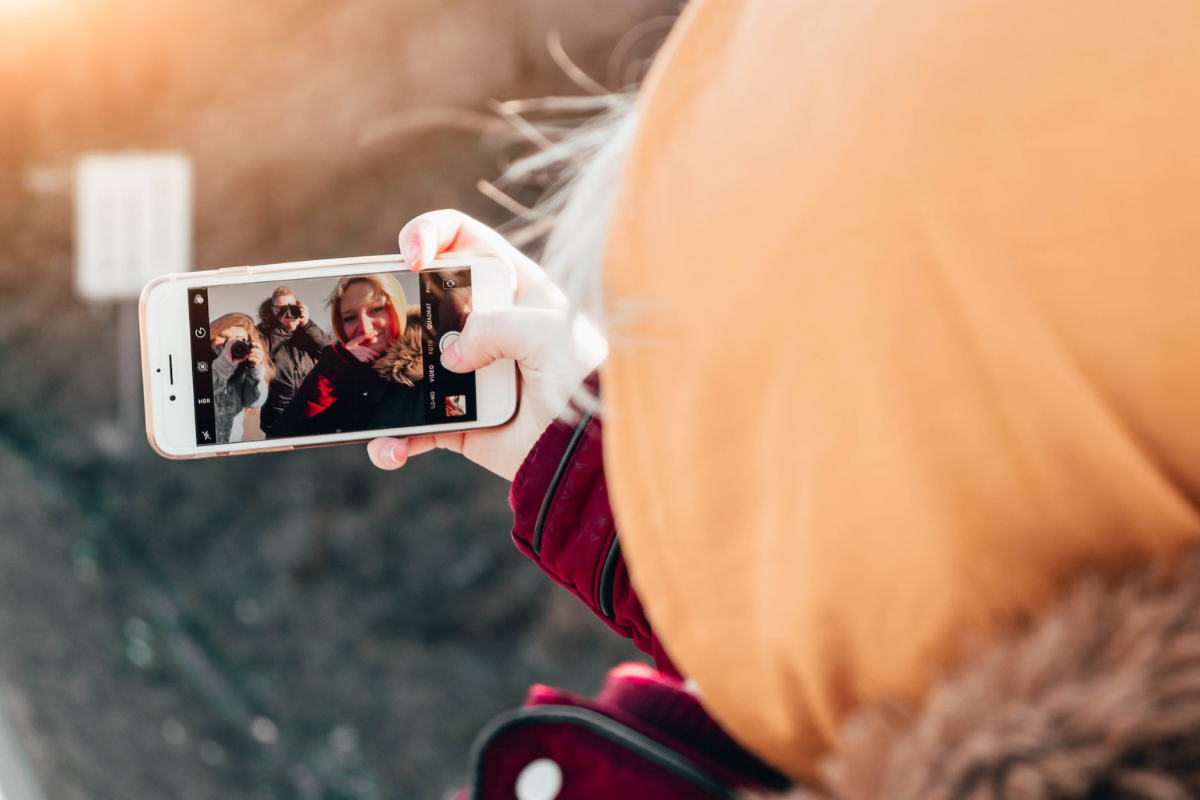
If you’ve ever taken a photo with your iPhone and noticed that the subjects have red eyes, you’re not alone.
But, how to fix red eye on iPhone?
This phenomenon is known as “red-eye” and can happen when the camera flash reflects off the retina of the eye.
Fortunately, fixing red-eye on your iPhone is a simple process that can be done in just a few steps.
First, open the Photos app on your iPhone and select the photo with red-eye.
Tap the “Edit” button in the top right corner of the screen, then tap the red-eye correction tool.
This tool looks like an eye with a slash through it.
You can then tap on each red-eye in the photo to correct it.
Once you’re done, tap “Done” to save your changes.
Table of Contents
ToggleUnderstanding Red Eye On iPhone
If you’ve ever taken a photo with your iPhone and noticed that the subjects in the picture have red eyes, you’re not alone.
Red eye is a common issue that can occur when using the flash on your iPhone camera.
However, there’s no need to worry because fixing red eye on your iPhone is a quick and easy process.
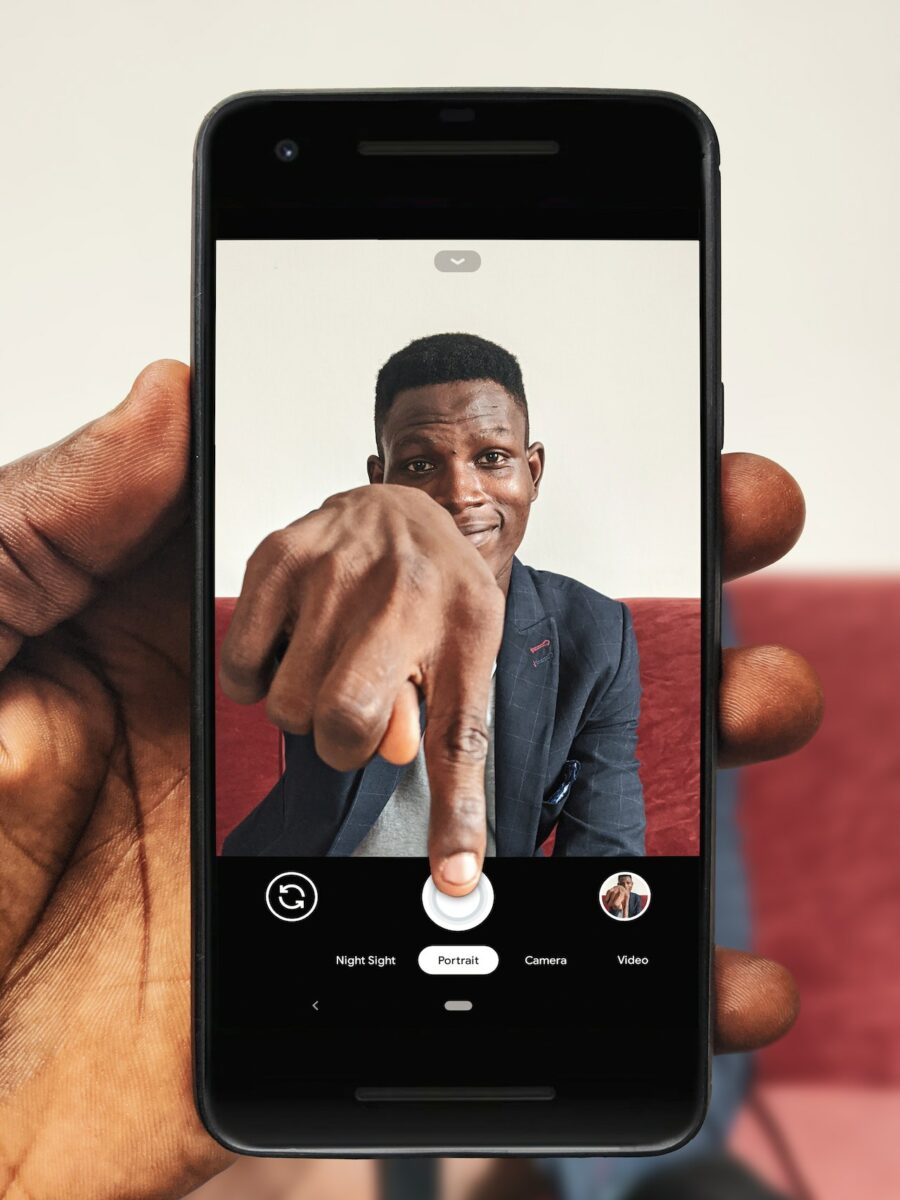
What Causes Red Eye On iPhone?
Red eye occurs when the flash on your iPhone reflects off the retina of the subject’s eye.
This is more common in low-light situations when the pupils of the eyes are dilated.
When the light from the flash enters the eye, it bounces off the back of the eye and reflects back to the camera lens, resulting in the red eye effect.
Why Is It Important Yo Fix Red Eye On iPhone?
Fixing red eye on your iPhone is important because it can make your photos look more natural and professional.
Red eye can be distracting and take away from the overall quality of your photos.
By removing the red eye effect, you can improve the appearance of your photos and make them more visually appealing.
Additionally, fixing red eye on your iPhone is a simple way to enhance your photos without having to use complicated editing software.
By using the built-in red eye correction tool on your iPhone, you can quickly and easily remove the red eye effect and improve the quality of your photos.
How To Fix Red Eye on iPhone
If you’ve ever taken a photo with your iPhone and noticed the annoying red eye effect, don’t worry, you’re not alone.
Fortunately, there are several ways to fix red eye on iPhone photos.
In this section, we’ll go over three methods to get rid of red eye on your iPhone photos.
Using The Built-in Red Eye Correction Tool
The Photos app on your iPhone comes with a built-in red eye correction tool that can quickly and easily fix red eye in your photos.
Here’s how to use it:
- Open the Photos app and select the photo you want to fix.
- Tap the Edit button in the top right corner of the screen.
- Tap the Red Eye tool.
- Tap each red eye in the photo that you want to fix. The tool will automatically correct the red eye.
- Tap Done to save your changes.
Using Third-Party Apps
There are also many third-party photo editing apps available on the App Store that can help you fix red eye in your iPhone photos.
Some popular options include Adobe Photoshop Express, Snapseed, and VSCO.
Here’s how to fix red eye using a third-party app:
- Download and install a photo editing app from the App Store.
- Open the app and select the photo you want to fix.
- Find the red eye correction tool in the app’s editing tools.
- Use the tool to fix the red eye in your photo.
- Save your changes and export the photo back to your camera roll.
Manually Fixing Red Eye On iPhone Photos
If you prefer a more hands-on approach, you can manually fix red eye in your iPhone photos using the markup tools in the Photos app.
Here’s how:
- Open the Photos app and select the photo you want to fix.
- Tap the Edit button in the top right corner of the screen.
- Select the Markup tool.
- Use the pencil tool to draw a black circle around the red eye.
- Adjust the size and position of the circle as needed.
- Tap Done to save your changes.
With these methods, you can easily fix red eye in your iPhone photos and get back to enjoying your memories without the distracting red eye effect.
Tips For Preventing Red Eye On iPhone

If you want to avoid red eye in your iPhone photos, there are a few things you can do to prevent it from happening in the first place.
Here are some tips:
Using The Flash Wisely
The flash on your iPhone can be a major cause of red eye, especially if you’re taking photos in low light conditions.
To prevent this, try to use the flash only when necessary.
If you’re taking photos in a well-lit area, turn off the flash and rely on natural light instead.
If you must use the flash, try to position the camera slightly to the side of your subject, rather than head-on.
This can help reduce the amount of light that reflects off the retina and causes red eye.
Adjusting The Angle Of The Camera
The angle of your camera can also affect the likelihood of red eye.
If you’re taking photos of people or pets, try to position the camera slightly above their eye level.
This can help reduce the amount of light that enters the eye and causes red eye.
If you’re taking photos of yourself, try to look slightly away from the camera to avoid direct eye contact with the flash.
Using Anti-Red Eye Mode On iPhone Camera
Your iPhone has a built-in anti-red eye mode that can help reduce the likelihood of red eye in your photos.
To use this mode, open the Camera app and tap on the flash icon.
From there, select the anti-red eye mode.
This will cause the flash to emit a series of pre-flashes that help reduce the amount of light that reflects off the retina and causes red eye.
Keep in mind that this mode may not work in all lighting conditions, so you may need to experiment with it to see what works best for you.
Key Takeaways
Fixing red eye in your iPhone photos is a simple process that can be done right from your Photos app.
Here are some key takeaways from this article to help you fix red eye in your photos:
- Red eye is caused by the reflection of light from the retina of the eye.
- Using flash in low light conditions can increase the chances of red eye in your photos.
- The Photos app on your iPhone has a built-in tool to fix red eye in your photos.
- To fix red eye, open the photo in your Photos app, tap “Edit,” and then tap the red eye tool.
- You can tap each instance of red eye in the photo to fix it individually, or use the “Auto” button to fix all instances at once.
- After fixing red eye, be sure to save your changes by tapping “Done.”
With these key takeaways in mind, you can easily fix red eye in your iPhone photos and ensure that your memories look their best.
Happy snapping!

