If you own an iPhone SE and want to how to screenshot on iPhone SE, you’re in luck.
It’s a straightforward process that only takes a few seconds.
You can take a screenshot by simply pressing two buttons at the same time.
Whether you want to capture a funny meme, a conversation with a friend, or an important message, taking a screenshot on your iPhone SE is a useful feature to know.
With a screenshot, you can save and share the information with others.
In this article, we’ll show you how to take a screenshot on your iPhone SE using two different methods.
We’ll also provide tips on how to access, edit, and share your screenshots. So, let’s get started!
Table of Contents
ToggleHow To Screenshot On iPhone SE
1.) Using The Side Button And Volume Up Button
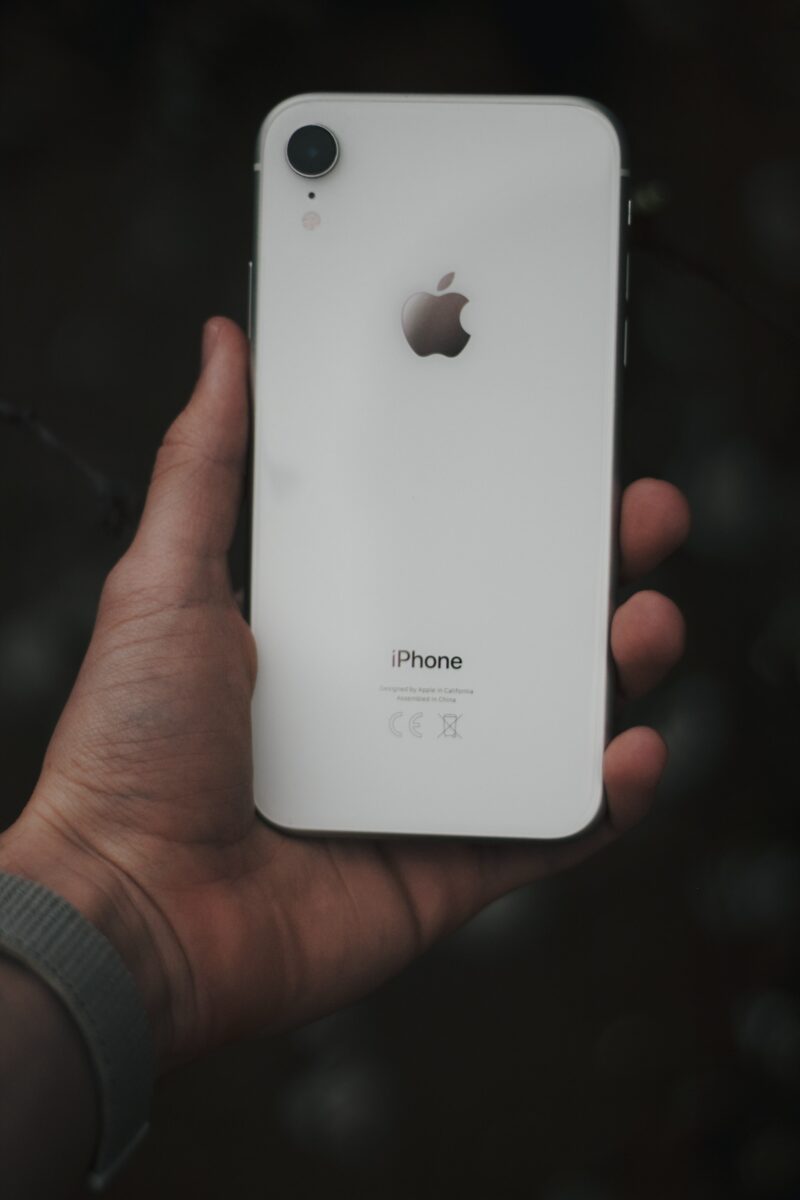
If you have an iPhone SE, you can quickly take a screenshot of your screen by using the Side button and Volume Up button.
This method works for all iPhone models that have a Side button, including the iPhone 8 and later.
To take a screenshot, follow these steps:
- Go to the screen that you want to capture.
- Press and hold the Side button and Volume Up button simultaneously.
- Release both buttons when the screen flashes white and you hear a camera shutter sound.
- The screenshot will appear in the lower-left corner of your screen. Tap on it to edit or share it, or swipe left to dismiss it.
It’s important to press both buttons at the same time and hold them for a moment.
If you release them too quickly, the screenshot may not be captured.
You can use this method to capture anything on your screen, including web pages, messages, and apps.
It’s a useful tool for sharing information, troubleshooting problems, or just saving a memory.
2.) Using Assistive Touch
If you find it difficult to take a screenshot using the physical buttons on your iPhone SE, you can use Assistive Touch.
This feature allows you to perform a variety of actions on your device using on-screen gestures.
Here’s how you can use Assistive Touch to take a screenshot on your iPhone SE:
- Go to Settings > Accessibility > Touch.
- Tap “AssistiveTouch”, then tap “Create New Gesture”.
- Recording starts automatically when you touch the screen, so you can tap or swipe whenever you’re ready.
- When you’re finished, tap “Stop”.
- To review your recorded gesture, press “Play”.
- If you want to re-record your gesture, tap “Record”.
Once you’ve created a gesture for taking a screenshot, you can use it at any time by following these steps:
- Tap the Assistive Touch button on your screen.
- Select “Custom”.
- Select the gesture you created for taking a screenshot.
Using Assistive Touch to take a screenshot may take a bit longer than using the physical buttons, but it can be a helpful alternative if you have difficulty pressing the buttons or need to take screenshots frequently.
Saving And Sharing Screenshots
Saving Screenshots To Photos App
Once you’ve taken a screenshot on your iPhone SE, it will automatically be saved to your Photos app.
You can access your Screenshots album by opening the Photos app, tapping on “Albums” at the bottom, and then selecting “Screenshots.”
From there, you can browse through all of your saved screenshots and even edit them if you’d like.
Sharing Screenshots Via Social Media
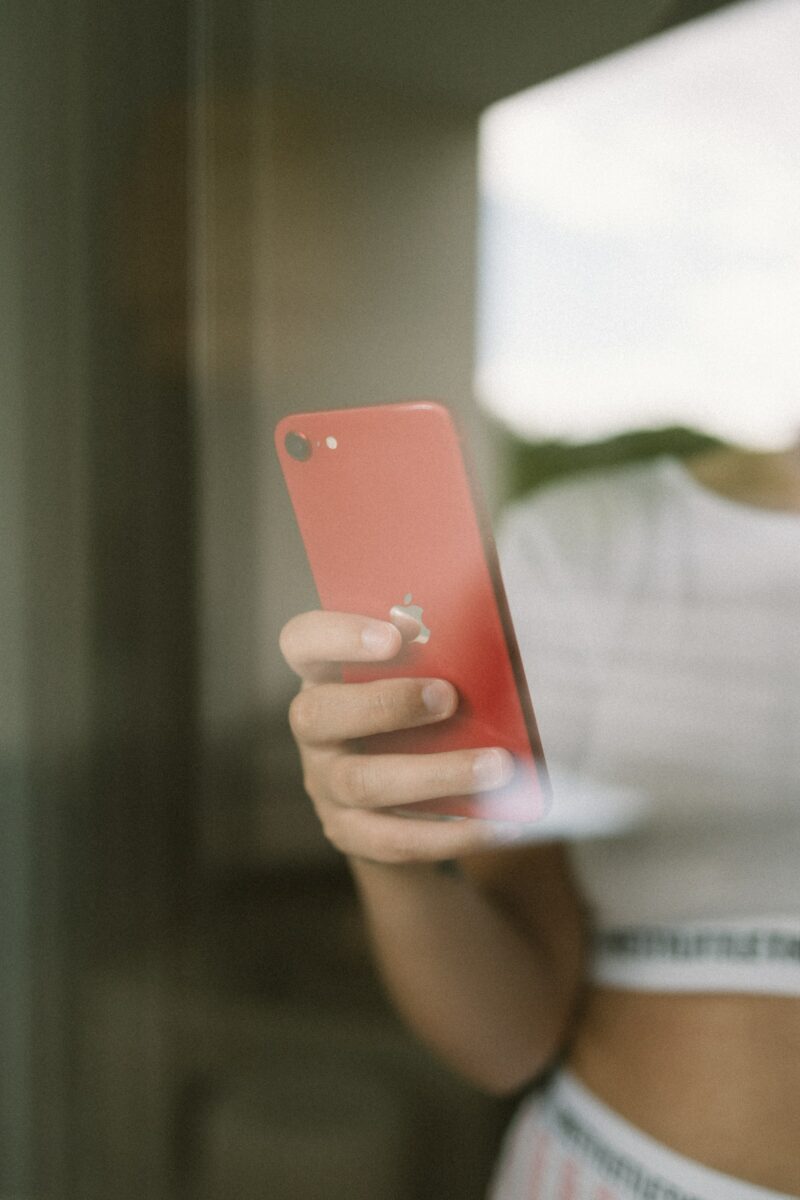
Sharing your screenshots with friends and family on social media is easy.
After taking a screenshot, simply tap on the preview that appears in the bottom left corner of your screen.
This will open up the screenshot in a new window.
From there, you can tap on the share icon in the bottom left corner to bring up a menu of sharing options.
You can choose to share your screenshot via social media platforms like Facebook, Twitter, or Instagram, or you can send it directly to a friend via text or email.
When sharing your screenshot, you can also add a caption or tag your friends in the post.
This is a great way to share funny or interesting moments with your loved ones and keep them up to date on what you’re up to.
Remember, when sharing screenshots on social media, be mindful of what you’re posting.
Make sure you have permission from anyone featured in the screenshot and avoid sharing anything that could be considered inappropriate or offensive.
Overall, taking and sharing screenshots on your iPhone SE is a simple and useful feature that can help you capture and share important moments with your friends and family.
Key Takeaways
Now that you know how to take a screenshot on your iPhone SE, here are some key takeaways to keep in mind:
- Use the Sleep/Wake and Home buttons to take a screenshot on the iPhone SE (2016 model).
- Use the Side button and Volume up button to take a screenshot on the iPhone SE (2020 model).
- After taking a screenshot, a thumbnail will appear in the lower-left corner of your screen. Tap the thumbnail to open it or swipe left to dismiss it.
- You can share, crop, or delete a screenshot by selecting the appropriate option from the notification that appears after taking a screenshot.
- You can also add the screenshot button to the Assistive Touch Menu for easy access.
With these tips, you’ll be able to take and manage screenshots on your iPhone SE with ease.
Whether you’re capturing a funny meme or saving important information, taking screenshots is a useful tool that can come in handy in a variety of situations.

