
The iPad is not just a powerful device for taking photos, creating documents, and making presentations; it also offers the convenience of printing physical documents when needed.
Knowing how to add printer to iPad is an essential skill that comes in handy in such instances.
By adding a printer to your iPad, you can easily print documents and photos directly from your device.
Whether it’s a boarding pass, a presentation, or a memorable photo, setting up wireless printing on your iPad will save you time and eliminate unnecessary hassle.
In this comprehensive article, we will provide step-by-step guidance on adding a printer to your iPad, enabling you to start printing seamlessly.
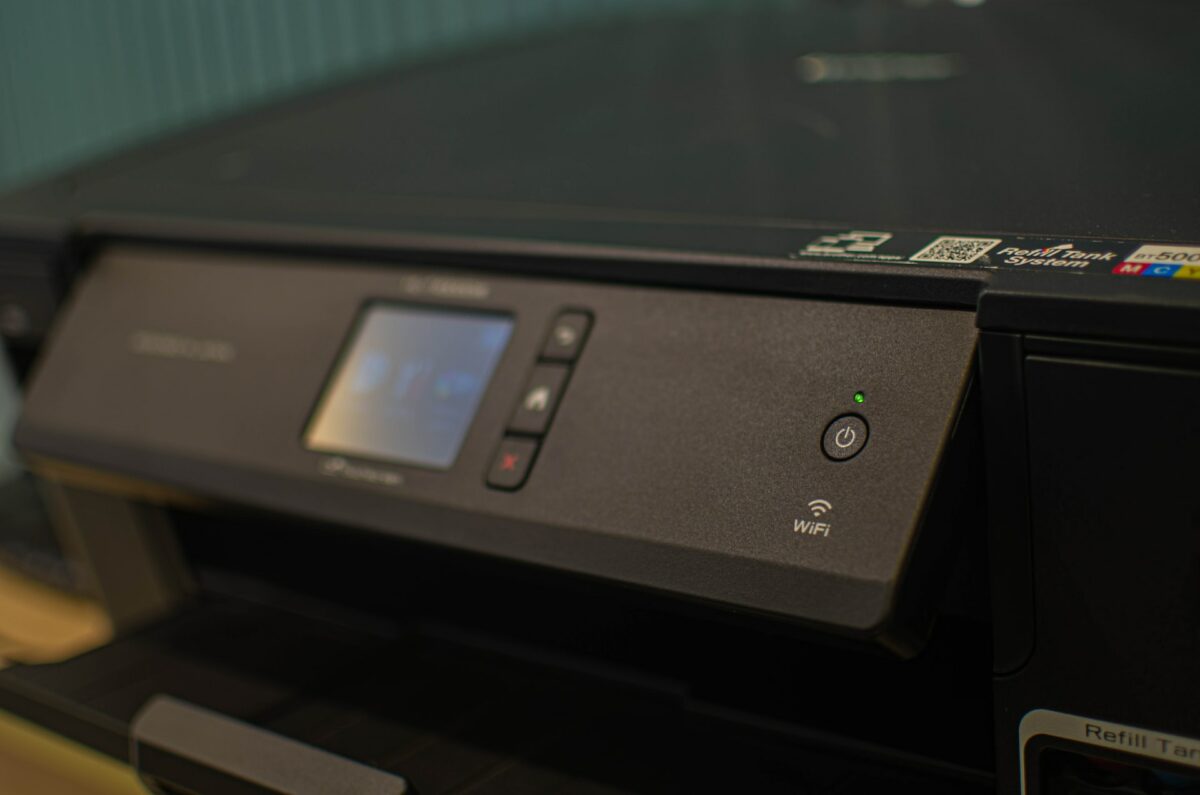
To print from your iPad, you will need a printer that is compatible with AirPrint, Apple’s wireless printing technology
. AirPrint allows you to print from your iPad without the need for additional software or drivers.
If you have an AirPrint-enabled printer, you can easily connect it to your iPad and start printing wirelessly.
If you don’t have an AirPrint-enabled printer, you can still print from your iPad using a third-party app or by connecting your iPad to a printer with a cable.
In the following paragraphs, we will explain how to add a printer to your iPad using AirPrint and other methods.
How To Add Printer To iPad: The Basics
If you want to print from your iPad, you first need to add a printer to it.
Here’s how to do it:
- Make sure your printer is compatible with your iPad. Check the manufacturer’s website for compatibility information.
- Connect your printer to the same Wi-Fi network as your iPad.
- On your iPad, go to Settings > Wi-Fi and make sure you’re connected to the same Wi-Fi network as your printer.
- Open the app you want to print from and find the Print option. This may be under the Share or Actions button.
- Tap Print and then select your printer from the list of available printers.
- If your printer is not listed, make sure it’s turned on and connected to the same Wi-Fi network as your iPad. You may need to wait a few moments for your iPad to detect the printer.
- If your printer still doesn’t show up, try resetting your printer and/or your Wi-Fi network.
That’s it! You should now be able to print from your iPad to your printer.
Keep in mind that not all printers are compatible with all apps, so you may need to experiment to find the best app and printer combination for your needs.
How To Add Printer To iPad Via AirPrint
If you want to print documents from your iPad, you can easily add a printer via AirPrint.
AirPrint is a technology developed by Apple that allows you to print wirelessly from your Apple devices.
Here’s how you can add a printer to your iPad via AirPrint:
Step 1: Check Printer Compatibility
Before you start, make sure your printer supports AirPrint.
Most printer companies now offer AirPrint-enabled printers, but it’s always best to check the manufacturer’s website to confirm.
If your printer doesn’t support AirPrint, you may need to use a third-party app or the HP Smart app to print from your iPad.
Step 2: Connect iPad And Printer To Wi-Fi Network
To print wirelessly from your iPad, both your printer and iPad must be connected to the same Wi-Fi network.
If you’re not sure how to connect your printer to Wi-Fi, consult your printer’s user manual or use the wireless setup wizard on your printer’s touchscreen control panel.
Step 3: Turn On Printer And iPad
Make sure your printer and iPad are turned on and connected to the same Wi-Fi network.
If you’re having trouble connecting your iPad to Wi-Fi, check your network settings and make sure your Wi-Fi network is working properly.
Step 4: Print Document From iPad Via AirPrint
Once your printer and iPad are connected to the same Wi-Fi network, you can start printing from your iPad.
Open the document or image you want to print on your iPad and tap the “Share” button.
Look for the “Print” option and tap it.
If you can’t find the “Print” option, check the app’s user guide or help section.
Select your AirPrint-enabled printer and adjust any printer settings such as paper size, number of copies, or page range.
Tap “Print” and your document should start printing.
That’s it! With AirPrint, you can easily print wirelessly from your iPad to an AirPrint-enabled printer.
Whether you’re printing documents, photos, or other files, AirPrint makes wireless printing a breeze.
How To Add Printer To iPad Via Bluetooth
If you want to connect your printer to your iPad via Bluetooth, you can do so by following these simple steps:

Step 1: Check Printer Compatibility
Before you start the pairing process, make sure that your printer is compatible with your iPad.
Check the printer’s manual or the manufacturer’s website to see if it supports Bluetooth connectivity.
Step 2: Turn On Bluetooth On iPad And Printer
On your iPad, go to Settings and turn on Bluetooth.
Then, turn on your printer and put it in pairing mode.
Refer to your printer’s manual for instructions on how to do this.
Step 3: Pair iPad And Printer Via Bluetooth
Once both devices are in pairing mode, your iPad should detect your printer.
Tap on the name of your printer to connect the two devices via Bluetooth.
If prompted, enter the pairing code or PIN.
Step 4: Print Document From iPad Via Bluetooth
Once your iPad and printer are paired, you can start printing documents.
Open the document you want to print and then tap on the Share icon.
From the list of options, select Print and then choose your Bluetooth printer from the list of available printers.
Adjust the print settings as needed, and then tap Print to start printing.
Note that the process of adding a printer via Bluetooth may vary depending on the printer model and iPad version.
If you encounter any issues, refer to your printer’s manual or the manufacturer’s website for additional troubleshooting steps.
Overall, adding a printer to your iPad via Bluetooth is a simple and convenient way to print documents on the go.
With just a few steps, you can enjoy wireless printing from your iPad.
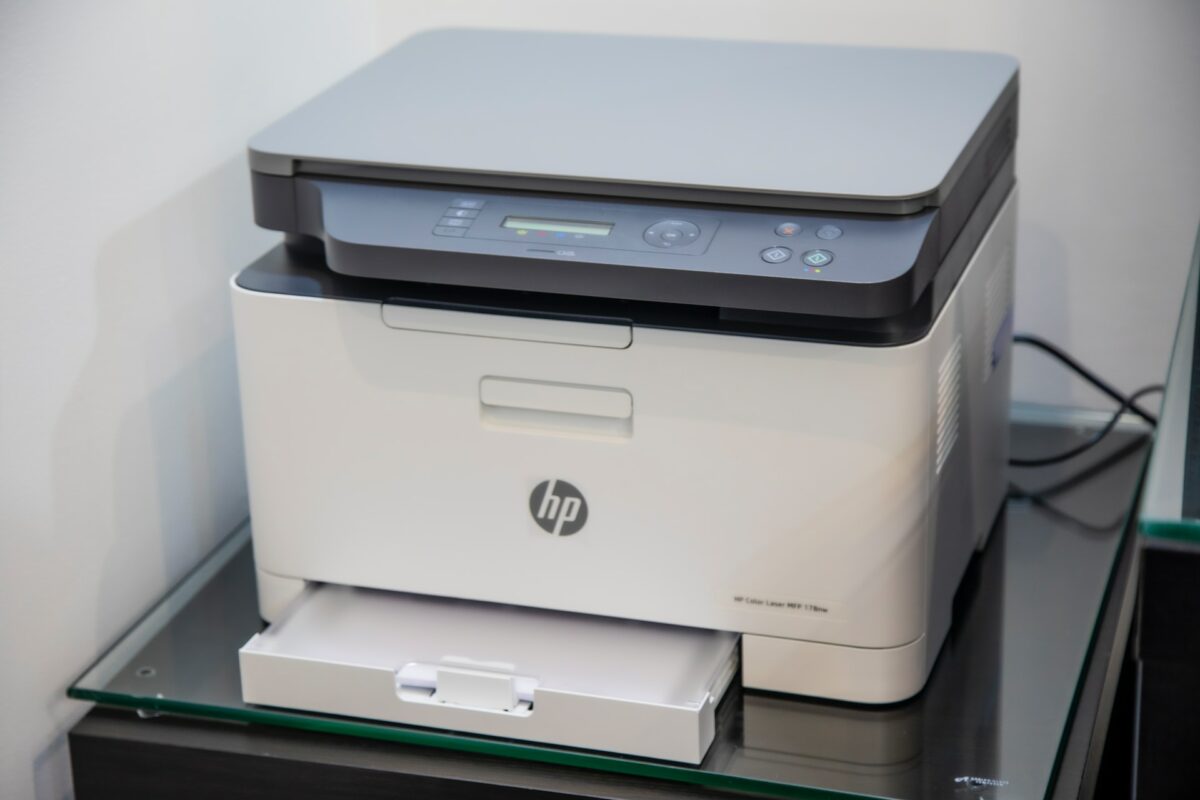
How To Add Printer To iPad Via HP Smart App
If you have an HP printer and an iPad, you can easily print documents from your iPad using the HP Smart App.
Here are the steps to add your HP printer to your iPad via the HP Smart App.
Step 1: Download And Install HP Smart App
First, you need to download and install the HP Smart App from the App Store on your iPad.
Once you have installed the app, open it and tap on the plus sign (+) to add your printer.
Step 2: Add Printer To HP Smart App
On the next screen, select the type of printer you want to add.
If you have an HP printer, select “HP” and follow the on-screen instructions to connect your printer to the app.
You can connect your printer via Wi-Fi, USB, or Network, depending on your printer and its capabilities.
Step 3: Print Document From iPad Via HP Smart App
Once you have added your printer to the HP Smart App, you can easily print documents from your iPad.
Open the document you want to print, tap on the Share icon, and select “Print” from the menu.
From the list of printers, select your HP printer and adjust any print settings such as paper size, number of copies, or page range. Finally, tap on “Print” to send the document to your printer.
In conclusion, adding an HP printer to your iPad via the HP Smart App is a simple and convenient way to print documents from your iPad.
With just a few taps, you can easily connect your printer and start printing.
How To Add Printer To iPad Via Third-Party Apps
If you don’t have an AirPrint-enabled printer, you can still print from your iPad by using a third-party printing app. Here’s how:
Step 1: Download And Install Third-Party Printing App
First, you need to download and install a third-party printing app from the App Store.
There are several options available, including Printer Pro, PrintCentral, and Printopia.
Once you’ve chosen an app, follow the instructions to download and install it on your iPad.
Step 2: Add Printer To Third-Party App
After installing the app, you need to add your printer to it.
Open the app and look for the option to add a printer.
Depending on the app, you may be prompted to enter the printer’s IP address or select it from a list of available printers.
Follow the on-screen instructions to add your printer to the app.
Step 3: Print Document From iPad Via Third-Party App
Once you’ve added your printer to the app, you’re ready to print.
Open the document or file you want to print on your iPad and select the option to print.
Choose the third-party printing app from the list of available printers.
Select your printer from within the app and adjust any print settings as necessary.
Finally, tap the print button to send the document to your printer.
Keep in mind that some third-party printing apps may require a paid subscription or in-app purchase to unlock all features.
Additionally, not all printers may be compatible with every printing app, so be sure to check the app’s compatibility list before purchasing.

By following these simple steps, you can easily add and print from your printer using a third-party printing app on your iPad.
How To Troubleshoot Printer Connection Issues
If you are having trouble connecting your printer to your iPad, there are a few things you can try to troubleshoot the issue.
Here are some steps you can take to get your printer connected and working properly.
Step 1: Check Printer And iPad Power
First, make sure that your printer and iPad are both turned on and have power.
If your printer is not turning on, check to make sure it is plugged in and that the outlet is working properly.
If your iPad is not turning on, try plugging it in to charge and then turning it on.
Step 2: Check Wi-Fi Or Bluetooth Connection
Next, check to make sure that your printer and iPad are connected to the same Wi-Fi network or Bluetooth connection.
If they are not connected to the same network, try connecting them to the same network and then try printing again.
If your printer is not compatible with Wi-Fi or Bluetooth, you may need to use a cable to connect it to your iPad.
Step 3: Check Printer Compatibility And Settings
Check to make sure that your printer is compatible with your iPad and that you have installed any necessary drivers or software.
Some printers may require additional software or drivers to work with your iPad.
Also, check the printer settings to make sure that it is set up to work with your iPad.
If you are using a Canon printer, you can download the Canon Print Inkjet app to make printing from your iPad easier.
If you are using Google Cloud Print, you can set up your printer to work with your iPad through the Google Cloud Print website.
If you are using Printopia, make sure that it is set up correctly and that your printer is enabled in the Printopia settings.
Step 4: Feedback And Support
If you are still having trouble connecting your printer to your iPad, you can try contacting the manufacturer for support or feedback.
They may be able to help you troubleshoot the issue or provide you with additional resources to help you get your printer connected.
In conclusion, troubleshooting printer connection issues with your iPad can be frustrating, but with a few simple steps, you can get your printer connected and working properly.
By checking the power, Wi-Fi or Bluetooth connection, printer compatibility and settings, and seeking feedback and support, you can get your printer connected and start printing from your iPad in no time.
Key Takeaways
Adding a printer to your iPad is a simple process that can be done in just a few steps.
Here are some key takeaways to keep in mind:
- Your printer must be compatible with AirPrint, Apple’s printing technology, in order to work with your iPad.
- Make sure your iPad and printer are connected to the same Wi-Fi network before attempting to add the printer.
- You can add a printer to your iPad through the “Printers & Scanners” section of the Settings app, or by using the “Share” function in an app and selecting the “Print” option.
- Once you’ve added a printer to your iPad, you can easily print documents, photos, and other files from a variety of apps, including Safari, Mail, and Photos.
Overall, adding a printer to your iPad is a quick and easy process that can greatly enhance your productivity and convenience.
With just a few taps, you can have your iPad and printer working together seamlessly, allowing you to print out important documents or cherished memories with ease.