When your AirTag’s battery is running low, it’s time to replace it.
But how to replace AirTag battery?
Fortunately, replacing the battery in your AirTag is a simple process that you can do yourself.
In this article, we will show you how to replace the battery in your AirTag so that you can continue to use it to track your belongings.
To replace the battery in your AirTag, you will need a CR2032 lithium 3V coin battery, which is commonly available at most electronic and drug stores.
Apple estimates that your AirTag’s battery will last approximately one year with average use and tracking.
However, if you bought your AirTag early, your battery may be dying by now and needs to be replaced.
Replacing the battery in your AirTag is a quick and easy process that requires only a few simple steps.
Follow our guide to learn how to remove the old battery, insert the new battery, and get your AirTag up and running again.
With these simple steps, you can replace your AirTag’s battery and continue using it to keep track of your belongings.
Preparing For Replacement
Before you begin replacing the battery in your AirTag, it’s important to make sure you have everything you need and that your AirTag actually needs a new battery.
Checking Battery Life
To check the battery life of your AirTag, you can use the Find My app on your iPhone or iPad.
Simply open the app, select your AirTag, and look for the battery percentage under the AirTag’s name.
If the battery is low, it’s time to replace it.
Gathering Necessary Tools
To replace the battery in your AirTag, you’ll need a few tools:

- A new CR2032 lithium 3V coin battery (available at most electronic and drug stores)
- A small flathead screwdriver or a coin (such as a penny or dime)
Once you have these tools, you’re ready to replace the battery in your AirTag.
It’s also a good idea to have a clean, flat surface to work on.
This will help prevent any small parts from getting lost during the replacement process.
By following these simple steps, you can easily replace the battery in your AirTag and keep it functioning properly.
Replacing The Battery
If your AirTag battery is running low, it’s time to replace it. Here’s how you can do it:
Removing The Old Battery
- Press down on the polished stainless steel battery cover of your AirTag.
- Rotate the cover counterclockwise until it stops rotating.
- Remove the cover and take out the old battery.
Inserting The New Battery
- Get a new CR2032 lithium 3V coin battery. You can find these at most electronic and drug stores.
- Make sure the positive side of the battery is facing up.
- Insert the new battery into the battery compartment of your AirTag.
- Press down on the battery cover and rotate it clockwise until it clicks into place.
You’ll hear a sound indicating that the battery is connected. That’s it! Your AirTag is now ready to use again.
Remember to dispose of the old battery properly. Do not throw it in the trash.
Look for a recycling center or contact your local waste management facility for more information on how to dispose of batteries safely.
Replacing the battery of your AirTag is a simple process that can be done in just a few minutes.
By following these steps, you can ensure that your AirTag will continue to work properly and help you keep track of your belongings.
Testing The Airtag
Once you have replaced the battery in your AirTag, it’s important to test it to ensure that it’s working properly.
In this section, we’ll cover how to check for low battery notifications and how to test the chime.
Checking For Low Battery Notification
To check for low battery notifications, you’ll need to have the Find My app installed on your iPhone or iPad.
Open the app and select the Items tab. From there, select the AirTag you want to check. If the battery is low, you’ll see a notification in the app.
It’s important to note that starting with iOS 16, you won’t see a specific battery life meter.
You will only see an alert if your AirTag battery is low.
So, it’s a good idea to check your AirTag battery status regularly to avoid any surprises.
Testing The Chime
The chime is a useful feature of the AirTag that helps you locate your lost items.
To test the chime, make sure your AirTag is nearby and connected to your iPhone or iPad. Open the Find My app and select the Items tab. From there, select the AirTag you want to test.
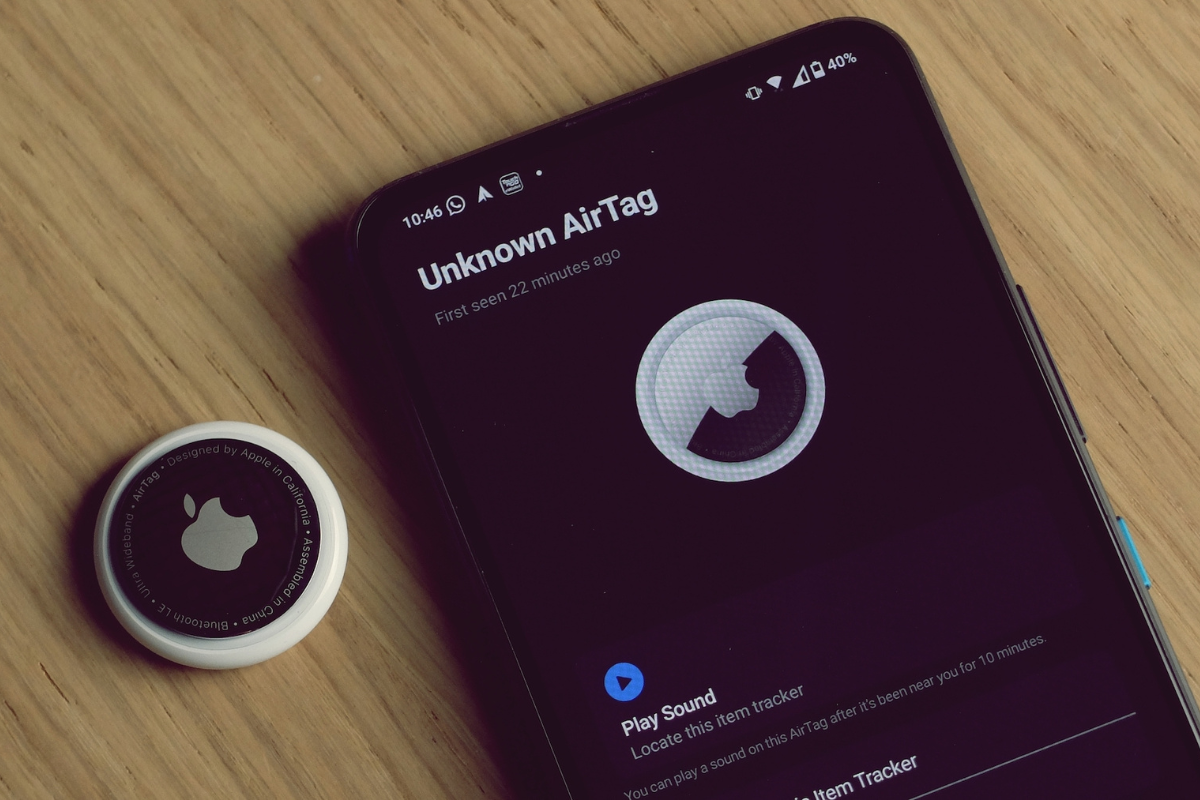
Next, select the Play Sound option.
Your AirTag will emit a loud chime that will help you locate it.
If you don’t hear the chime, make sure your AirTag is within range and connected to your device.
If you’re still having trouble, try replacing the battery and testing it again.
Overall, testing your AirTag is an important step in ensuring that it’s working properly.
By checking for low battery notifications and testing the chime, you can be confident that your AirTag will help you locate your lost items when you need it to.
Tips And Tricks
Maximizing Battery Life
To get the most out of your AirTag’s battery life, here are some tips to keep in mind:

- Turn off Precision Finding: Precision Finding is a feature that uses the U1 chip in your iPhone to provide more accurate location information. However, it can drain your AirTag’s battery faster. If you don’t need this feature, turn it off in the Find My app under the AirTag’s settings.
- Use the Find My app sparingly: Constantly checking the location of your AirTag can also drain the battery faster. Try to use the Find My app only when you really need to locate your item.
- Keep your AirTag in range: If your AirTag is constantly out of range of your iPhone, it will use more battery to try and connect. Keep your AirTag close to your phone to help conserve battery life.
Using Precision Finding
Precision Finding is a helpful feature that can help you locate your lost item more accurately.
Here are some tips to use it effectively:
- Make sure your iPhone is compatible: Precision Finding requires an iPhone with a U1 chip, which is currently only available in the iPhone 11 and newer models.
- Use it in a quiet environment: Precision Finding uses sound to guide you to your lost item. If you’re in a noisy environment, it may be harder to hear the sound cues.
- Move your iPhone slowly: When using Precision Finding, move your iPhone slowly and steadily to get the most accurate location information.
Remember, with proper usage and care, your AirTag’s battery can last for months before needing to be replaced.
Safety Precautions
Before replacing the battery in your AirTag, it is important to take certain safety precautions to prevent any harm to yourself or the environment.
This section will cover two important sub-sections: Choking Hazard Warning and Environmental Concerns.
Choking Hazard Warning
The AirTag battery is small and can be a choking hazard for children and pets.
Always keep the battery out of reach of children and pets.
If a battery is swallowed, seek medical attention immediately.
Environmental Concerns
The battery in your AirTag contains materials that can be harmful to the environment if not disposed of properly.
Do not dispose of the battery in household waste.
Instead, take it to a recycling center or return it to an Apple Store for proper disposal.
When replacing the battery, make sure to handle it with care.
Do not puncture or damage the battery, as this can release harmful chemicals.
Always use a CR2032 lithium 3V coin battery, which is widely available at most electronic and drug stores.
In addition, avoid exposing the battery to extreme temperatures or moisture, as this can damage the battery and reduce its lifespan.
Store the battery in a cool, dry place until you are ready to use it.
By following these safety precautions, you can ensure that replacing the battery in your AirTag is a safe and environmentally responsible process.