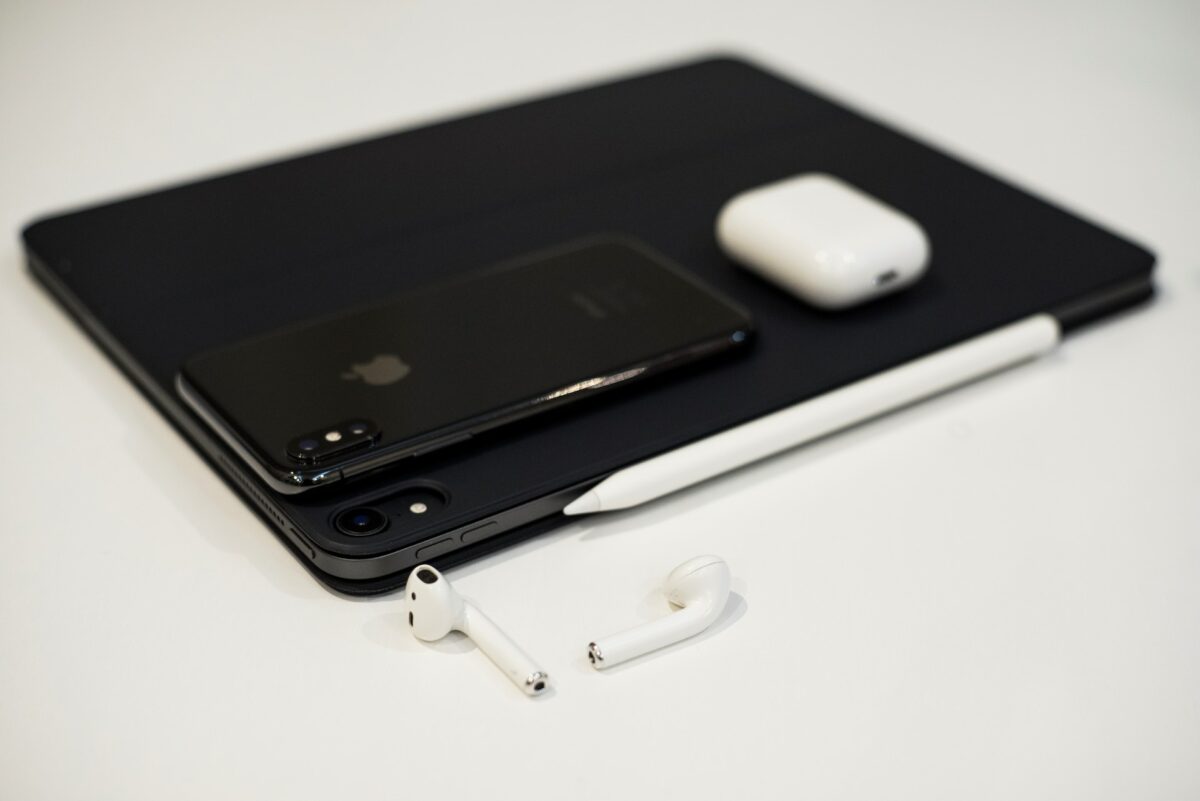
Do you know how to remove AirPods from iCloud?
Maybe you’ve recently sold or given them away, but they’re still showing up in your iCloud account.
Or perhaps you’ve purchased used AirPods and they’re still connected to someone else’s iCloud.
Whatever the reason, removing AirPods from iCloud is a straightforward process that can be done in just a few steps.
To remove AirPods from iCloud, you’ll need to access the Find My app on your iPhone, iPad, or iPod touch.
From there, you can select the AirPods you want to remove and click the “Remove This Device” button.
If you’re having trouble accessing the Find My app, you can also remove your AirPods from iCloud using a web browser and the iCloud website.
Once you’ve removed your AirPods from iCloud, they will no longer be associated with your account and can be safely sold, given away, or recycled.
Table of Contents
ToggleHow To Remove AirPods From iCloud
If you want to remove your AirPods from iCloud, there are a few steps you need to take.
In this section, we’ll go over how to remove your AirPods from the Find My app, unpair them from your Apple device, and factory reset them.
Remove AirPods From Find My App
To remove your AirPods from the Find My app, follow these steps:
- Open the Find My app on your iPhone, iPad, or iPod touch.
- Select the Devices tab.
- Select the AirPods that you want to remove.
- On the map, click the More Info button.
- Click Remove This Device.
Once you’ve completed these steps, your AirPods will no longer be associated with your Apple ID.
Unpair AirPods From Apple Device
To unpair your AirPods from your Apple device, follow these steps:

- Go to the Settings app on your iPhone, iPad, or iPod touch.
- Tap Bluetooth.
- Find your AirPods in the list of devices and tap the “i” icon next to them.
- Tap Forget This Device.
After you’ve completed these steps, your AirPods will no longer be paired with your Apple device.
Factory Reset AirPods
If you want to completely reset your AirPods to their factory settings, follow these steps:
- Put your AirPods in their charging case and close the lid.
- Press and hold the button on the back of the case until the status light starts flashing amber.
- Let go of the button and wait for the status light to flash white.
- Your AirPods are now reset and ready to be paired with a new device.
It’s important to note that resetting your AirPods will remove them from your iCloud account and unpair them from any devices they were previously paired with.
By following these steps, you can easily remove your AirPods from iCloud and prepare them for a new owner.
Removing AirPods From iCloud Account
If you want to remove your AirPods from your iCloud account, you can do so using the Find My app on your iPhone, iPad, or iPod touch. Here’s how:
Remove AirPods From iCloud Drive
- Open the Find My app on your device.
- Select the Devices tab.
- Tap your AirPods.
- Swipe up and tap Remove This Device.
- Tap Remove to confirm.
Once you’ve removed your AirPods from your iCloud account, they will no longer appear in the Find My app, and they will no longer be associated with your Apple ID.
If you’re giving your AirPods to someone else, you should also reset them to their factory settings.
To do this, put your AirPods in their case and press and hold the button on the back of the case until the LED light flashes amber.
Then, open the lid of the case, and hold the button until the LED light flashes white.
If you’re having trouble removing your AirPods from your iCloud account, make sure that your device is connected to the internet, and that you’re signed in to iCloud with the same Apple ID that you used to set up your AirPods.
In summary, removing your AirPods from your iCloud account is a simple process that can be done using the Find My app on your iOS device.
Once you’ve removed your AirPods, be sure to reset them to their factory settings before giving them to someone else.
Removing AirPods From A Gift Or Previous Owner
If you have received AirPods as a gift or have purchased them from a previous owner, you will need to remove them from their iCloud account before you can use them with your own Apple ID.
Here’s how you can do it:

Confirm AirPods Are Clean
Before resetting your AirPods, make sure that they are clean and free of any earwax or debris.
Use a soft, dry cloth to wipe them down, and gently clean the ear tips with a damp cloth.
This will ensure that your AirPods are ready for the new owner.
Reset AirPods For New Owner
To remove your AirPods from the previous owner’s iCloud account, you will need to reset them.
Follow these steps:
- Place your AirPods in their charging case and close the lid.
- Press and hold the button on the back of the case until the LED light starts flashing white.
- Release the button and wait for the LED light to turn amber.
- Press and hold the button again until the LED light flashes white again.
- Your AirPods are now reset and ready for the new owner.
Once you have reset your AirPods, the new owner can pair them with their own Apple ID and enjoy all the benefits of wireless listening.
Remember, it’s important to remove your AirPods from iCloud before giving them away or selling them to a new owner.
By following these simple steps, you can ensure that your AirPods are ready for their next user.
Additional Information
Battery Life And Charging
When it comes to battery life, AirPods are designed to last up to 5 hours of listening time and 3 hours of talk time on a single charge.
The charging case can provide multiple charges for your AirPods, and it takes about 15 minutes of charging to get up to 3 hours of listening time or 2 hours of talk time.
To check the battery level of your AirPods, open the case next to your paired iPhone and the battery status will appear on the screen.
You can also check the battery level of your AirPods and the charging case in the Batteries widget on your iPhone or iPad.
When it comes to charging your AirPods, simply place them in the charging case and make sure they are properly aligned with the charging contacts.
The LED light on the front of the case will indicate the charging status of your AirPods.
Pairing And Bluetooth
To pair your AirPods with your iPhone, iPad, or other Apple device, simply open the case and hold it next to your device.
Follow the on-screen instructions to complete the pairing process.
AirPods use Bluetooth technology to connect to your devices, so make sure Bluetooth is turned on and your device is within range of your AirPods.
If you’re having trouble connecting your AirPods, try resetting them by holding down the button on the back of the case until the LED light flashes white.
Features And Range
AirPods come with a variety of features, including the ability to play and pause music, skip tracks, and activate Siri with a double-tap.

You can also customize your AirPods by going to Settings > Bluetooth > AirPods on your iPhone or iPad.
When it comes to range, AirPods have a range of up to 33 feet from your device.
However, this range can be affected by obstacles such as walls or other electronic devices.
Remember to clean your AirPods and charging case regularly to keep them in good condition.
You can use a soft, dry cloth to wipe them down, and avoid getting moisture in the charging port.
In case you want to remove your AirPods from your iCloud account, you can do so by following the steps provided in the search results.
Simply open the Find My app, select your AirPods, and click the More Info button. From there, you can remove your AirPods from your iCloud account.
That’s it! With these tips, you can enjoy your AirPods to the fullest and keep them in good condition for years to come.
Key Takeaways
Removing your AirPods from iCloud is a simple process that can be done in a few easy steps.
Here are the key takeaways:
- To remove your AirPods from iCloud, you need to open the Find My app on your iPhone or iPad.
- Select the Devices tab and choose your AirPods from the list of connected devices.
- Click on the More Info button and select Remove This Device to remove your AirPods from your iCloud account.
- If you’re giving your AirPods to someone else, make sure to reset them by holding the button on the back of the charging case for about five seconds. This will clear any previous owner’s information and allow the new owner to use them with their own Apple ID.
It’s important to note that removing your AirPods from iCloud will not erase any data stored on them.
If you want to erase your AirPods completely, you can do so by selecting the Erase option in the Find My app.
Additionally, if your AirPods are covered by an AppleCare plan, you can cancel or transfer that plan to the new owner before removing your AirPods from your iCloud account.
This will ensure that the new owner can still receive support and repairs if needed.
Overall, removing your AirPods from iCloud is a quick and easy process that can be done in just a few steps.
By following these simple instructions, you can ensure that your AirPods are no longer connected to your iCloud account and are ready to be used by someone else.


