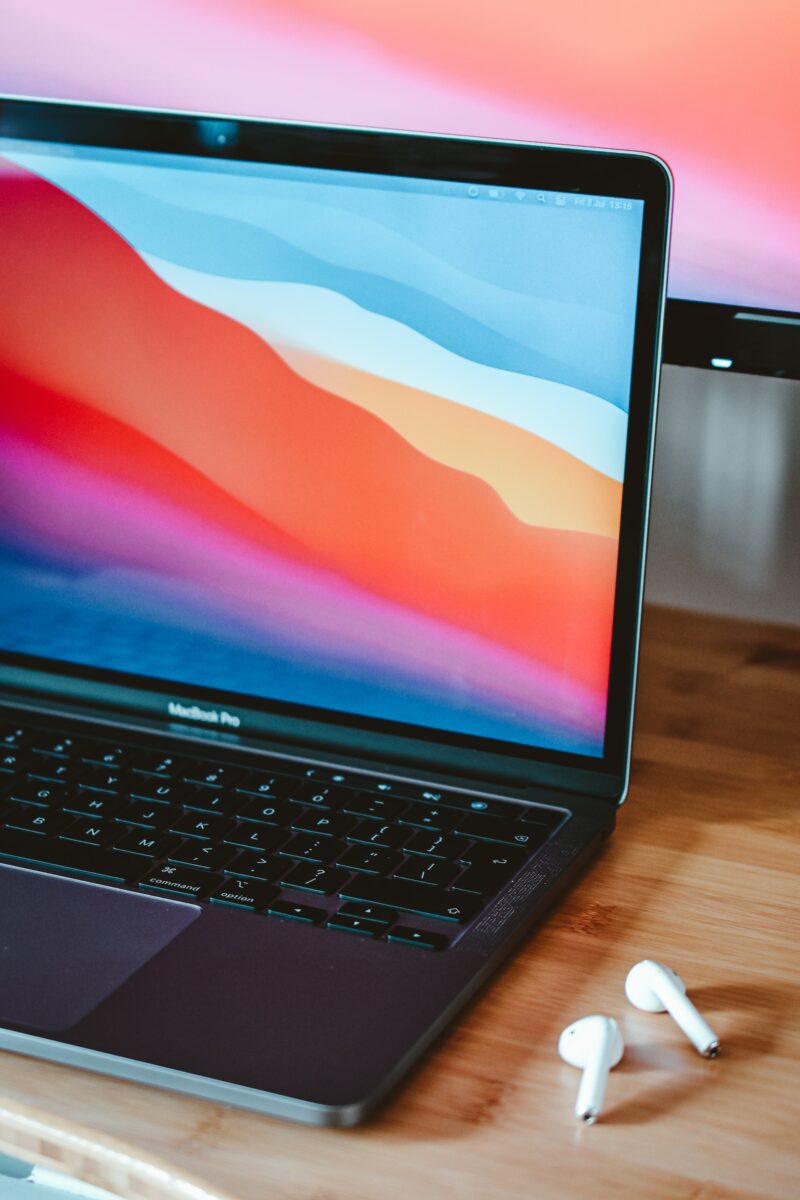
Connecting your AirPods to a Windows device is a simple process that allows you to enjoy your favorite music, podcasts, and videos without any interruptions.
Whether you’re using Windows 10 or Windows 11, you can easily pair your AirPods with your PC or laptop and start listening to your favorite content as long as you know how to connect AirPods to Windows.
To connect your AirPods to your Windows device, you’ll need to make sure that your AirPods are in pairing mode and that your Windows device has Bluetooth turned on.
Once you’ve done that, you can follow a few simple steps to connect your AirPods to your Windows device and start enjoying your audio content.
Whether you’re using your AirPods for work or play, connecting them to your Windows device is a great way to enhance your audio experience and stay connected to the world around you.
So, if you’re ready to connect your AirPods to your Windows device, let’s get started!
Follow the steps outlined in this article to connect your AirPods to your Windows device and start enjoying your favorite audio content without any interruptions.
Table of Contents
ToggleCheck Compatibility
Before you start connecting your AirPods to your Windows PC, you need to make sure that your device is compatible with the AirPods.
AirPods work best with Apple devices, but they can also be used with Windows PCs that support Bluetooth connectivity.
To check if your Windows PC is compatible with AirPods, follow these steps:
- Check your operating system: AirPods work with Windows 10 and Windows 11. If your device is running an older version of Windows, you may need to update your operating system to use AirPods.
- Check your Bluetooth version: AirPods require Bluetooth 4.0 or later to connect to a Windows PC. You can check your Bluetooth version by going to Settings > Devices > Bluetooth & other devices > More Bluetooth options. Under the Bluetooth tab, you will see your Bluetooth version.
- Check your PC’s hardware: AirPods require a Bluetooth-enabled device to connect. If your PC doesn’t have Bluetooth, you can purchase a Bluetooth adapter to enable Bluetooth connectivity.
Once you have verified that your Windows PC is compatible with AirPods, you can proceed to the next step of connecting them to your device.
How To Connect AirPods To Windows
Connecting your AirPods to your Windows PC is a straightforward process that can be done in a few easy steps. Here’s how to do it:

- First, make sure that your AirPods are fully charged and that your Windows PC has Bluetooth capabilities.
- Turn on Bluetooth on your Windows PC. You can do this by going to Settings > Devices > Bluetooth & other devices and toggling the switch to “On.”
- Open the lid of your AirPods case and press and hold the button on the back until the LED light on the front of the case flashes white.
- On your Windows PC, click on “Add Bluetooth or other device” and select “Bluetooth.”
- Your PC will start searching for available Bluetooth devices. When your AirPods appear in the list of available devices, click on them to connect.
- If prompted, enter the PIN code “0000” to pair your AirPods with your PC.
- Once your AirPods are connected, you can adjust the volume, skip tracks, and perform other functions using the controls on your AirPods.
That’s it! You should now be able to enjoy your AirPods on your Windows PC.
If you ever want to disconnect your AirPods from your PC, simply go to Settings > Devices > Bluetooth & other devices and click on “Remove device” next to your AirPods.
Pairing AirPods With iPhone
Pairing your AirPods with your iPhone is a simple process that only takes a few steps. Here’s how to do it:
- Make sure your AirPods are charged and in their case.
- Open the lid of your AirPods case and press and hold the setup button on the back of the case until the status light starts flashing white.
- On your iPhone, go to Settings > Bluetooth and make sure Bluetooth is turned on.
- Your AirPods should appear in the list of available Bluetooth devices. Tap on them to connect.
Once your AirPods are connected, you should see a message on your iPhone indicating that they are connected.
You can now listen to music, take phone calls, and use Siri with your AirPods.
If you’re having trouble connecting your AirPods to your iPhone, try resetting them by following these steps:
- Put your AirPods in their case and close the lid.
- Wait 15 seconds, then open the lid.
- Press and hold the setup button on the back of the case until the status light starts flashing amber.
- When the status light starts flashing white, your AirPods have been reset and are ready to be paired with your iPhone again.
That’s it! Pairing your AirPods with your iPhone is a quick and easy process that will allow you to enjoy all the benefits of wireless audio.
Pairing AirPods With Mac
Connecting your AirPods to your Mac is a quick and easy process. Follow these steps to get started:

- Place your AirPods in your ears and make sure they are charged.
- Click on the Bluetooth icon in the menu bar on your Mac.
- Select your AirPods from the list of available devices.
- If your AirPods do not appear in the list, make sure they are in discoverable mode by holding down the button on the back of the charging case until the LED light flashes white.
- If you have multiple Bluetooth devices connected to your Mac, make sure your AirPods are selected as the audio output device.
Once your AirPods are connected to your Mac, you can adjust the settings to customize your listening experience.
In the Audio section of System Preferences, you can adjust the EQ and noise control settings for your AirPods.
You can also use your AirPods with other Apple devices, such as your iPhone or Apple Watch, by connecting them through Bluetooth.
To disconnect your AirPods from your Mac, simply remove them from your ears or click on the Bluetooth icon in the menu bar and select “Disconnect” next to your AirPods in the devices list.
Overall, pairing your AirPods with your Mac is a simple process that allows you to enjoy your favorite music, podcasts, and more with high-quality sound and wireless convenience.
Troubleshooting
If you are experiencing connectivity issues with your AirPods and Windows device, don’t worry.
There are a few things you can do to troubleshoot the problem.
First, make sure your AirPods are charged and within range of your Windows device.
If they are, try resetting your AirPods by following these steps:
- Put both AirPods in their case and close the lid.
- Wait at least 15 seconds, then open the lid.
- Press and hold the button on the back of the case until the LED light on the front flashes white.
- Release the button and wait for the AirPods to reconnect.
If resetting your AirPods doesn’t solve the problem, try forgetting your AirPods on your Windows device and then reconnecting them. Here’s how:
- Open the Settings app on your Windows device.
- Click on Devices, then Bluetooth & other devices.
- Find your AirPods in the list of devices and click on them.
- Click on Remove device, then click Yes to confirm.
- Put your AirPods back in their case and close the lid.
- Open the lid and press and hold the button on the back of the case until the LED light on the front flashes white.
- Release the button and wait for the AirPods to reconnect.
If you’re still having trouble, try cleaning your AirPods and the charging case.
Use a soft, dry cloth to wipe them down, and make sure to clean the charging ports as well.
If none of these steps work, try checking for firmware updates for your AirPods.
You can do this on your Windows device by opening the Device Manager and looking for updates for your connected Bluetooth devices.
If you’re still having trouble, contact Apple Support for further assistance.
They can help you troubleshoot any issues with your AirPods and ensure they are functioning properly.
Key Takeaways
Connecting your AirPods to your Windows PC can be a simple process when you know the steps involved.
Here are the key takeaways to keep in mind when connecting your AirPods to your Windows PC:
- Make sure your AirPods are charged before attempting to connect them to your PC.
- Ensure that your Windows PC has Bluetooth capability and that it is turned on.
- On your Windows PC, navigate to the Bluetooth & Devices page in the Settings app to connect your AirPods.
- Once your AirPods are connected, make sure to select them as your audio output device in the Sound settings of your PC.
By following these key takeaways, you will be able to connect your AirPods to your Windows PC and enjoy wireless audio without any hassle.
It’s important to note that while AirPods are designed to work best with Apple devices, they can still function with Windows PCs.
However, some features such as Siri voice commands may not be available on Windows.
Additionally, the quality of audio may vary depending on the Bluetooth capabilities of your PC.


