For beginners, how to set up a Macbook Pro seems like a daunting task.
But fear not, with a few simple steps, you can have your new MacBook Pro up and running in no time.
The first time you start up your MacBook Pro, you’ll be greeted by the Setup Assistant, which will guide you through the process of setting up your new Mac.
You’ll be prompted to choose your language, connect to Wi-Fi, and sign in with your Apple ID.
If you don’t have an Apple ID, you can create one during the setup process.
Once you’ve completed the initial setup, you can start customizing your MacBook Pro to your liking.
This includes setting up Touch ID, configuring your trackpad and keyboard settings, and adjusting your display preferences.
You can also transfer data from your old computer or device using Migration Assistant, which will copy all of your documents, apps, user accounts, and settings to your new Mac.
How To Set Up A MacBook Pro
Before you start using your MacBook Pro, you’ll need to set it up. Here’s how:
- Connect the power adapter to your MacBook Pro and plug it into a power outlet.
- Open the lid of your MacBook Pro and press the power button to turn it on.
- Follow the on-screen instructions to set up your MacBook Pro. You’ll be asked to choose your language, connect to a Wi-Fi network, and sign in with your Apple ID.
- If you have data on another Mac that you want to transfer to your new MacBook Pro, you can use Migration Assistant to do so. You can find this option during the setup process or later in System Preferences.
Initial Setup
Congratulations on your new MacBook Pro!
The first time you turn on your device, you will be taken through a simple setup process that will help you get started.
Here are the steps you need to follow:
Powering On
To turn on your MacBook Pro, press the power button located on the top-right corner of the keyboard.

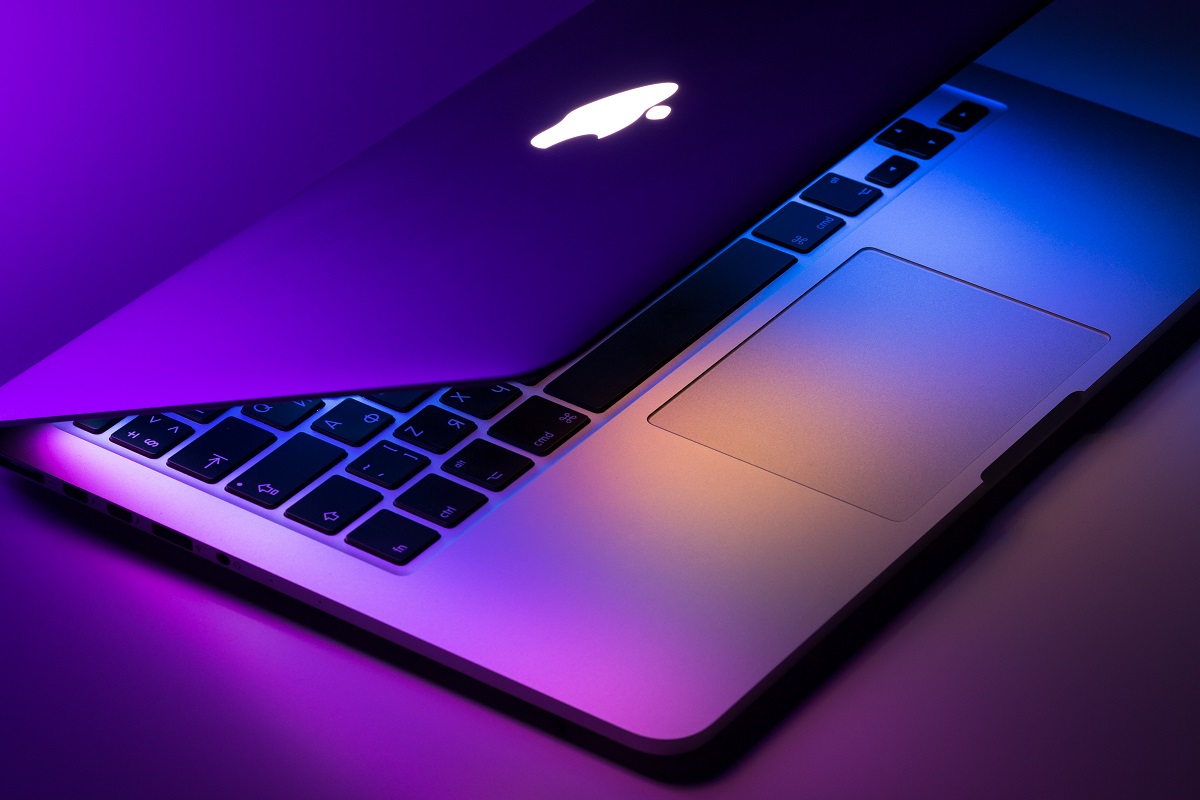
You will see the Apple logo appear on the screen, followed by a progress bar.
This process should take a few minutes to complete.
Language Selection
Once your MacBook Pro has finished starting up, you will be prompted to select your language.
Choose the language you would like to use and click Continue.
Connecting To Wi-Fi
Next, you will be asked to connect to a Wi-Fi network.
If you have a Wi-Fi network at home, select it from the list of available networks and enter your password.
If you don’t have a Wi-Fi network, you can skip this step and connect later.
Apple ID Setup
To use your MacBook Pro, you will need to set up an Apple ID. If you already have an Apple ID, click Sign In and enter your credentials.
If you don’t have an Apple ID, click Create a Free Apple ID and follow the prompts to create one.
That’s it! Once you have completed these steps, your MacBook Pro will be ready to use.
Navigating The MacBook Pro
When you first start using your MacBook Pro, it’s important to know how to navigate it efficiently.
Here are some tips on how to do just that.
Understanding The Trackpad
The trackpad on your MacBook Pro is a powerful tool that can be used for a variety of functions.
Here are some common gestures you can use:
- Click: Press down on the trackpad with one finger to click.
- Double-click: Quickly tap the trackpad twice with one finger to double-click.
- Right-click: Press down on the trackpad with two fingers to right-click.
- Scroll: Use two fingers to scroll up and down or left and right on the trackpad.
- Pinch: Use two fingers to pinch in or out to zoom in or out on a webpage or image.
- Swipe: Use three fingers to swipe left or right to switch between apps or desktops.
Using The Touch Bar
The Touch Bar is a dynamic strip of controls that appears on the top of the keyboard on newer MacBook Pro models.
It changes depending on what app you’re using, so you can quickly access the most relevant tools and functions.
Here are some common uses for the Touch Bar:
- Volume and brightness: Use the sliders on the Touch Bar to adjust the volume and brightness of your screen.
- Emoji picker: Tap the smiley face icon to access the emoji picker and add emojis to your messages or social media posts.
- Siri: Tap the Siri icon to activate Siri and ask her questions or give her commands.
- App-specific controls: Depending on the app you’re using, the Touch Bar will display app-specific controls. For example, in Safari, you can use the Touch Bar to switch between tabs or bookmark pages.
By understanding how to use the trackpad and Touch Bar on your MacBook Pro, you can navigate your computer with ease and efficiency.
Personalizing Your MacBook Pro
When you first get your MacBook Pro, it’s set up with default settings that may not be to your liking.

Fortunately, there are several ways to personalize your MacBook Pro to make it feel more like your own.
In this section, we’ll cover how to change your wallpaper, set up your mail, and customize your dock.
Changing Wallpaper
One of the easiest ways to personalize your MacBook Pro is by changing your wallpaper.
You can choose from a variety of built-in wallpapers or use your own image.
Here’s how to change your wallpaper:
- Click on the Apple menu in the top left corner of your screen and select “System Preferences.”
- Click on “Desktop & Screen Saver.”
- Choose a pre-installed wallpaper or click the “+” button to add your own image.
- Once you’ve selected your wallpaper, you can choose to have it change automatically at set intervals by checking the box next to “Change picture.”
Setting Up Mail
If you use Apple’s Mail app to manage your email, you can customize it to better suit your needs.
Here are a few ways to personalize your Mail app:
- Change your signature: You can add a custom signature to your emails by going to Mail > Preferences > Signatures. You can create multiple signatures and choose which one to use for each email account.
- Customize your toolbar: You can add or remove buttons from the Mail toolbar by going to View > Customize Toolbar. You can also rearrange the buttons to your liking.
- Organize your mailboxes: You can create, rename, and delete mailboxes to better organize your emails. To do this, right-click on your mailbox list and select “New Mailbox” or “Edit Mailbox List.”
Customizing Dock
The Dock is the row of icons at the bottom of your screen that gives you quick access to your favorite apps. You can customize the Dock to add or remove apps, change its size, and more.
Here’s how to customize your Dock:
- Add or remove apps: To add an app to the Dock, simply drag its icon from the Applications folder to the Dock. To remove an app, drag its icon off the Dock and release it.
- Change the size of the Dock: You can make the Dock larger or smaller by going to System Preferences > Dock and adjusting the “Size” slider.
- Rearrange the icons: To rearrange the icons in the Dock, simply click and drag them to the position you want.
Personalizing your MacBook Pro can make it feel more like your own and improve your overall user experience.
By changing your wallpaper, setting up your mail, and customizing your Dock, you can make your MacBook Pro work better for you.
Key Takeaways
Setting up your MacBook Pro may seem daunting, but it’s a straightforward process that can be completed in a few simple steps.
Here are the key takeaways to keep in mind when setting up your MacBook Pro:
1. Transfer Your Data
If you’re upgrading from an old MacBook or switching from a Windows PC, you may want to transfer your data to your new MacBook Pro.
You can use the Migration Assistant tool to transfer your files, applications, and settings from your old computer to your new MacBook Pro.
2. Connect To Wi-Fi
To get started, you’ll need to connect your MacBook Pro to a Wi-Fi network.
You can do this during the setup process or after you’ve completed the initial setup.
To connect to Wi-Fi, click on the Wi-Fi icon in the menu bar and select your network from the list of available networks.
3. Customize Your Settings
During the setup process, you’ll have the opportunity to customize your settings and preferences.
This includes selecting your language, region, and time zone, as well as setting up your user account and password.
4. Install Applications
Once you’ve completed the setup process, you’ll want to install the applications you need to get started. You can download applications from the App Store or from third-party websites.
Be sure to only download applications from trusted sources to avoid malware and other security risks.
5. Protect Your MacBook Pro
Finally, it’s important to protect your MacBook Pro from security threats.
This includes enabling the built-in firewall, installing antivirus software, and keeping your software up to date with the latest security patches and updates.
By following these key takeaways, you can ensure a smooth and hassle-free setup process for your new MacBook Pro.