Are you tired of fumbling around with your wallet or purse every time you need to make a purchase?
With Apple Pay, you can easily and securely pay for items using your iPhone, iPad, Apple Watch, or Mac but how to use Apple Pay?
Whether you’re buying groceries, shopping online, or grabbing a cup of coffee, Apple Pay is a convenient and safe way to make transactions.
To use Apple Pay, all you need is a compatible device and a payment method linked to your Apple ID.
You can add credit or debit cards, as well as gift cards and rewards cards, to your Wallet app for easy access.
Once you’ve set up your payment options, you can start using Apple Pay to make purchases in stores, on websites, and in apps.
With its wide acceptance and simple, secure, and private payment process, Apple Pay is becoming increasingly popular among consumers.
How To Use Apple Pay: The Science Behind Contactless Payment
Using Apple Pay for contactless payments is a simple and secure way to make purchases with your iPhone.
But have you ever wondered how it works? Here’s a quick overview of the science behind contactless payment with Apple Pay.
When you add a credit or debit card to your Wallet app, Apple Pay creates a unique Device Account Number (DAN) for that card.
This number is stored securely on your device’s Secure Element, a tamper-resistant chip that encrypts and stores sensitive information.
When you make a purchase with Apple Pay, your device sends the DAN, along with a one-time security code, to the payment terminal via Near Field Communication (NFC).
The security code ensures that the transaction is secure and can only be used once.
The payment terminal then sends the DAN and security code to the card issuer, who verifies the information and approves or declines the transaction.
This process happens in a matter of seconds, making contactless payments with Apple Pay fast and convenient.
One of the benefits of using Apple Pay is that your card information is never shared with the merchant or stored on Apple’s servers.
This adds an extra layer of security to your transactions and reduces the risk of fraud or identity theft.
In addition to the security benefits, using Apple Pay is also more hygienic than traditional payment methods.
With contactless payment, you don’t have to touch the payment terminal or exchange cash, reducing the risk of germ transmission.
Overall, using Apple Pay for contactless payments is a safe, secure, and convenient way to make purchases with your iPhone.
Setting Up Apple Pay
If you’re new to Apple Pay, setting it up is quick and easy.
Follow these simple steps to get started:
Adding A Card
To add a credit or debit card to Apple Pay, follow these steps:
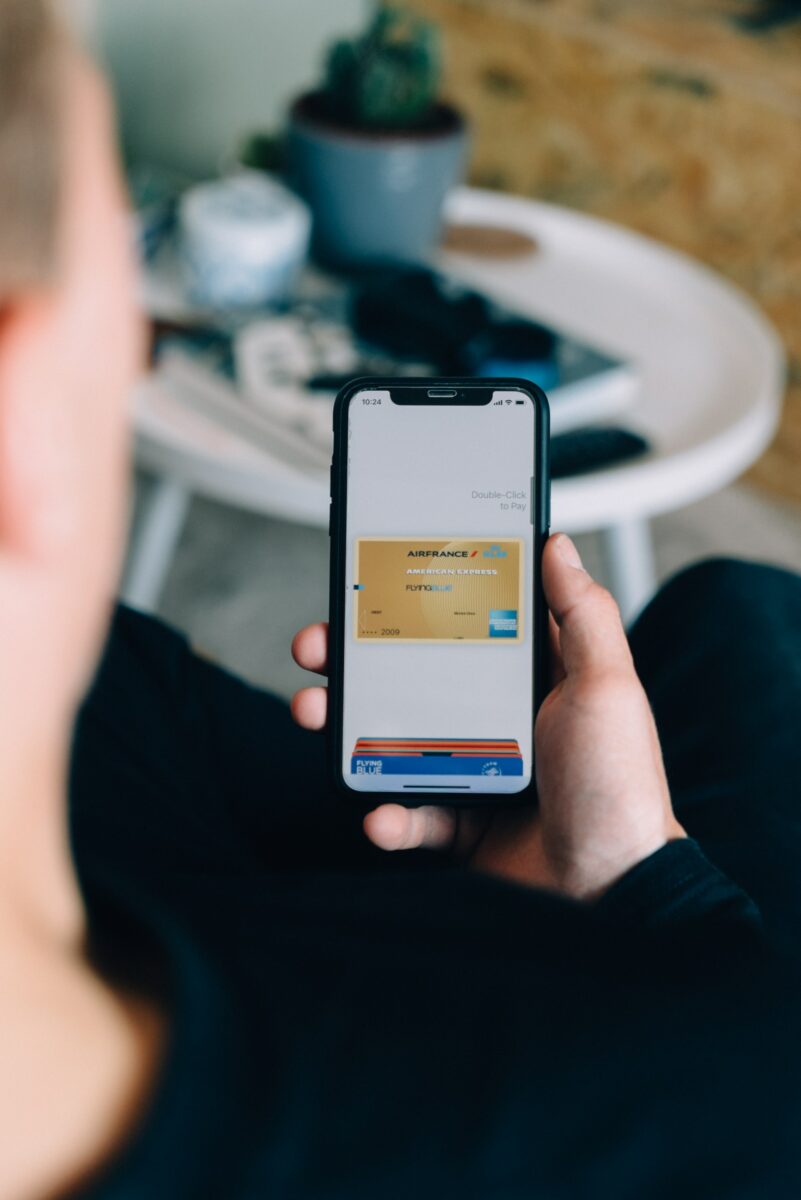
- Open the Wallet app on your iPhone.
- Tap the plus button in the upper right-hand corner of the screen.
- Follow the prompts to enter your card information, including your card number, card issuer, and CVV.
- Verify your card by either receiving a verification code via SMS or by calling your card issuer.
- Set a default payment option by selecting your preferred card and tapping “Set as Default Card.”
- If you have an Apple Watch, you can also add your card to it by opening the Apple Watch app on your iPhone and tapping “Wallet & Apple Pay.”
Setting A Default Card
Setting a default card is helpful if you have multiple cards linked to your Apple Pay account.
Here’s how to set a default card:
- Open the Settings app on your iPhone.
- Tap “Wallet & Apple Pay.”
- Scroll down to the “Transaction Defaults” section and tap “Default Card.”
- Select your preferred card from the list of available options.
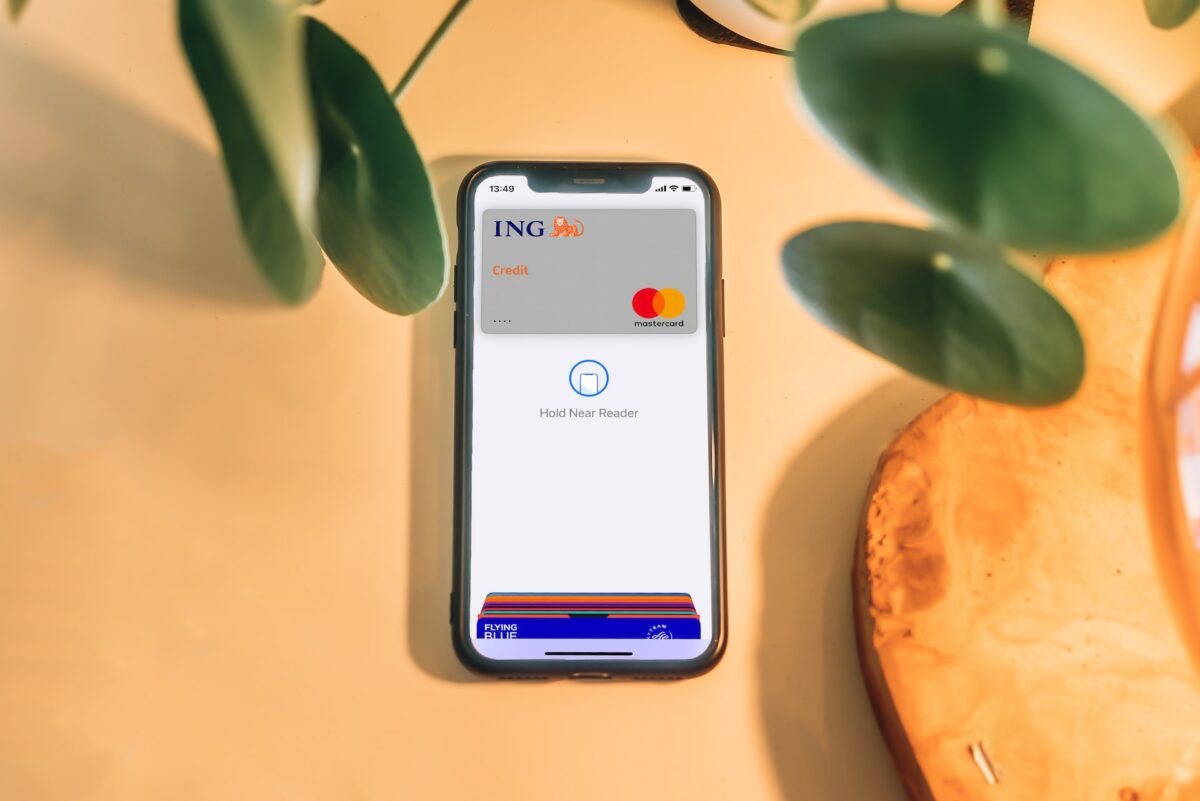
Remember, when you use Apple Pay, you’ll need to authenticate your purchase using either Touch ID, Face ID, or your passcode.
If you have Express Transit set up, you can also use Apple Pay without having to authenticate for certain transactions, like public transportation.
Apple Pay is a secure way to pay for things on your iPhone, iPad, Apple Watch, or Mac.
Your card information is never stored on your device, and each transaction is protected by a unique transaction code.
Plus, you can use Apple Pay with confidence knowing that your privacy and security are always a top priority.
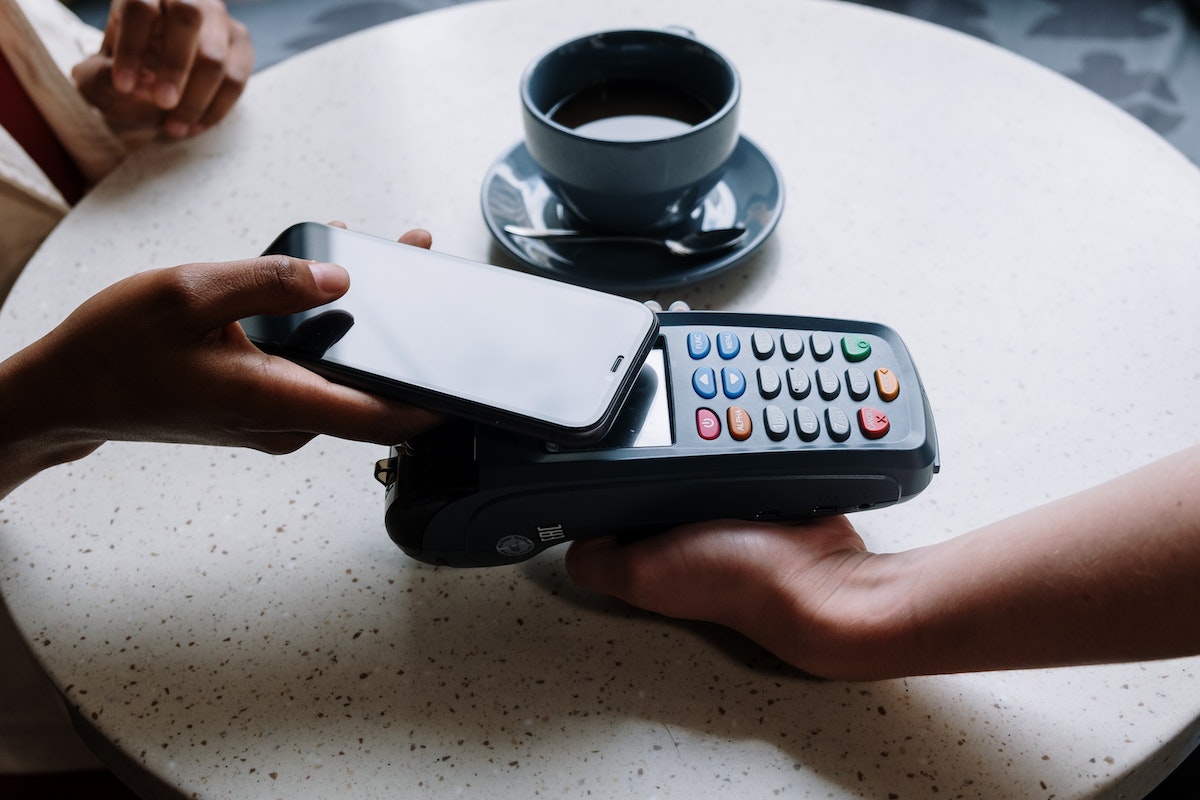
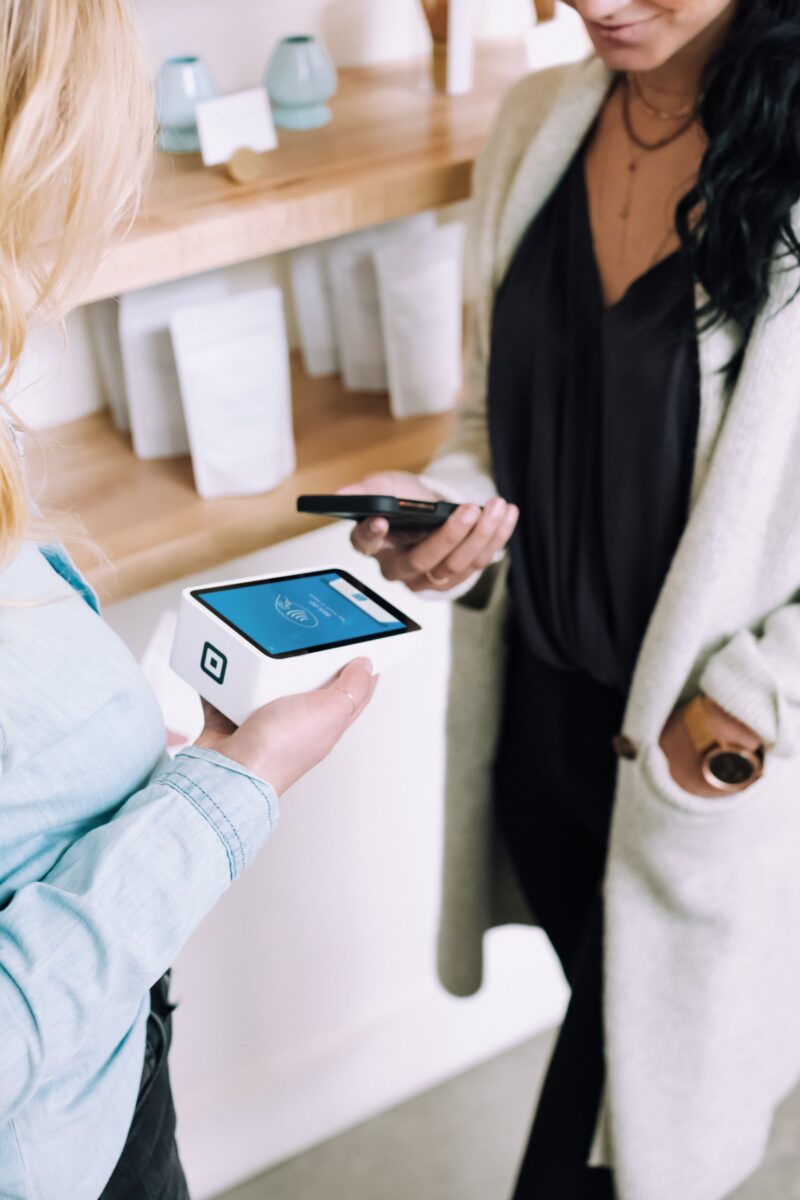
Using Apple Pay In Stores
When you’re out shopping, you can use Apple Pay to make contactless purchases at participating merchants.
Here’s how to use it:
Making A Payment
- Look for the contactless payment symbol on the payment terminal at the store.
- When you’re ready to pay, hold your iPhone near the payment terminal with your finger on Touch ID or use Face ID to authenticate.
- Wait for the payment to process. If the payment is successful, you’ll see a checkmark on the screen.
Using Express Transit
If you’re using Apple Pay on your iPhone or Apple Watch in a supported city, you can use Express Transit mode for faster and more convenient payments.
- Open the Wallet app on your iPhone or Apple Watch.
- Tap the card you want to use for Express Transit.
- Turn on Express Transit mode. You may need to authenticate with Face ID, Touch ID, or your passcode.
- Hold your iPhone or Apple Watch near the payment terminal to make a payment.
Contactless Purchases
Apple Pay works with contactless payment terminals that use NFC technology.
Look for the contactless payment symbol on the payment terminal or ask the merchant if they accept contactless payments.
- When you’re ready to pay, hold your iPhone near the payment terminal and authenticate with Touch ID or Face ID.
- Wait for the payment to process. If the payment is successful, you’ll see a checkmark on the screen.
Remember that Apple Pay is a payment method that works with your payment cards.
You can add your credit or debit cards to the Wallet app to use with Apple Pay.
Some merchants may have restrictions on the use of Apple Pay, so be sure to check with the vendor before you make a purchase.
Using Apple Pay Online And In Apps
If you’re looking for a quick and secure way to make payments online or in apps, Apple Pay is a great option.
Here’s how to use it:
Adding A Payment Method
To use Apple Pay online or in apps, you’ll need to add a payment method to your device.
Here’s how:
- First, open the Wallet app on your iPhone or iPad.
- Tap the plus sign in the upper-right corner of the screen.
- Follow the prompts to add a credit or debit card to your Wallet.
Once you’ve added a payment method, you’re ready to start using Apple Pay.
Making A Payment
When you’re ready to make a payment online or in an app, here’s what you need to do:
- Look for the Apple Pay button at checkout. It may be labeled “Buy with Apple Pay” or simply “Apple Pay.”
- Tap the button to select Apple Pay as your payment method.
- If necessary, select the payment card you want to use.
- Review the payment information and confirm the transaction.
That’s it! Your payment will be processed securely and quickly.
Keep in mind that not all online retailers or apps accept Apple Pay, so you may not always see the option at checkout.
However, many popular retailers and apps do accept Apple Pay, so it’s always worth checking.
Conclusion
Using Apple Pay online and in apps is a convenient and secure way to make payments.
By following these simple steps to add a payment method and make a payment, you’ll be able to take advantage of this great feature whenever you shop online or use your favorite apps.
Using Apple Pay For Transit
If you are someone who frequently uses public transit, then you’ll be happy to know that you can use Apple Pay to pay for your fare.
With your transit cards stored in the Wallet app, you can use your iPhone or Apple Watch to pay for your transit pass.
Here’s how you can start using Apple Pay for transit.
Adding A Transit Card
Before you can use Apple Pay for transit, you need to add a transit card to your Wallet app.
To do this, follow these steps:
- Open the Wallet app on your iPhone.
- Tap the + button in the top right corner of the screen.
- Select “Transit Card.”
- Follow the prompts to add your transit card to the Wallet app.
Once you have added your transit card, you can use it to pay for your fare on participating transit systems.
Using A Transit Pass
To use your transit pass with Apple Pay, follow these steps:
- Approach the fare gate or turnstile.
- Wake up your iPhone or Apple Watch.
- Hold your device near the contactless reader.
- Wait for the beep or vibration to confirm payment.

If you have an Express Transit card set up, you can skip the first two steps and simply hold your device near the contactless reader to pay for your fare.
It’s important to note that not all transit systems support Apple Pay for transit.
You can check with your local transit agency to see if they support payment using Apple Pay.
Additionally, not all transit cards are compatible with Apple Pay, so be sure to check if your transit card is supported.
Using Apple Pay for transit can be a convenient and easy way to pay for your fare.
With just a few taps on your iPhone or a quick wave of your Apple Watch, you can be on your way to your destination.
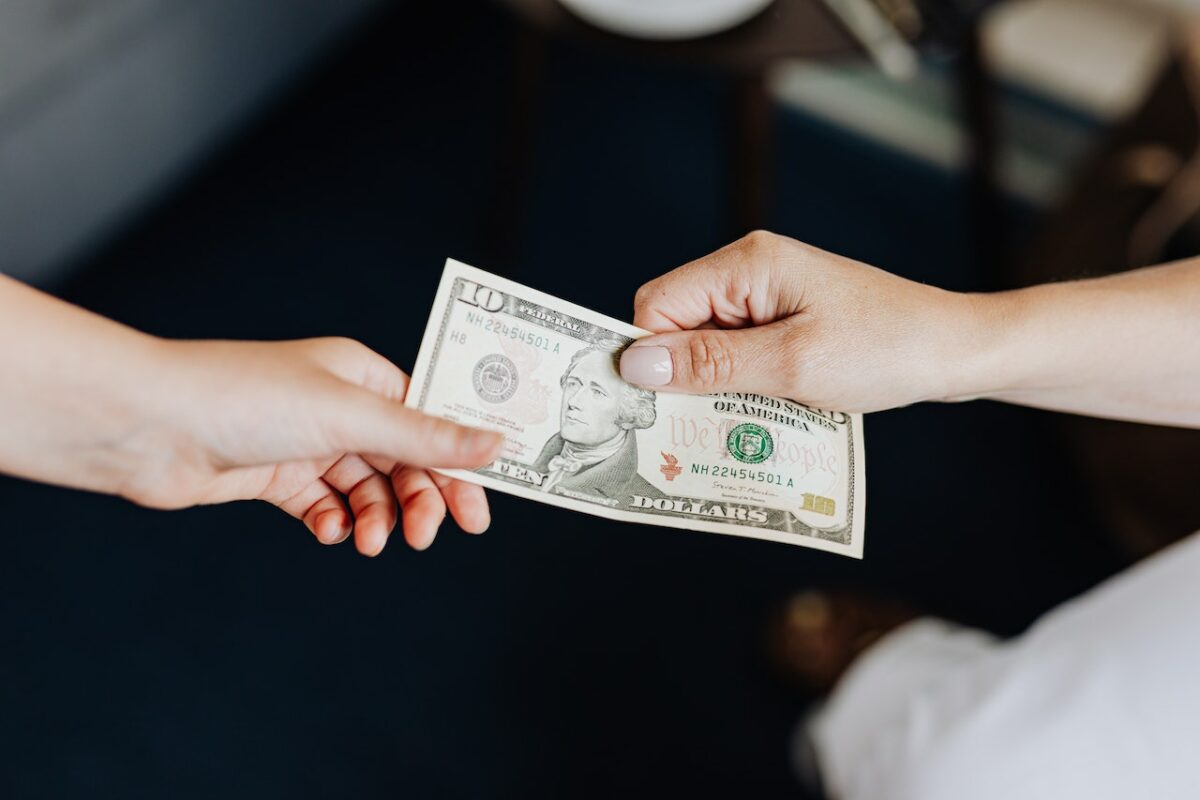
Using Apple Cash
If you have Apple Pay set up, you can also use Apple Cash to send and receive money.
Here’s how:
Sending And Receiving Money
To send money using Apple Cash, follow these steps:
- Open the Wallet app on your iPhone.
- Tap your Apple Cash card.
- Tap “Send Money”.
- Enter the amount you want to send.
- Select the person you want to send money to from your contacts or enter their phone number or email address.
- Tap “Send”.
To receive money using Apple Cash, follow these steps:
- Open the Wallet app on your iPhone.
- Tap your Apple Cash card.
- Tap “Request Money”.
- Enter the amount you want to request.
- Select the person you want to request money from from your contacts or enter their phone number or email address.
- Tap “Request”.
Adding Money To Your Apple Cash Card
You can add money to your Apple Cash card using a debit card or certain prepaid cards that you already use in Wallet.
Here’s how:
- Open the Wallet app on your iPhone.
- Tap your Apple Cash card.
- Tap “Add Money”.
- Enter the amount you want to add.
- Select the debit card or prepaid card you want to use.
- Tap “Add”.
You can also transfer money from your Apple Cash card back to your bank account.
To do this, follow these steps:
- Open the Wallet app on your iPhone.
- Tap your Apple Cash card.
- Tap “Transfer to Bank”.
- Enter the amount you want to transfer.
- Tap “Next”.
- Confirm the transfer by tapping “Transfer”.
That’s it! Using Apple Cash is a convenient and easy way to send and receive money with friends and family.
Managing Your Apple Pay Account
If you’re new to using Apple Pay, managing your account can seem a bit daunting at first.
However, with a few simple steps, you can easily view your transaction history and manage your payment cards.
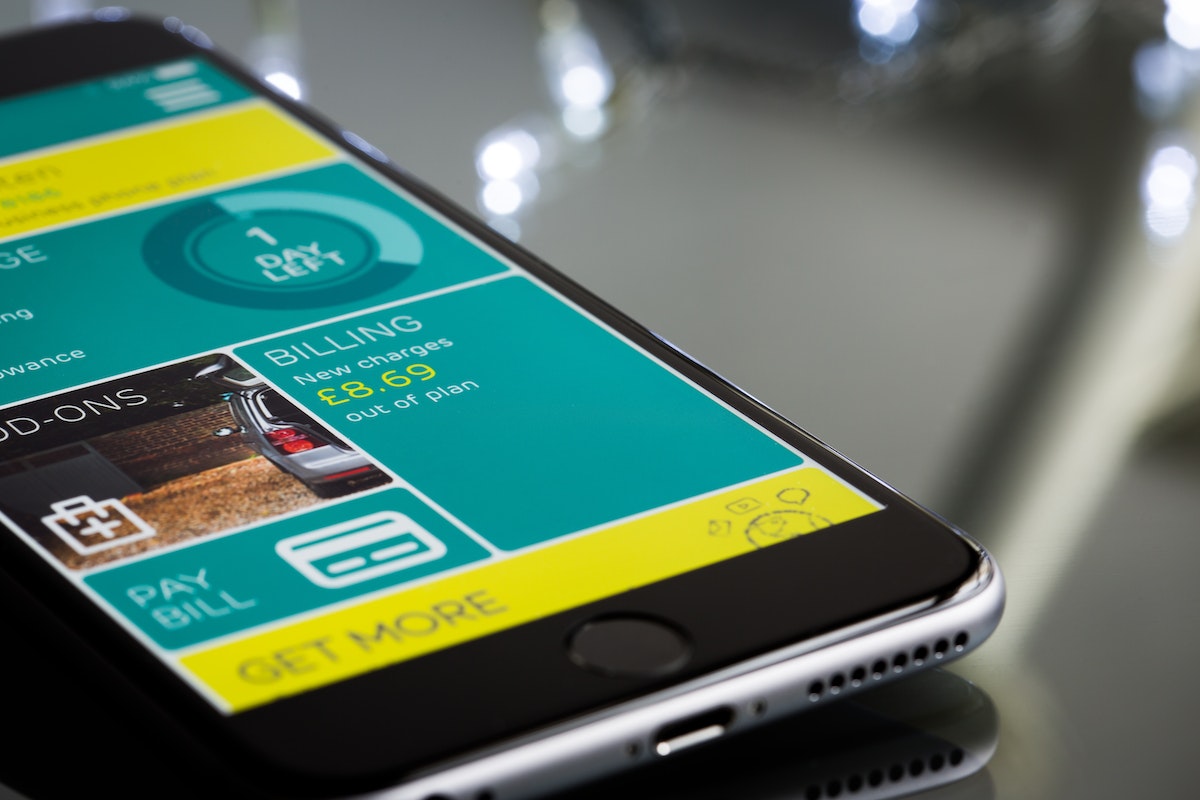
Viewing Transaction History
To view your transaction history, open the Wallet app on your iPhone and tap on the card you want to view.
From there, scroll down to the “Transactions” section to see a list of your recent transactions.
You can also tap on a specific transaction to view more details, such as the date, time, and location of the transaction.
Managing Payment Cards
Managing your payment cards is also easy with Apple Pay.
To add a new card, simply open the Wallet app and tap on the plus icon in the top right corner.
You can then follow the prompts to add your credit or debit card.
If you want to make a different card your default card, go to “Settings” and then “Wallet & Apple Pay.”
From there, select “Default Card” and choose the card you want to use as your default.
If you need to update your billing or contact information, you can do so by going to the “Settings” app on your iPhone and selecting “Wallet & Apple Pay.”
From there, select the card you want to update and tap on “Edit.”
You can then update your information and save your changes.
Finally, if you need to remove a card from Apple Pay, go to the “Wallet” app and select the card you want to remove.
From there, tap on the three dots in the top right corner and select “Remove Card.”
Confirm your choice and the card will be removed from your account.
Overall, managing your Apple Pay account is simple and straightforward.
With just a few taps, you can view your transaction history, manage your payment cards, and make changes to your account as needed.
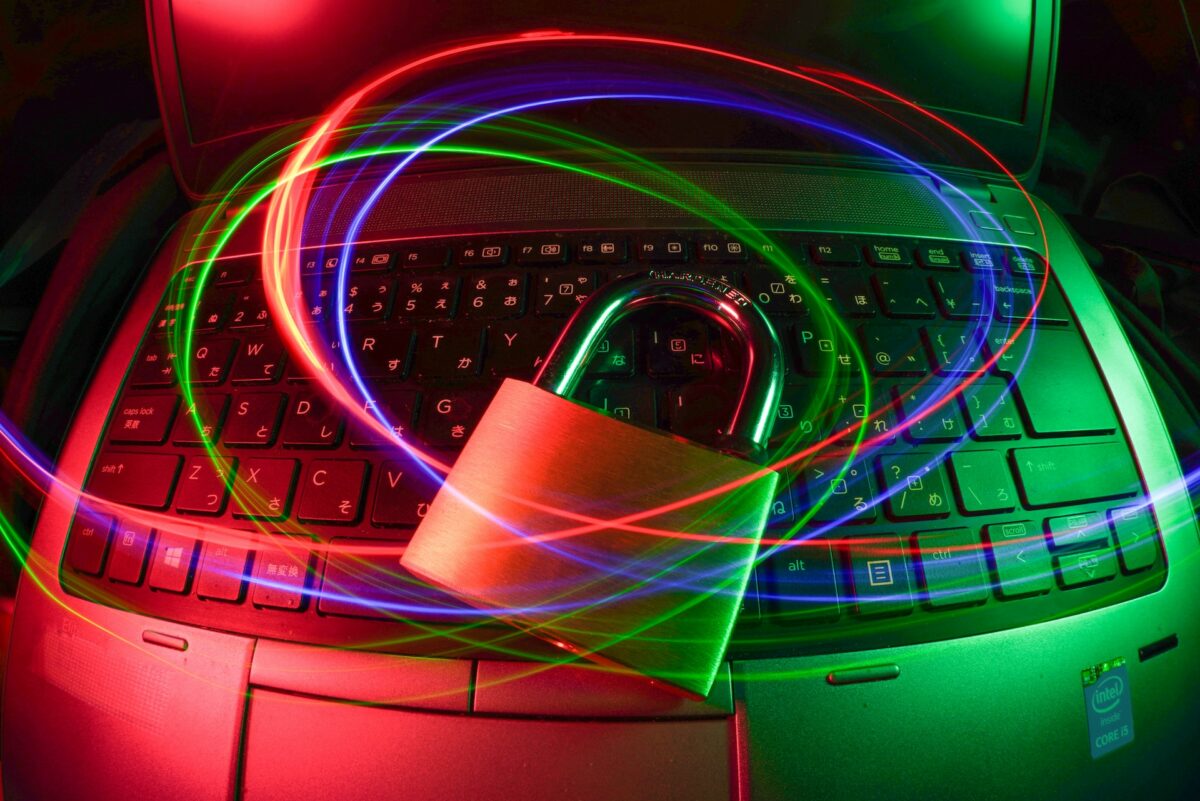
Privacy And Security
When it comes to using Apple Pay, your privacy and security are a top priority.
Here are some ways Apple Pay helps protect your information:
Protecting Your Information
Apple Pay is designed with your security and privacy in mind.
It uses security features built into the hardware and software of your device to help protect your transactions.
Here are some ways Apple Pay helps protect your information:
- No card numbers are stored on your device or on Apple servers
- Your card information is never shared with merchants
- Transactions require Face ID, Touch ID, or a passcode
- Each transaction is authorized with a one-time unique dynamic security code
Reporting A Lost Or Stolen Device
If your device is lost or stolen, you can use Find My to remotely lock your device and prevent anyone from using Apple Pay.
You can also remove your cards from Apple Pay on iCloud.com or by calling your bank.
To report a lost or stolen device, follow these steps:
- Use Find My to remotely lock your device
- Call your bank to suspend or remove your cards from Apple Pay
- Contact your carrier to report your device as lost or stolen
By taking these steps, you can help protect your information and prevent unauthorized use of your cards.
Overall, Apple Pay is a safe and secure way to make payments.
With its advanced security features and easy-to-use interface, you can enjoy the convenience of mobile payments without sacrificing your privacy or security.
Compatibility
If you’re considering using Apple Pay, it’s important to know which devices are compatible with the service.
Here’s what you need to know about compatible devices:
Compatible Devices
Apple Pay is compatible with a range of Apple devices.
For in-store purchases, you can use Apple Pay on your iPhone or Apple Watch.
To use Apple Pay on the web, you’ll need a compatible iPhone, iPad, or Mac.
Here’s a breakdown of compatible devices:
- iPhone: iPhone SE, iPhone 6 or later, and iPhone 5s when used with an Apple Watch
- iPad: iPad Pro, iPad Air 2 or later, and iPad mini 3 or later
- Apple Watch: All models
- Mac: MacBook Pro with Touch ID, MacBook Air introduced in 2018 or later, and MacBook introduced in 2016 or later
To use Apple Pay on your device, you’ll also need to make sure you’re running the latest version of iOS, iPadOS, or watchOS.
Keep in mind that not all countries and regions support all Apple Pay features.
For example, in China mainland, you can use Apple Pay on the web in Safari only on a compatible iPhone and iPad with the latest version of iOS or iPadOS.
In Italy, you can use your iPhone and Apple Watch to make Apple Pay purchases in stores with your Maestro card. Maestro cards can’t be used within apps and on the web.
In summary, if you have a compatible iPhone, iPad, Apple Watch, or Mac, and you’re running the latest version of iOS, iPadOS, or watchOS, you should be able to use Apple Pay.
Key Takeaways
Now that you know how to use Apple Pay, it’s important to keep a few key takeaways in mind to make the most of this convenient payment method.
First, always make sure that the store or website you’re shopping at accepts Apple Pay.
Look for the Apple Pay logo or the contactless payment symbol.
If you’re unsure, ask the cashier or check the website’s payment options.
Second, keep your default card up-to-date and organized.
You can easily change your default card in the Wallet app, and you can also add and remove cards as needed.
This will ensure that your transactions go smoothly and quickly.
Third, take advantage of the security features built into Apple Pay.
Your card information is never stored on your device or shared with merchants, so you can feel confident that your payments are secure.
You can also use Touch ID or Face ID to authorize transactions, adding an extra layer of protection.
Finally, don’t forget to check your transaction history regularly.
This will help you keep track of your spending and catch any errors or fraudulent charges.
You can view your transaction history in the Wallet app or on your bank or credit card statement.
By following these key takeaways, you can use Apple Pay with confidence and convenience.