If you have an iPhone and an iPad, knowing how to transfer photos from iPhone to iPad is a valuable skill that makes life easier for Apple users and there are several ways to do this.
You can use iCloud, AirDrop, iTunes, or a third-party app. Each method has its own advantages and disadvantages, so you can choose the one that best suits your needs.
One of the easiest ways to transfer photos from your iPhone to your iPad is to use AirDrop.
This feature allows you to wirelessly transfer files between two iOS devices that are in close proximity to each other.
To use AirDrop, you need to make sure that both your iPhone and iPad are connected to Wi-Fi and Bluetooth, and that AirDrop is enabled on both devices.
Then, you can select the photos you want to transfer on your iPhone, tap the share button, and choose your iPad as the destination.
How To Transfer Photos From iPhone To iPad: The Basics
Transferring photos from your iPhone to your iPad is a straightforward process that can be done in a few different ways.
Here are the basics:
Method 1: Using AirDrop
If both your iPhone and iPad are on the same Wi-Fi network and have Bluetooth enabled, you can use AirDrop to transfer photos wirelessly.
Here’s how:
- Open the Photos app on your iPhone and find the photos you want to transfer.
- Tap the “Select” button in the top right corner of the screen.
- Tap the photos you want to transfer.
- Tap the “Share” button in the bottom left corner of the screen.
- Tap the icon for your iPad in the AirDrop section of the Share menu.
- On your iPad, tap “Accept” when the notification appears to receive the photos.
Method 2: Using iCloud Photos
If you have iCloud Photos enabled on both your iPhone and iPad, your photos will automatically sync between the two devices.
Here’s how to check if iCloud Photos is enabled:
- On your iPhone, go to Settings > [your name] > iCloud > Photos.
- Make sure the “iCloud Photos” toggle is turned on.
- On your iPad, go to Settings > [your name] > iCloud > Photos.
- Make sure the “iCloud Photos” toggle is turned on.
Method 3: Using A Cable And Adapter
If you don’t have Wi-Fi or Bluetooth available, or if you prefer a wired connection, you can use a Lightning to USB Camera Adapter to transfer photos from your iPhone to your iPad.
Here’s how:
- Connect the Lightning to USB Camera Adapter to your iPhone.
- Connect the adapter to your iPad using a USB-A-to-Lightning or USB-A-to-USB-C cable.
- On your iPad, open the Photos app and tap “Import.”
- Select the photos you want to transfer and tap “Import.”
That’s it! With these basic methods, you can easily transfer photos from your iPhone to your iPad.
Using AirDrop To Transfer Photos
AirDrop is a quick and easy way to transfer photos between your iPhone and iPad.
Here’s how to use it:
Enabling AirDrop On iPhone And iPad
Before you can use AirDrop to transfer photos, you need to make sure it’s enabled on both your iPhone and iPad.
Here’s how to do it:
- On your iPhone, swipe up from the bottom of the screen to open Control Center.
- Press and hold the Wi-Fi icon to open the Wi-Fi settings.
- Tap AirDrop and select “Everyone” to allow anyone to AirDrop to you.
- Repeat these steps on your iPad.
Using AirDrop To Transfer Photos
Now that AirDrop is enabled on both devices, you can easily transfer photos between them. Here’s how:
- Open the Photos app on your iPhone and select the photo(s) you want to transfer.
- Tap the Share icon in the bottom left corner of the screen.
- Scroll down to the AirDrop section and tap on your iPad’s name.
- On your iPad, a notification will appear asking if you want to accept the photo(s). Tap “Accept” to complete the transfer.
Keep in mind that both devices need to be close to each other and have Wi-Fi and Bluetooth enabled for AirDrop to work properly.
Additionally, AirDrop only works between iOS devices, so you won’t be able to use it to transfer photos to a computer or Android device.
Overall, AirDrop is a convenient way to quickly transfer photos between your iPhone and iPad without the need for cables or additional software.
Using iCloud Photos To Transfer Photos
If you want to transfer photos from your iPhone to your iPad, using iCloud Photos is a great option.
With iCloud Photos, you can easily store your photos in the cloud and access them from any device.
Here’s how to set up iCloud Photos on your iPhone and iPad, upload photos to iCloud Photos, and access your photos on your iPad.
Setting Up iCloud Photos On iPhone And iPad
Before you can use iCloud Photos, you need to make sure it’s set up on both your iPhone and iPad.
Here’s how to do it:
- On your iPhone, go to Settings > [Your Name] > iCloud > Photos. Turn on iCloud Photos.
- Repeat the same process on your iPad.
- Make sure both devices are connected to Wi-Fi and have enough storage space in iCloud.
Uploading Photos To iCloud Photos
Once you have iCloud Photos set up on both your iPhone and iPad, you can start uploading photos.

Here’s how:
- On your iPhone, open the Photos app.
- Select the photos you want to upload to iCloud Photos.
- Tap the Share icon and select iCloud Photos.
- Your photos will now be uploaded to iCloud Photos.
Accessing iCloud Photos On iPad
After you’ve uploaded your photos to iCloud Photos, you can easily access them on your iPad.
Here’s how:
- On your iPad, open the Photos app.
- Tap the Photos tab.
- You should see your iCloud Photos library. If you don’t, go to Settings > [Your Name] > iCloud > Photos and turn on iCloud Photos.
- You can now browse and view your photos on your iPad.
Keep in mind that you’ll need enough iCloud storage space to upload all your photos.
If you run out of storage space, you can upgrade your iCloud storage plan.
Also, make sure you’re signed in with the same Apple ID on both your iPhone and iPad to access your iCloud Photos library.
Using iTunes To Transfer Photos
If you have a large number of photos to transfer from your iPhone to your iPad, using iTunes is a great option.
Here’s how to do it:
Connecting iPhone And iPad To Computer
- Connect your iPhone to your computer using a USB cable.
- Open iTunes on your computer.
- Select your iPhone from the list of devices in iTunes.
- Click on the “Photos” tab in the left-hand column.
- Check the box next to “Sync Photos.”
- Select the folder or album you want to sync from your iPhone to your computer.
- Click on the “Apply” button to start syncing your photos.
Syncing Photos With iTunes
- Disconnect your iPhone from your computer.
- Connect your iPad to your computer using a USB cable.
- Select your iPad from the list of devices in iTunes.
- Click on the “Photos” tab in the left-hand column.
- Check the box next to “Sync Photos.”
- Select the folder or album you want to sync from your computer to your iPad.
- Click on the “Apply” button to start syncing your photos.
It’s important to note that syncing your photos with iTunes will replace any photos that are currently on your iPad.
If you want to keep the photos that are already on your iPad, make sure to back them up before syncing.
Overall, using iTunes to transfer photos from your iPhone to your iPad is a simple and effective method.
Just make sure to follow the steps carefully to ensure that your photos are transferred correctly.
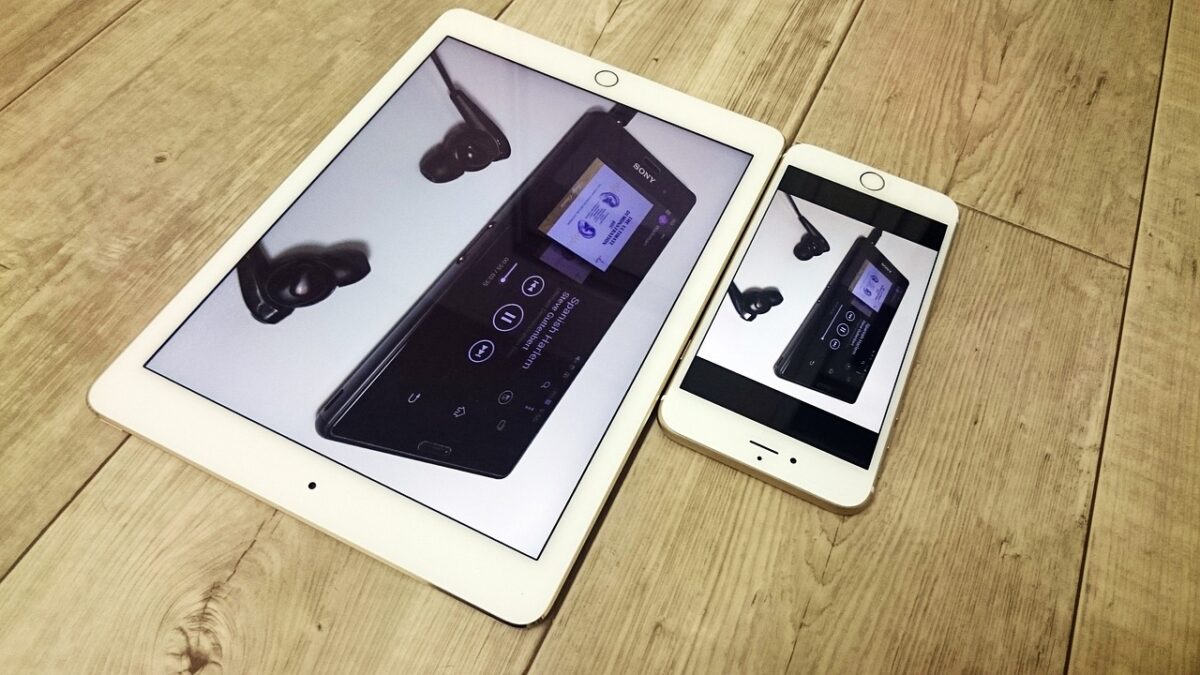
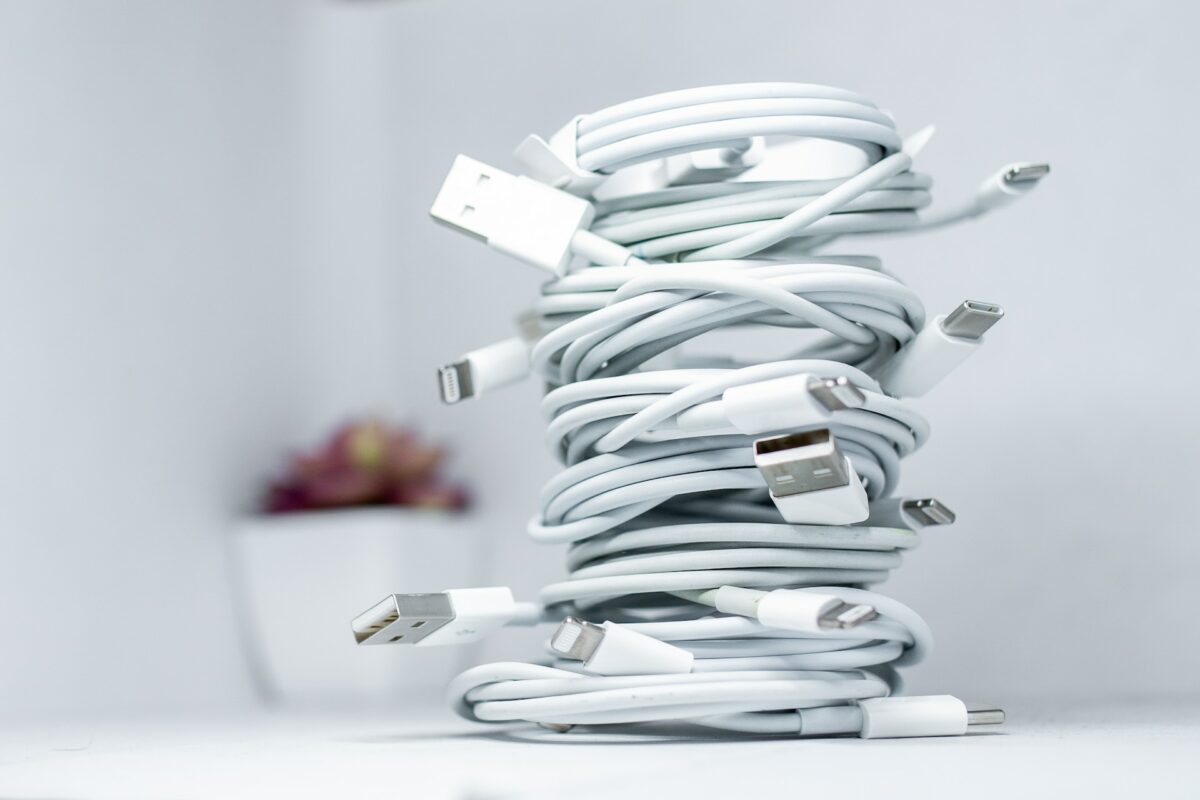
Using USB-C Cable To Transfer Photos
If you have an iPhone and an iPad, transferring photos between them is easy with a USB-C cable.
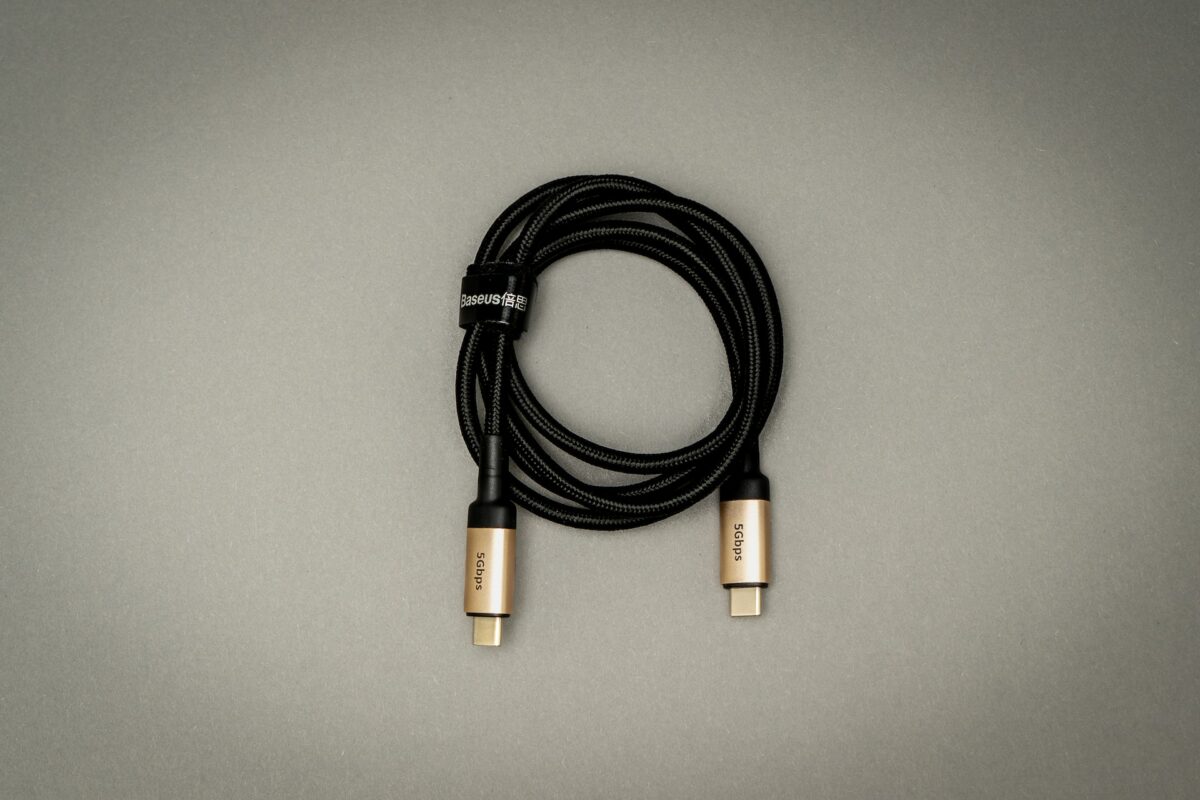
Here’s how to do it:
Connecting iPhone And iPad With USB-C Cable
- Connect your iPhone to your iPad using a USB-C cable.
- Make sure both devices are unlocked and on the home screen.
Transferring Photos With USB-C Cable
- On your iPad, open the Photos app.
- Tap the “Import” button at the bottom of the screen.
- Select the photos you want to transfer.
- Tap “Import Selected” or “Import All” if you want to transfer all photos.
- Wait for the transfer to complete.
That’s it! Your photos should now be on your iPad.
Using a USB-C cable to transfer photos is a quick and easy way to get your photos from your iPhone to your iPad.
It’s a wired transfer method, so you don’t need an internet connection or any special software.
If you don’t have a USB-C cable, you can get one from Apple or a third-party retailer.
Make sure you get a cable that’s compatible with your iPhone and iPad.
Overall, using a USB-C cable to transfer photos is a convenient way to move your photos between devices.
Using My Photo Stream To Transfer Photos
If you have My Photo Stream enabled on both your iPhone and iPad, it’s easy to transfer your photos between the two devices.
Here’s how to do it:
Enabling My Photo Stream On iPhone And iPad
Before you can use My Photo Stream, you need to make sure it’s enabled on both your iPhone and iPad.
Here’s how to do it:
- On your iPhone, go to Settings and tap on your name at the top of the screen.
- Tap iCloud and then Photos.
- Make sure My Photo Stream is turned on.
- On your iPad, go to Settings and tap on your name at the top of the screen.
- Tap iCloud and then Photos.
- Make sure My Photo Stream is turned on.
Uploading Photos To My Photo Stream
Once My Photo Stream is enabled on both devices, you can upload photos from your iPhone to My Photo Stream and they will automatically appear on your iPad.
Here’s how to upload photos to My Photo Stream:
- Open the Photos app on your iPhone.
- Select the photos you want to upload to My Photo Stream.
- Tap the Share icon in the bottom left corner of the screen.
- Select My Photo Stream from the list of sharing options.
- Your photos will now be uploaded to My Photo Stream and will appear on your iPad shortly.
Accessing My Photo Stream On iPad
To access your photos on your iPad after they’ve been uploaded to My Photo Stream, follow these steps:
- Open the Photos app on your iPad.
- Tap Albums at the bottom of the screen.
- Select My Photo Stream from the list of albums.
- Your photos will now be displayed in the My Photo Stream album.
Using My Photo Stream is a great way to transfer photos between your iPhone and iPad without having to use a cable or any other special equipment.
Just make sure My Photo Stream is enabled on both devices and you’re good to go!
Using Third-Party Apps To Transfer Photos
Overview Of Third-Party Apps For Photo Transfer
If you are looking for an alternative to using iCloud or iTunes to transfer photos between your iPhone and iPad, third-party apps can be a great option.
These apps are designed to make the process of transferring photos quick and easy.
Some of the most popular third-party apps for photo transfer include:
- Google Photos
- Dropbox
- OneDrive
- AirDroid
- AnyTrans
These apps offer different features and benefits, so it’s important to explore your options and choose the one that best fits your needs.
Using Third-Party Apps To Transfer Photos
To transfer photos using a third-party app, you will first need to download and install the app on both your iPhone and iPad.
Once you have done this, follow these steps:
- Open the app on both devices and sign in to your account.
- On your iPhone, select the photos you want to transfer and tap the share button.
- Choose the third-party app you want to use from the list of sharing options.
- Follow the prompts to complete the transfer.
It’s important to note that some third-party apps may require a subscription or in-app purchase to access certain features or to transfer large numbers of photos.
Additionally, not all third-party apps are available on both iOS and Android devices, so make sure you choose an app that is compatible with your devices.
Overall, using third-party apps can be a convenient and efficient way to transfer photos between your iPhone and iPad.
Just make sure to choose a reputable app and follow the instructions carefully to ensure a smooth transfer process.
Key Takeaways
When it comes to transferring photos from your iPhone to your iPad, there are a few key takeaways to keep in mind.
Here are some important points to remember:
- You can transfer photos between your iPhone and iPad using a variety of methods, including iCloud, AirDrop, iTunes, and third-party apps.
- If you’re using iCloud Photo Library, your photos will automatically sync across all your devices as long as you’re signed in with the same Apple ID.
- AirDrop is a quick and easy way to transfer photos wirelessly between your iPhone and iPad, as long as both devices are nearby and have Bluetooth and Wi-Fi turned on.
- If you prefer to use a wired connection, you can transfer photos using a Lightning to USB Camera Adapter and a USB cable.
- Third-party apps like Google Photos, Dropbox, and OneDrive can also be used to transfer photos between your iPhone and iPad, but keep in mind that you’ll need to download and set up the app on both devices.
Overall, the process of transferring photos from your iPhone to your iPad is fairly straightforward, and there are plenty of options available to suit your needs.
Just make sure you choose a method that works best for you and your devices.