Are you upgrading to a new iPad and need to transfer all your data from your old one?
Don’t worry, the process is simple and can be done in just a few steps once you know how to transfer iPad to iPad.
Whether you’re transferring data between iPads or from an iPhone to an iPad, there are several methods you can use to make the process quick and easy.
One of the easiest ways to transfer data from one iPad to another is by using the Quick Start feature.
This feature allows you to transfer all your data wirelessly, without the need for cables or a computer.
Simply place your new and old iPads next to each other, enable Quick Start, and follow the on-screen instructions.
Another option is to use iCloud or iTunes to transfer your data.
This method requires a bit more setup, but it’s still a straightforward process that anyone can do.
Table of Contents
ToggleHow To Transfer iPad To iPad: The Principles Behind Transferring Data
Transferring data from one iPad to another can be a daunting task, but it doesn’t have to be.
With the right knowledge and tools, you can easily move all your important data from your old iPad to your new one.
Here are some principles to keep in mind when transferring data from iPad to iPad:
Principle 1: Back Up Your Old iPad
Before you start transferring data, it’s important to back up your old iPad.
This ensures that you don’t lose any important data in case something goes wrong during the transfer process.
You can back up your iPad using iTunes or iCloud. Here’s how:
- Back up with iTunes: Connect your old iPad to your computer, open iTunes, and click on the iPad icon. Select “Back Up Now” to start the backup process.
- Back up with iCloud: Connect your old iPad to Wi-Fi, go to Settings > iCloud > Backup, and turn on “iCloud Backup”. Tap on “Back Up Now” to start the backup process.
Principle 2: Choose A Transfer Method
There are several ways to transfer data from your old iPad to your new one.
You can use Quick Start, iTunes, iCloud, or a third-party app.
Here’s a brief overview of each method:
- Quick Start: This is the easiest and fastest way to transfer data. Simply place your old and new iPads next to each other, follow the onscreen instructions, and wait for the transfer to complete.
- iTunes: This method requires a computer with iTunes installed. Connect your old iPad to the computer, click on the iPad icon, select “Restore Backup”, and choose the backup you created earlier.
- iCloud: This method requires both iPads to be connected to Wi-Fi. Go to Settings > iCloud > Backup on your old iPad, select “Back Up Now”, and then sign in to iCloud on your new iPad to restore the backup.
- Third-party app: There are several third-party apps that can help you transfer data from one iPad to another. Some popular options include AnyTrans, iMazing, and EaseUS MobiMover.
Principle 3: Select The Data You Want To Transfer
When transferring data, you don’t have to transfer everything.
You can choose to transfer only the data you need.
For example, you can transfer photos, contacts, messages, and apps, but leave out music and videos.
This can save you time and storage space on your new iPad.
Principle 4: Wait For The Transfer To Complete
Transferring data can take some time, especially if you have a lot of data to transfer.
Be patient and wait for the transfer to complete.
Don’t interrupt the process or disconnect your iPads until the transfer is finished.
By following these principles, you can easily transfer data from your old iPad to your new one.
Remember to back up your old iPad, choose a transfer method, select the data you want to transfer, and wait for the transfer to complete.
Prepare Your iPads
Before you start transferring data from your old iPad to your new one, you need to prepare both devices.
Here are some things you should do:
Back Up Your Old iPad
Before you transfer data from your old iPad to your new one, it’s important to back up your old iPad.
This will ensure that you don’t lose any important data if something goes wrong during the transfer process.
You can back up your iPad using iCloud or iTunes.
Update Your Old iPad
Make sure your old iPad is up to date.
You can check for updates by going to Settings > General > Software Update.
If there’s an update available, download and install it.
Charge Both iPads
Make sure both iPads are fully charged before you start the transfer process.
This will ensure that you don’t run out of battery during the transfer process.
Enable Quick Start
Quick Start is an easy way to transfer data from your old iPad to your new one.
To use Quick Start, you need to make sure that both iPads are running iOS 11 or later, and that both iPads are connected to Wi-Fi.
You also need to make sure that Bluetooth is turned on.
Set Up Touch ID Or Face ID
If your old iPad has Touch ID or Face ID, make sure it’s set up.
This will make it easier to unlock your old iPad during the transfer process.
If your new iPad has Touch ID or Face ID, make sure it’s set up as well.

Know Your Apple ID And Password
During the transfer process, you’ll be asked to sign in with your Apple ID and password.
Make sure you know your Apple ID and password before you start the transfer process.
By following these steps, you’ll be well prepared to transfer data from your old iPad to your new one.
Connect Your iPads
When transferring data from one iPad to another, you need to connect them first.
There are two ways to connect your iPads: via Wi-Fi or Bluetooth.
Wi-Fi Connection
To connect your iPads via Wi-Fi, follow these steps:
- Make sure both iPads are turned on and within range of each other.
- On your old iPad, go to Settings > Wi-Fi and connect to a Wi-Fi network.
- On your new iPad, go to Settings > Wi-Fi and connect to the same Wi-Fi network.
- Once both iPads are connected to the same Wi-Fi network, you can proceed with the data transfer process.
Bluetooth Connection
To connect your iPads via Bluetooth, follow these steps:
- Make sure both iPads are turned on and within range of each other.
- On your old iPad, go to Settings > Bluetooth and turn on Bluetooth.
- On your new iPad, go to Settings > Bluetooth and turn on Bluetooth.
- Once Bluetooth is turned on for both iPads, you should see your new iPad listed under “Devices” on your old iPad.
- Tap on your new iPad to connect the two devices.
- Once both iPads are connected via Bluetooth, you can proceed with the data transfer process.
It’s important to note that transferring data via Bluetooth may take longer than transferring data via Wi-Fi.
Additionally, not all data can be transferred via Bluetooth, so it’s recommended to use Wi-Fi whenever possible.
In summary, connecting your iPads is a crucial step in transferring data from one device to another.
Whether you choose to connect via Wi-Fi or Bluetooth, make sure both devices are turned on and within range of each other.
Once connected, you can proceed with the data transfer process.
Choose Your Transfer Method
When transferring data from one iPad to another, you have a few options to choose from.
Each method has its own benefits and drawbacks, so it’s important to choose the one that best suits your needs.
Here are the three main transfer methods to consider:
iCloud Backup
If you have iCloud enabled on your old iPad, you can use it to transfer your data to your new iPad.
This method is convenient because it doesn’t require you to connect your iPads to a computer.
However, it does require a stable internet connection and enough iCloud storage space to store your backup.
To use iCloud Backup, follow these steps:
- Connect your old iPad to Wi-Fi.
- Go to Settings > iCloud > Backup.
- Tap “Back Up Now” to create a backup of your old iPad.
- Turn on your new iPad and follow the setup process until you reach the “Apps & Data” screen.
- Select “Restore from iCloud Backup” and sign in with your Apple ID.
- Choose the backup you just created and wait for the transfer to complete.
Finder Or iTunes Backup
If you prefer to transfer your data using a computer, you can use Finder or iTunes to create a backup of your old iPad and restore it to your new iPad.
This method is useful if you don’t have enough iCloud storage space or if you want to transfer data faster using a USB cable.
To use Finder or iTunes Backup, follow these steps:
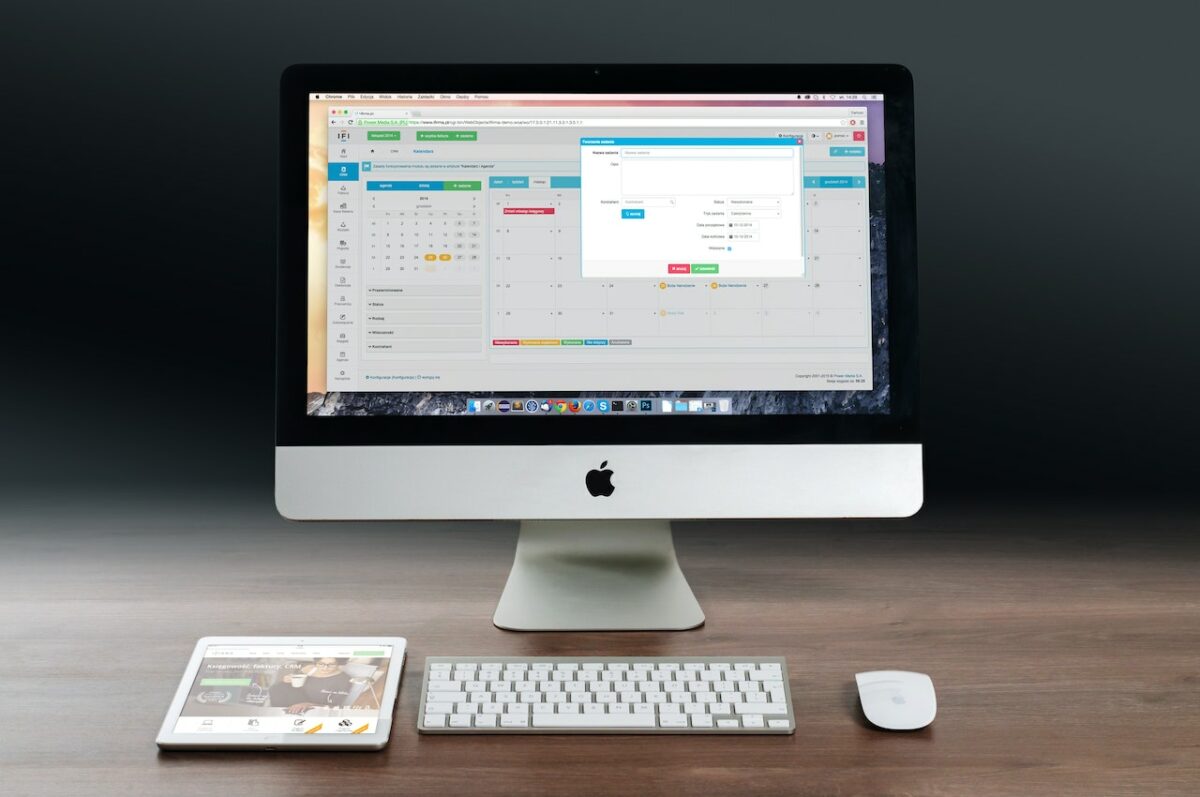
- Connect your old iPad to your computer using a USB cable.
- Open Finder or iTunes on your computer.
- Select your iPad when it appears in Finder or iTunes.
- Click “Back Up Now” to create a backup of your old iPad.
- Turn on your new iPad and follow the setup process until you reach the “Apps & Data” screen.
- Select “Restore from Mac or PC” and connect your new iPad to your computer using a USB cable.
- Choose the backup you just created and wait for the transfer to complete.
Conclusion
Each transfer method has its own advantages and disadvantages, so it’s important to choose the one that works best for you.
If you have a stable internet connection and enough iCloud storage space, iCloud Backup is a convenient option.
If you prefer to transfer data using a USB cable, Finder or iTunes Backup is a good choice.
Whatever method you choose, make sure to follow the instructions carefully to ensure a successful transfer of your data.
Transfer Your Data
When you get a new iPad, one of the first things you’ll want to do is transfer your data from your old device.
Fortunately, there are a few ways to do this quickly and easily.
In this section, we’ll cover three methods: using iCloud Backup, using Finder or iTunes Backup.
Using iCloud Backup
If you’ve been using iCloud to back up your iPad, transferring your data to a new device is a breeze.
Here’s how:
- Make sure your old iPad is backed up to iCloud. You can check this by going to Settings > iCloud > Backup.
- Turn on your new iPad and follow the setup process until you reach the “Apps & Data” screen.
- Choose “Restore from iCloud Backup” and sign in with your Apple ID.
- Select the backup you want to restore from and wait for the transfer to complete.
Using Finder Or iTunes Backup
If you prefer to use your computer to back up your iPad, you can do so using Finder (on a Mac running macOS Catalina or later) or iTunes (on a Windows PC or a Mac running macOS Mojave or earlier).
Here’s how:
- Connect your old iPad to your computer and open Finder or iTunes.
- Select your iPad in the sidebar and choose “Back Up Now”.
- Once the backup is complete, disconnect your old iPad and connect your new iPad.
- Follow the setup process until you reach the “Apps & Data” screen.
- Choose “Restore from Mac or PC” and select the backup you just created.
It’s worth noting that if you’re using a Mac running macOS Catalina or later, you’ll need to use Finder to back up and restore your iPad.
iTunes is no longer available on these versions of macOS.
In conclusion, transferring your data from one iPad to another is a simple process that can be done using iCloud Backup, Finder, or iTunes Backup.
Choose the method that works best for you and follow the steps above to get started.
Set Up Your New iPad
When you get a new iPad, setting it up is the first thing you need to do.
There are two ways to set up your new iPad: Automatic Setup and Manual Setup.
Automatic Setup
Automatic Setup is the easiest way to set up your new iPad.
You can use this method if you have an iPhone, iPad, or iPod touch with iOS 11 or later.
Here’s how to do it:
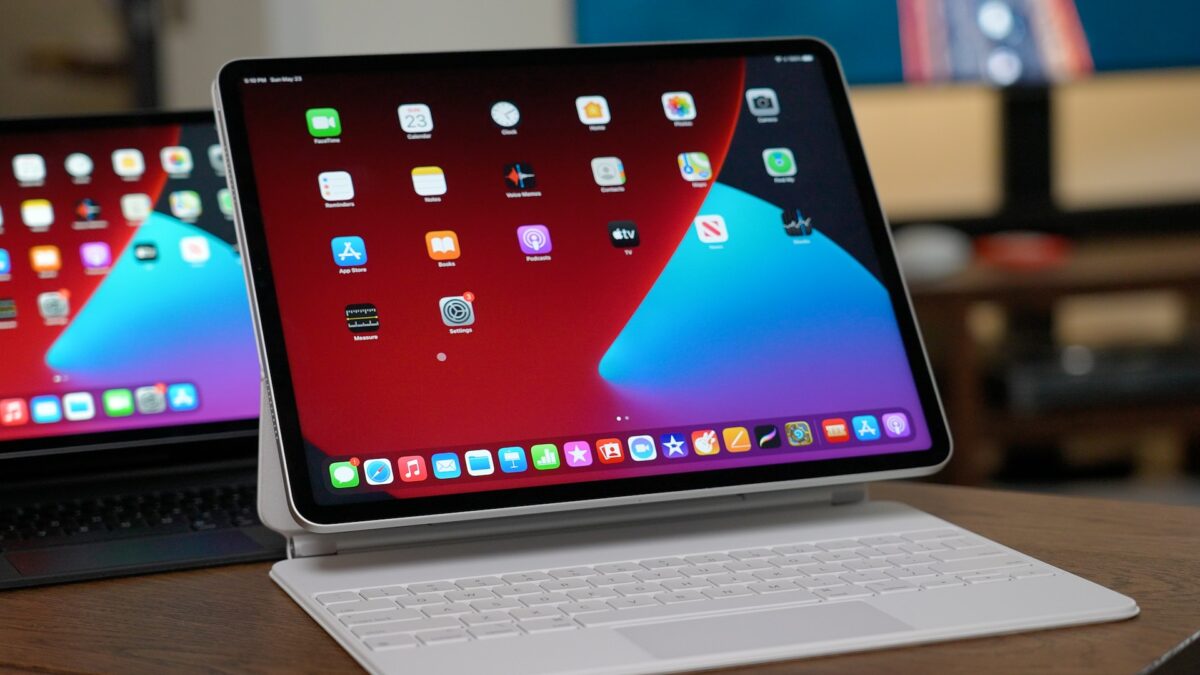
- Turn on your new iPad and place it near your current device.
- Make sure your current device is running iOS 11 or later and has Bluetooth turned on.
- When you see the Quick Start screen on your current device, tap Continue.
- Follow the onscreen instructions to set up Touch ID or Face ID on your new iPad.
- Enter your Apple ID and password to sign in to iCloud.
- Choose whether to use Siri or not.
- Agree to the Terms and Conditions.
- Choose whether to set up Apple Pay or not.
- Choose whether to share app analytics with developers or not.
- Wait for the data transfer to complete.
Manual Setup
Manual Setup is the other way to set up your new iPad.
You can use this method if you don’t have an iPhone, iPad, or iPod touch with iOS 11 or later, or if you prefer to set up your new iPad manually.
Here’s how to do it:
- Turn on your new iPad by pressing and holding the Home button until the Apple logo appears.
- Follow the onscreen instructions to choose your language and country or region.
- Choose a Wi-Fi network to connect to or use your cellular network.
- Set up Touch ID or Face ID on your new iPad.
- Enter your Apple ID and password to sign in to iCloud.
- Choose whether to use Siri or not.
- Agree to the Terms and Conditions.
- Choose whether to set up Apple Pay or not.
- Choose whether to share app analytics with developers or not.
- Wait for the data transfer to complete.
Whether you choose Automatic Setup or Manual Setup, setting up your new iPad is easy.
Just follow the onscreen instructions and you’ll be up and running in no time.
Key Takeaways
When it comes to transferring data from one iPad to another, there are a few key takeaways to keep in mind.
First and foremost, it’s important to ensure that both devices are up to date with the latest version of iOS.
This will help to ensure that the transfer process goes smoothly and that all of your data is transferred correctly.
Another important consideration is the method that you use to transfer your data.
There are a few different options available, including using iCloud, iTunes, or Quick Start.
Each method has its own pros and cons, so it’s important to choose the one that best fits your needs.
If you’re using Quick Start, for example, you’ll need to have both devices nearby and connected to Wi-Fi.
You’ll also need to follow the onscreen instructions carefully to ensure that the transfer process goes smoothly.
Alternatively, if you’re using iTunes, you’ll need to connect your old iPad to your computer and create a backup.
You can then restore this backup onto your new iPad, which will transfer all of your data over.
Regardless of which method you choose, it’s important to take the time to carefully review your data before and after the transfer process.
This will help you to ensure that everything has been transferred correctly and that you haven’t lost any important data along the way.
Overall, transferring data from one iPad to another can be a straightforward process as long as you take the time to carefully review your options and follow the instructions carefully.
With a little bit of patience and attention to detail, you can ensure that all of your data is transferred successfully and that your new iPad is ready to use right away.


