Knowing how to screenshot on iPad is a valuable skill for capturing and preserving images.
Whether you want to save important information or freeze a special moment in time, learning the process is straightforward and can be done in just a few steps.
In this article, we will guide you on how to screenshot on iPad, providing you with different methods to effortlessly capture and save images.
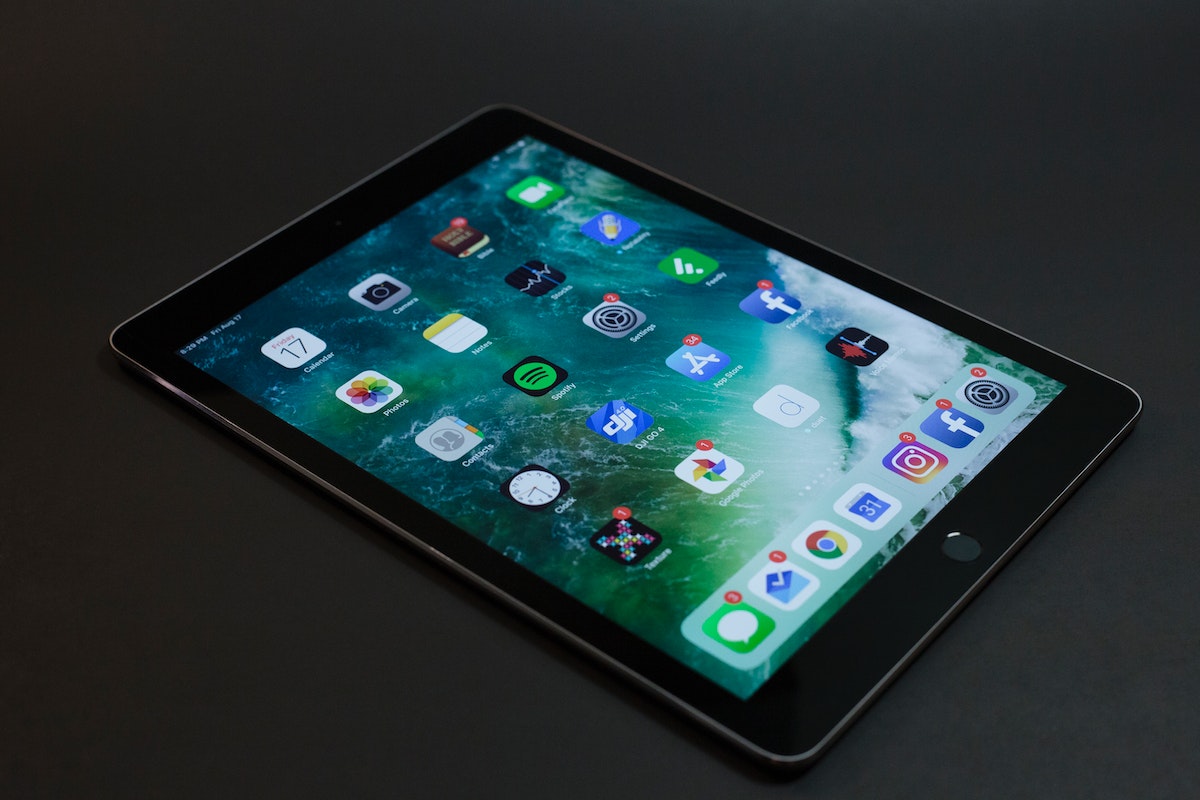
If you have an iPad with a Home button, the process of taking a screenshot is slightly different than if you have an iPad without one.
However, both methods are easy to learn and can be done quickly.
By following the steps outlined below, you’ll be able to take a screenshot on your iPad in no time, regardless of which model you have.
So, let’s get started.
Table of Contents
ToggleHow To Screenshot On iPad Using Hardware Buttons
Taking a screenshot on an iPad is a simple process that can be done using hardware buttons.
However, the button combinations vary based on the iPad model you own.
In this section, we will go over how to take a screenshot on iPad models with a Home button, models without a Home button, and iPad Pro models with a stylus.
Taking A Screenshot On iPad Models With A Home Button
If you have an iPad model with a Home button, taking a screenshot is easy. Follow these simple steps:
- Press and hold the Home button and the Power button simultaneously.
- Release both buttons when you see a flash on the screen and hear a camera shutter sound.
- A thumbnail of the screenshot will appear in the lower-left corner of the screen.
- Tap the thumbnail to edit, annotate, or share the screenshot.
Taking A Screenshot On iPad Models Without A Home Button
If you own an iPad model without a Home button, the process of taking a screenshot is slightly different. Follow these steps:
- Press and hold the Power button and the Volume Up button simultaneously.
- Release both buttons when you see a flash on the screen and hear a camera shutter sound.
- A thumbnail of the screenshot will appear in the lower-left corner of the screen.
- Tap the thumbnail to edit, annotate, or share the screenshot.

Taking A Screenshot On iPad Pro Models With A Stylus
If you own an iPad Pro model with a stylus, you can use the stylus to take a screenshot. Follow these steps:
- Open the screen you want to capture.
- Press the side button on the stylus.
- Tap the screen with the stylus to take a screenshot.
- A thumbnail of the screenshot will appear in the lower-left corner of the screen.
- Tap the thumbnail to edit, annotate, or share the screenshot.
In conclusion, taking a screenshot on an iPad is a straightforward process that can be done using hardware buttons.
Whether you own an iPad model with a Home button, without a Home button, or an iPad Pro model with a stylus, you can easily capture a screenshot of your screen.
Once you have taken the screenshot, you can edit, annotate, or share it with others.
Using AssistiveTouch
If you find it difficult to take screenshots using the Home button and Sleep/Wake button on your iPad, you can use the AssistiveTouch feature.
AssistiveTouch is a built-in accessibility feature that creates a virtual button on your screen that you can use to perform various actions, including taking screenshots.
Here’s how to use AssistiveTouch to take a screenshot on your iPad:
- Go to Settings > Accessibility > Touch > AssistiveTouch.
- Turn on AssistiveTouch.
- Tap Customize Top Level Menu to add the Screenshot option to the AssistiveTouch menu.
- Tap the AssistiveTouch button on your screen to open the menu.
- Tap the Screenshot option to take a screenshot of your current screen.
You can also use custom actions with AssistiveTouch to take a screenshot. Here’s how:
- Go to Settings > Accessibility > Touch > AssistiveTouch.
- Tap Create New Gesture.
- Press and hold on the screen to start recording your custom gesture.
- Draw a gesture that represents taking a screenshot (e.g., a square or a circle).
- Tap Stop to stop recording the gesture.
- Tap Save to save the gesture.
- Go back to the AssistiveTouch menu and tap Custom to access your saved gesture.
- Tap your custom gesture to take a screenshot.
Using AssistiveTouch to take screenshots on your iPad is a convenient alternative to using the physical buttons.
It’s especially useful if you have difficulty pressing the Home button and Sleep/Wake button at the same time. With AssistiveTouch, you can take screenshots with just a few taps or by drawing a custom gesture.
Using The Photos App
Taking a screenshot on your iPad is easy, but what do you do with it once you’ve taken it? The Photos app is your answer.

With the Photos app, you can view and edit your screenshots, as well as organize them into albums. Here’s how:
Viewing And Editing Screenshots In The Photos App
Once you’ve taken a screenshot, it will appear as a thumbnail in the lower-left corner of your screen.
You can tap on the thumbnail to open the screenshot in the Photos app.
From here, you can view and edit your screenshot.
You can crop the image, adjust the brightness and contrast, and even add filters.
Once you’re happy with your edits, you can save the screenshot to your photo library or share it with your friends and family.
Organizing Screenshots In The Photos App
If you take a lot of screenshots, it can be helpful to organize them into albums.
To create a new album, open the Photos app and tap on the “Albums” tab.
From here, tap on the “New Album” button and give your album a name.
To add a screenshot to your new album, simply tap on the screenshot and then tap on the “Add to” button.
From here, select the album you want to add the screenshot to.
Organizing your screenshots into albums will make it easier to find them later.
You can create albums for specific projects, events, or even just for fun.
In conclusion, the Photos app is a powerful tool for managing your screenshots on your iPad.
With the ability to view, edit, and organize your screenshots, you’ll never have to worry about losing track of your favorite moments.
Using Markup
Taking a screenshot on your iPad is easy, but what if you want to add some annotations or make some edits to the screenshot? That’s where Markup comes in.
Markup is a built-in tool on your iPad that allows you to add text, shapes, and other elements to your screenshots.
In this section, we’ll explore how to use Markup to edit and annotate your screenshots.
Markup Tools for Editing Screenshots
Markup offers a variety of tools that you can use to edit your screenshots. These tools include:
- Pen: Use the pen tool to draw freehand on your screenshot.
- Highlighter: Use the highlighter tool to highlight text on your screenshot.
- Text: Use the text tool to add text to your screenshot.
- Signature: Use the signature tool to add your signature to your screenshot.
- Magnifier: Use the magnifier tool to zoom in on a specific area of your screenshot.
- Shapes: Use the shapes tool to add shapes such as circles, squares, and arrows to your screenshot.
To access Markup tools, simply tap on the screenshot you want to edit and then tap the Markup icon in the bottom right corner of the screen.
Annotating Screenshots With Markup
One of the most useful features of Markup is the ability to annotate your screenshots.
This can be especially helpful if you’re using screenshots to explain something to someone else.
To annotate a screenshot with Markup, follow these steps:
- Take a screenshot by pressing the Home button and the Power button at the same time.
- Tap on the screenshot in the bottom left corner of the screen to open it.
- Tap the Markup icon in the bottom right corner of the screen.
- Use the tools in the Markup toolbar to add annotations to your screenshot.
- When you’re finished, tap Done in the top left corner of the screen.
- You can then save the annotated screenshot to your camera roll or share it with others.
In conclusion, Markup is a powerful tool that can help you edit and annotate your screenshots on your iPad.
With a variety of tools to choose from, you can easily add text, shapes, and other elements to your screenshots to make them more useful and informative.
Sharing Screenshots
Taking a screenshot on your iPad is easy, but what do you do with it after you’ve captured it? In this section, we’ll explore different ways to share your screenshots with others.

Sharing Screenshots via Social Media And Messaging Apps
If you want to share your screenshot with your friends or followers on social media or messaging apps, you can do so directly from your iPad. Here’s how:
- Open the screenshot you want to share.
- Tap the Share icon in the top right corner of the screen.
- Select the app you want to use to share your screenshot.
- Add a caption or message (if desired) and hit Send.
Some apps, like Twitter, may allow you to crop your screenshot before sharing.
Keep in mind that some social media platforms may compress the image, so it may not look as crisp as the original.
Sharing Screenshots via AirDrop and Email
If you want to share your screenshot with someone who is nearby, you can use AirDrop. Here’s how:
- Open the screenshot you want to share.
- Tap the Share icon in the top right corner of the screen.
- Tap on the AirDrop icon.
- Select the person you want to share your screenshot with.
If you want to share your screenshot with someone who is not nearby, you can use email. Here’s how:
- Open the screenshot you want to share.
- Tap the Share icon in the top right corner of the screen.
- Tap on the Mail icon.
- Enter the recipient’s email address and add a subject and message (if desired).
- Hit Send.
Saving Screenshots as PDFs
If you want to save your screenshot as a PDF, you can do so using the Markup feature on your iPad. Here’s how:
- Open the screenshot you want to save as a PDF.
- Tap the Markup icon in the top right corner of the screen.
- Tap on the Share icon.
- Select the Print option.
- Pinch outwards with two fingers on the preview image to open it in full screen.
- Tap the Share icon in the top right corner of the screen.
- Select the Save to Files option.
- Choose the location where you want to save the PDF and hit Save.
Now you can easily share your screenshots with others or save them for later use.
Key Takeaways
Taking screenshots on your iPad is a quick and easy way to capture important information or share something with others.
Here are some key takeaways to keep in mind when taking screenshots on your iPad:
- Use the right combination of buttons: Depending on the model of your iPad, you will need to use different button combinations to take a screenshot. For iPads with a Home button, press the Home button and the Power button at the same time. For iPads without a Home button, press the Power button and the Volume Up button at the same time.
- Look for the thumbnail preview: After taking a screenshot, a small thumbnail preview will appear in the bottom left corner of your screen. This preview allows you to quickly access and edit your screenshot before saving it to your Screenshots album.
- Edit your screenshots: Once you have taken a screenshot, you can edit it by tapping on the thumbnail preview and selecting the Edit option. From here, you can crop your screenshot, add text or drawings, and more.
- Use Safari to take full web page screenshots: If you want to capture an entire webpage as a screenshot, open the page in Safari and take a screenshot. When the thumbnail preview appears, tap on it and select the Full Page option. This will capture the entire page, not just what is visible on your screen.
- Save your screenshots to the Screenshots album: All screenshots are automatically saved to your Screenshots album in the Photos app. This makes it easy to find and access your screenshots later on.
- Use your camera shutter button: If you prefer, you can also use your iPad’s camera shutter button to take screenshots. To enable this feature, go to Settings > General > Accessibility and toggle on the AssistiveTouch option. From here, you can customize the AssistiveTouch menu to include a camera button that can be used to take screenshots.
- Share your screenshots: Once you have taken a screenshot, you can easily share it with others by tapping on the thumbnail preview and selecting the Share option. From here, you can choose to send the screenshot via email, text message, or social media, or save it to a cloud storage service like Dropbox or Google Drive.
- Enjoy streaming services like Disney+: If you’re a fan of streaming services like Disney+, taking screenshots can be a great way to capture your favorite moments from your favorite shows and movies. Just remember to follow the terms of service and avoid sharing copyrighted material.
- Use screenshots for video: In addition to capturing images, you can also use screenshots to capture video on your iPad. Simply start playing the video you want to capture, then take a screenshot. The resulting screenshot will include a still image from the video, along with a timestamp and other information.


