If you’re an iPhone 13 user, you may be wondering how to scan on iPhone 13.
Fortunately, Apple has made it easy to scan documents without the need for any third-party apps.
With just a few taps, you can scan your documents and save them as PDF files on your iPhone 13.
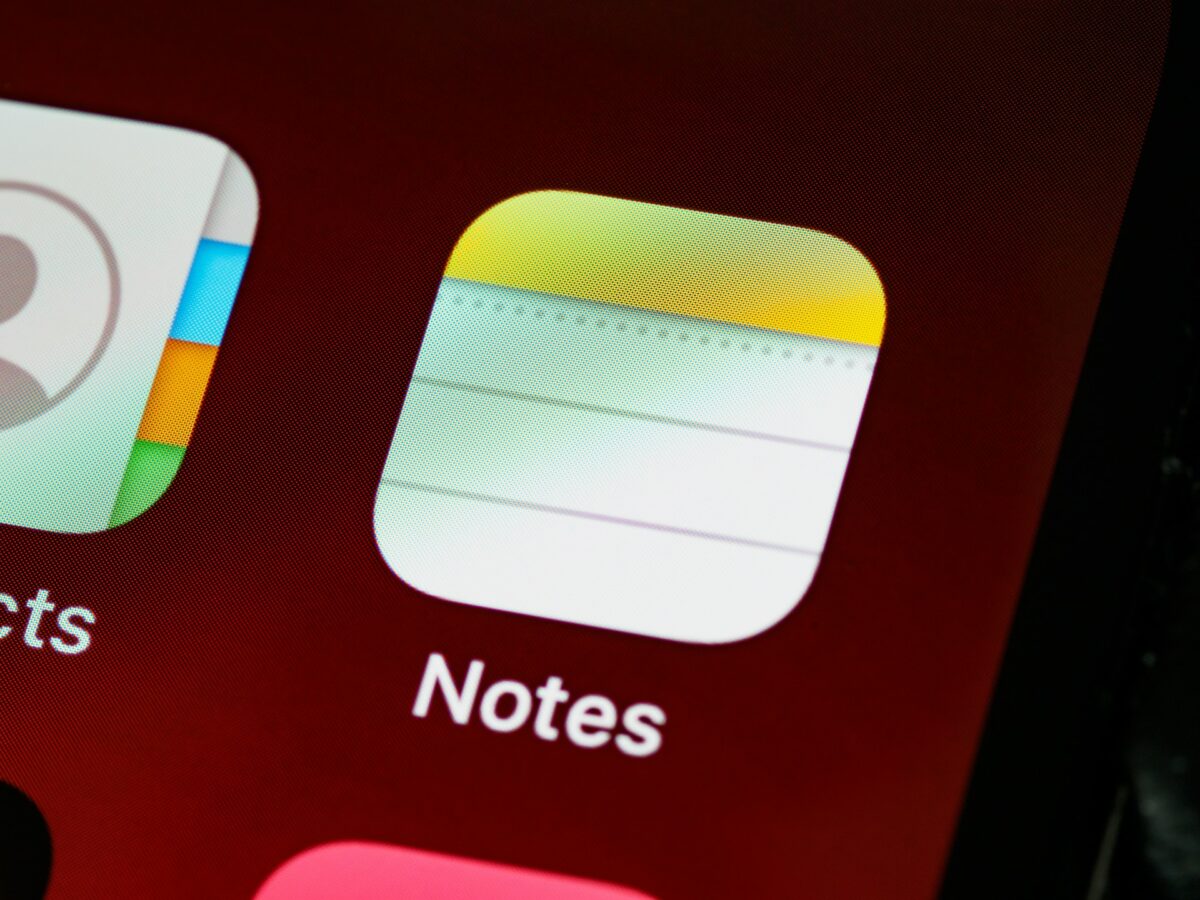
To get started, simply open the Notes app on your iPhone 13 and select a note or create a new one. Then, tap the camera button and select the “Scan Documents” option.
Once you’ve positioned your document in the viewfinder, your iPhone 13 will automatically scan it.
If you need to manually capture a scan, you can tap the shutter button or press one of the volume buttons.
Whether you’re scanning receipts, contracts, or other important documents, your iPhone 13 is a powerful tool that can help you get the job done quickly and easily.
By following these simple steps, you’ll be able to scan documents on your iPhone 13 in no time.
How To Scan On iPhone 13
If you need to scan a document on your iPhone 13, you can do so easily using the Notes app.
Here are the steps to follow:
Step 1: Open The Notes App
First, locate the Notes app on your iPhone 13 and open it.
Step 2: Tap on the Camera Icon
Once you have the Notes app open, tap on the camera icon located at the bottom of the screen.
Step 3: Select Scan Documents
From the options that appear, select “Scan Documents.”
Step 4: Position the Document and Take the Picture
Place the document you want to scan in view of your iPhone’s camera.
If your device is in Auto mode, it will automatically scan the document.
If not, tap the shutter button or press one of the volume buttons to take a picture of the document.
Step 5: Adjust the Scan
If necessary, you can adjust the scan by dragging the corners to fit the page.
Once you have adjusted the scan, tap “Keep Scan.”
Step 6: Save or Share the Scan
Finally, you can save the scan to your device or share it with others by tapping “Save” or selecting the sharing option of your choice.
By following these simple steps, you can easily scan documents on your iPhone 13 using the Notes app.
Tips and Tricks
If you’re looking to get the most out of your iPhone 13’s scanning capabilities, there are a few tips and tricks you should know about.
In this section, we’ll cover some of the best ways to enhance your scanning experience.
Using Third-Party Apps
While the built-in scanning feature on the iPhone 13 is powerful and easy to use, there are also many third-party apps available that can help you take your scanning to the next level.
Some popular options include Scanner Pro, Adobe Scan, and CamScanner.
These apps offer a variety of features, such as OCR (optical character recognition), automatic edge detection, and cloud storage integration.
Adjusting Scan Quality

If you’re not happy with the quality of your scans, there are a few settings you can adjust to improve the results.
First, make sure you’re scanning in a well-lit area, as this will help ensure that the document is captured clearly.
You can also adjust the exposure and brightness levels by tapping on the screen while in scanning mode and dragging the slider that appears.
Finally, if you’re scanning a multi-page document, consider using the “Auto” mode instead of the default “Manual” mode, as this will automatically adjust the scan quality for each page.
Editing Scanned Documents
Once you’ve scanned a document, you may want to make some edits before saving or sharing it.
The built-in editing tools in the iPhone’s Photos app can be used to crop, rotate, and adjust the color of your scans.
To access these tools, simply open the scanned document in the Photos app and tap on the “Edit” button.
You can also use third-party apps like Adobe Acrobat or PDF Expert to add annotations, signatures, and other advanced editing features.
Key Takeaways
Scanning documents on your iPhone 13 is a convenient and easy way to digitize important paperwork.
With the Notes app and the built-in camera, you can quickly capture and save documents on your device.
Remember to position the document within the scan window and tap the shutter button to capture the scan.
You can adjust the scan to fit the page and save or add additional scans to the document.
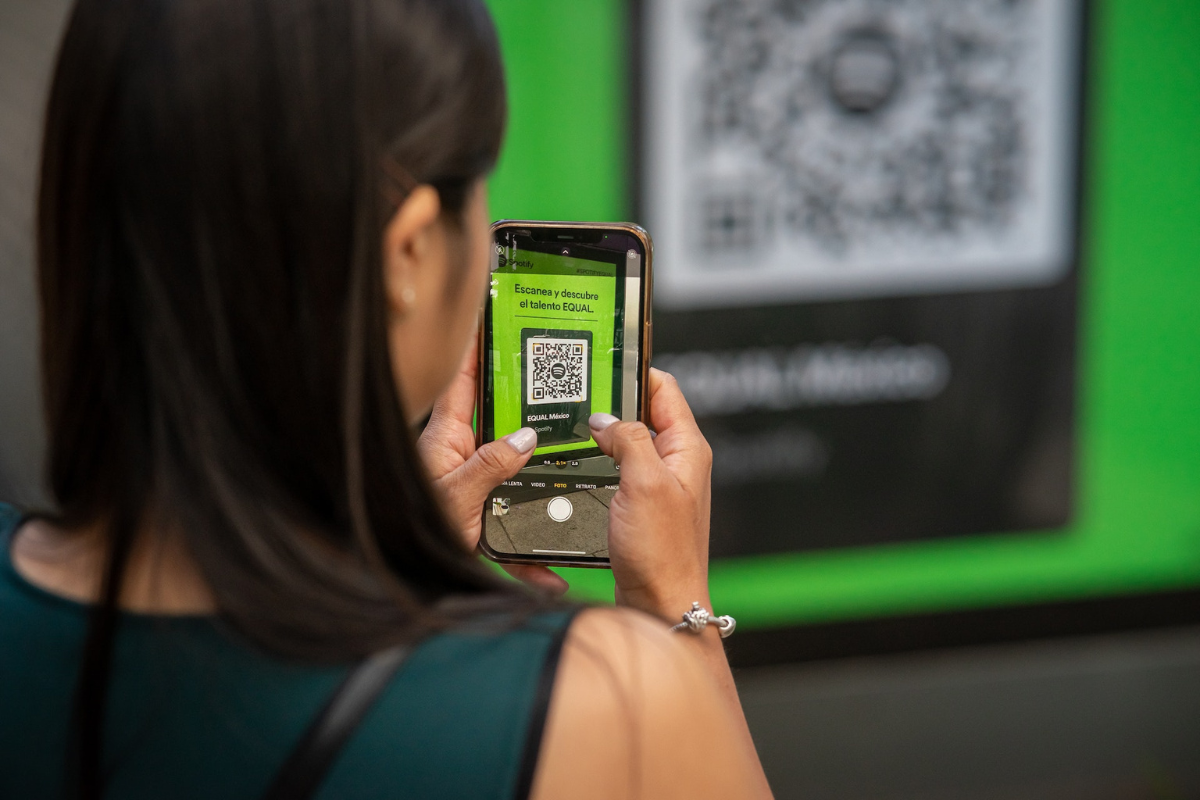
If you need to scan a QR code, simply open the camera app and point it at the code.
Wait for the notification to appear and follow the prompts to access the content.
Overall, the process of scanning on your iPhone 13 is user-friendly and efficient.
Give it a try and see how it can simplify your document management process.