Are you struggling to pair your new AirTag with your iPhone or iPad?
Look no further! In this article, we will guide you through the simple process of how to pair AirTag.
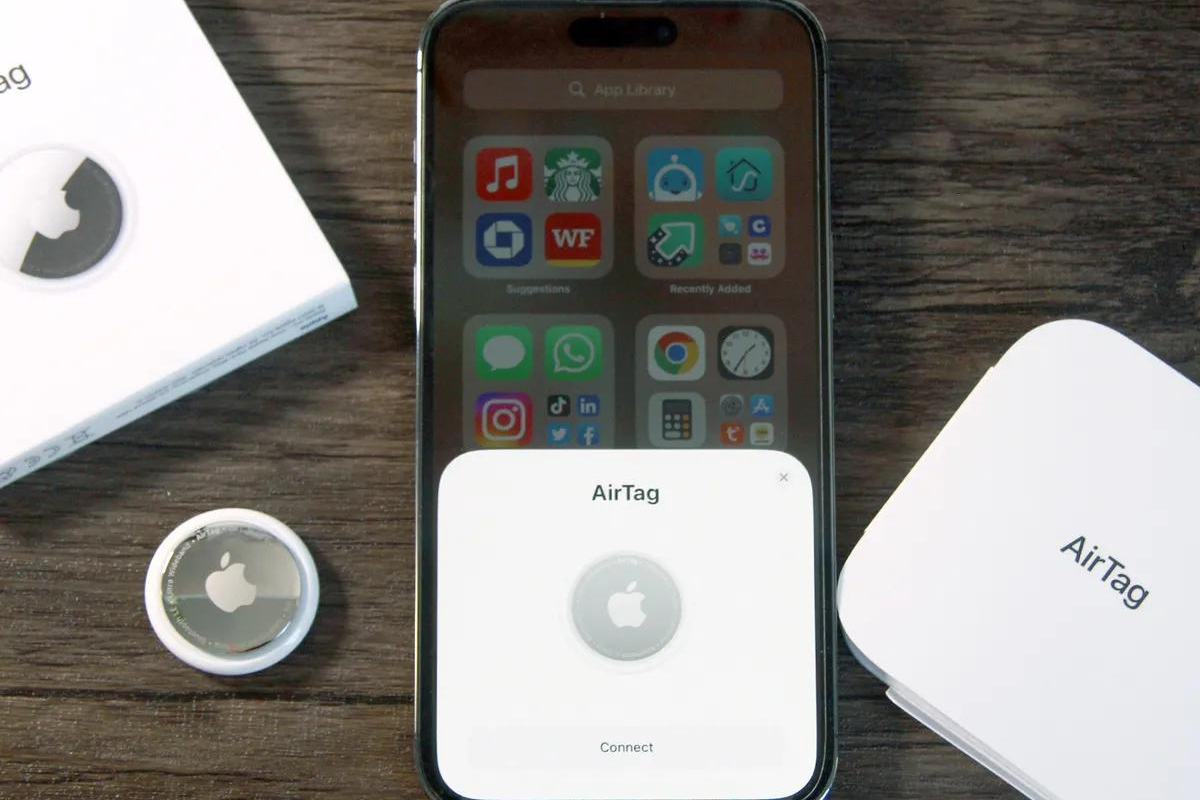
To begin, hold your AirTag near your iPhone, iPad, or iPod touch, then tap Connect.
If you have multiple AirTags, make sure that only one is near your device at a time.
Once connected, you can customize your AirTag’s name and choose an emoji to make it easier to identify.
Pairing your AirTag to your iPhone or iPad is as simple as connecting a new pair of AirPods to your Apple account.
The AirTag connects to your device over Bluetooth LE and Apple’s custom U1 (Ultra Wideband) chip, providing a secure connection that allows you to find your tracker if the item it’s attached to ever goes missing.
So, let’s get started and pair your AirTag with your device today!
Table of Contents
ToggleWhat Are AirTags?
AirTags are small, lightweight Bluetooth tracking devices developed by Apple.
They are designed to help you keep track of everyday items such as keys, backpacks, or luggage.
AirTags work by using Bluetooth to connect to your iPhone, iPad, or iPod touch and using Apple’s Find My app to help you locate your lost items.
How Do AirTags Work?
AirTags use Bluetooth to connect to your iPhone, iPad, or iPod touch.
Once connected, you can use the Find My app to locate your lost item.
AirTags also use precision finding, which allows you to locate your lost item with more accuracy.
Precision finding uses the U1 chip, which is an ultra-wideband technology that provides precise location data.
To pair your AirTag with your device, you need to have iOS 14.5 or iPadOS 14.5 or later and two-factor authentication turned on.
You also need to have Find My turned on and Bluetooth turned on.
Once you have all of these settings enabled, you can pair your AirTag with your device by following the instructions in the Find My app.
If you want to use an AirTag that someone else has used, they need to remove the AirTag from their Apple ID first.
If the previous user removed the AirTag from their Apple ID but they were out of Bluetooth range of the AirTag, then you need to reset it before you can use it with your devices.
AirTags are designed to discourage unwanted tracking.
If someone else’s AirTag finds its way into your stuff, your iPhone will notice it’s traveling with you and send you an alert.

After a while, if you still haven’t found it, the AirTag will start playing a sound to let you know it’s there.
In conclusion, AirTags are a useful tool for keeping track of your everyday items.
They use Bluetooth and precision finding to provide accurate location data, and they are designed to discourage unwanted tracking.
By following the instructions in the Find My app, you can easily pair your AirTag with your device and start using it to locate your lost items.
How To Pair AirTag
If you’ve just bought an Apple AirTag and want to pair it with your iPhone or iPad, you’re in the right place.
In this section, we will guide you through the process of pairing your AirTag with your Apple device.
How To Pair AirTags With Your iPhone Or iPad
- Turn on your iPhone or iPad and ensure that it is running iOS 14.5 or later.
- Bring your AirTag close to your iPhone or iPad.
- Wait for the setup animation to appear on your device.
- Tap Connect, then follow the onscreen instructions to pair your AirTag with your device.
How To Register Your AirTags
After pairing your AirTag with your iPhone or iPad, you need to register it with your Apple ID.
Here’s how:
- Open the Find My app on your iPhone or iPad.
- Tap the Items tab, then tap Add Item.
- Follow the onscreen instructions to register your AirTag.
How To Name Your AirTags
By default, AirTags are named after the item they are attached to, such as “Keys” or “Backpack.”
However, you can customize the name of your AirTag to make it easier to identify.
Here’s how:
- Open the Find My app on your iPhone or iPad.
- Tap the Items tab, then tap the AirTag you want to name.
- Scroll down and tap Rename Item.
- Select a name from the list or enter a custom name.
- Tap Done.
How To Add AirTags To Your Find My app
Once you have paired and registered your AirTag, you can add it to your Find My app.
Here’s how:
- Open the Find My app on your iPhone or iPad.
- Tap the Items tab, then tap Add Item.
- Follow the onscreen instructions to add your AirTag to your Find My app.
That’s it! You have successfully paired your AirTag with your iPhone or iPad and registered it with your Apple ID.
You can now use the Find My app to locate your AirTag and the item it is attached to.
Remember that AirTags use the Find My network to help you locate lost items, so make sure your device is connected to the internet and has Find My enabled.
Using AirTags
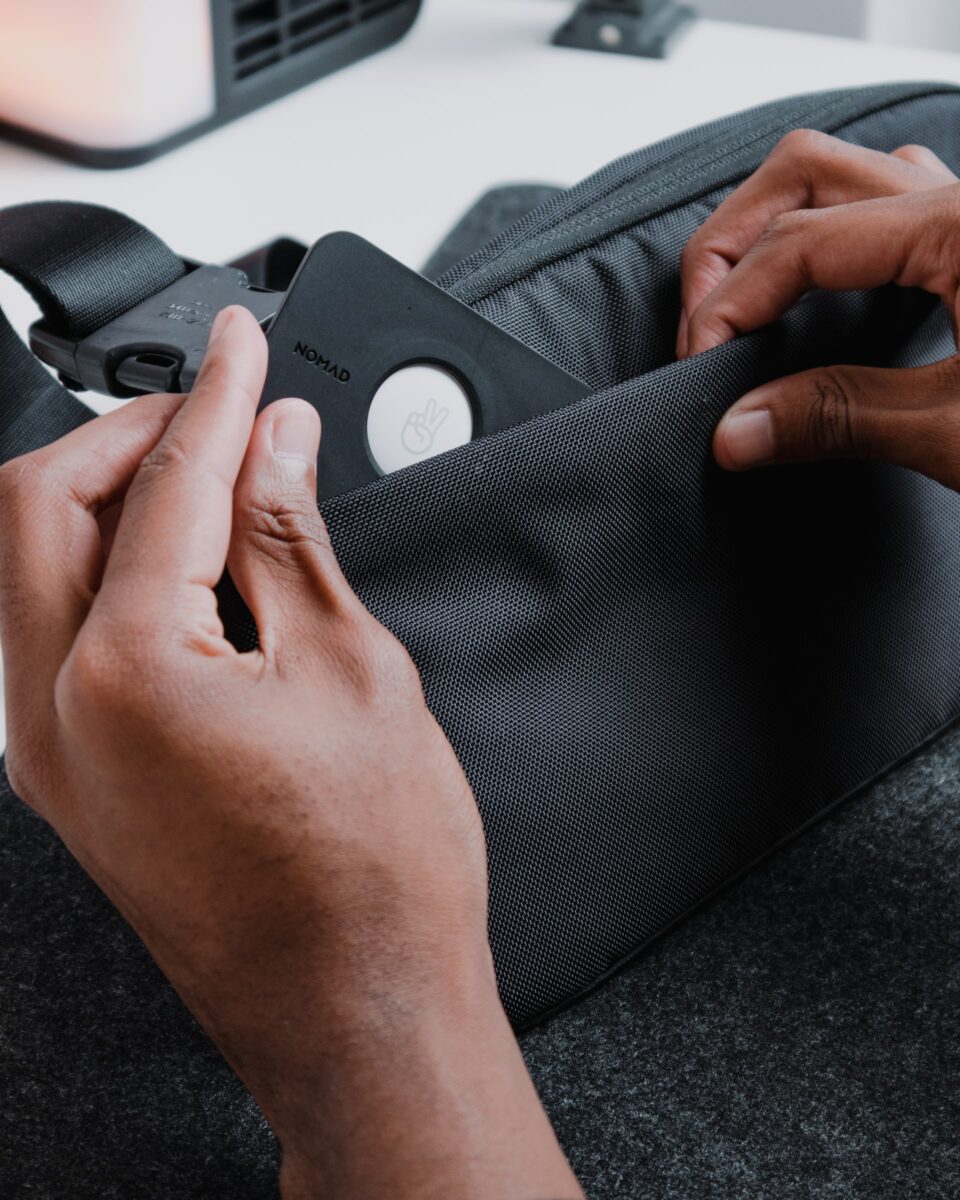
AirTags are a great way to keep track of your important items, such as your keys, wallet, or backpack.
Here are some tips on how to use AirTags to make sure you never lose your items again.
How To Track Your Items With AirTags
Once you have set up your AirTags and attached them to your items, you can track them using the Find My app on your iPhone, iPad, or iPod touch.
Simply open the app and select the item you want to track.
You will see a map with the item’s last known location.
How To Use Precision Finding
If you are having trouble locating your item, you can use Precision Finding to help you.
This feature uses the U1 chip in your iPhone and AirTag to provide more accurate location information.
Simply select the item you want to find in the Find My app and follow the on-screen instructions.
How To Play A Sound On Your AirTags
If your item is nearby but you can’t see it, you can play a sound on your AirTag to help you locate it.
Simply select the item in the Find My app and tap the “Play Sound” button.
How To Turn On Lost Mode
If your item is lost, you can turn on Lost Mode to help you locate it.
This will enable the AirTag to send out a signal that can be picked up by other Apple devices.
To turn on Lost Mode, select the item in the Find My app and tap the “Lost Mode” button.
How To Remove An Item From Your Find My app
If you no longer need to track an item with your AirTag, you can remove it from the Find My app.
Simply select the item and tap the “Remove Item” button.
How To Unpair AirTags
If you need to unpair your AirTag from your device, you can do so in the Find My app.
Simply select the AirTag and tap the “Remove Item” button.
You can also unpair your AirTag using your iMac or Mac Pro.
Remember to keep your AirTag’s battery charged and to keep Bluetooth and Location Services turned on for the best tracking experience.
With these tips, you can use AirTags to keep track of your important items and never lose them again.
Advanced AirTag Features
AirTags offer more than just basic tracking capabilities.
With features like Family Sharing and iCloud integration, you can get the most out of your AirTags.
Here are some advanced AirTag features you can use to make your tracking experience even better.
How To Use AirTags With Family Sharing
If you have a family sharing plan, you can share your AirTags with other members of your family.
This means that everyone in your family can help locate lost items, even if they are not physically near the lost item.
To use AirTags with Family Sharing, follow these steps:
- Open the Find My app on your iPhone or iPad.
- Tap on the “Items” tab at the bottom of the screen.
- Select the AirTag you want to share.
- Tap on “Share Item”.
- Select the family member you want to share the AirTag with.
How To Use AirTags With iCloud
AirTags can also be used with iCloud, which allows you to track your items even if they are out of range of your iPhone or iPad.
To use AirTags with iCloud, follow these steps:

- Open the Settings app on your iPhone or iPad.
- Tap on your Apple ID at the top of the screen.
- Tap on “iCloud”.
- Scroll down and turn on “Find My iPhone”.
- Turn on “Enable Offline Finding”.
How To Rename Your AirTags
By default, AirTags are named after the item they are attached to (e.g. “Keys”, “Backpack”).
However, you can easily rename your AirTags to make them easier to identify.
To rename your AirTags, follow these steps:
- Open the Find My app on your iPhone or iPad.
- Tap on the “Items” tab at the bottom of the screen.
- Select the AirTag you want to rename.
- Tap on “Rename Item”.
- Enter the new name for your AirTag.
How To Reset Your AirTags
If you want to remove an AirTag from your account or reset it to its original settings, you can do so easily.
To reset your AirTags, follow these steps:
- Open the Find My app on your iPhone or iPad.
- Tap on the “Items” tab at the bottom of the screen.
- Select the AirTag you want to reset.
- Tap on “Remove Item”.
- Confirm that you want to remove the AirTag from your account.
Safety And Security
When using AirTag, it’s important to keep safety and security in mind.
Here are some tips to help you prevent misuse and ensure the safety of your AirTag.
How To Prevent AirTag Misuse
To prevent AirTag misuse, make sure to keep your AirTag in a safe place and only use it to track your own belongings.
If you lend your belongings to someone else, make sure to remove the AirTag beforehand.
Additionally, if you’re concerned about someone using an AirTag to track your location without your consent, you can enable the “Item Safety Alerts” feature in the Find My app.
This feature will notify you if an unknown AirTag is found moving with you over time.
What To Do If Your AirTag Is Lost Or Stolen
If your AirTag is lost or stolen, you can use the Find My app to locate it.
If you’re unable to locate it, you can mark it as lost in the app, which will enable the “Lost Mode” feature.
This feature will notify you when your AirTag is found and allow you to remotely lock it and display a message with contact information.
If you’re concerned about someone else finding your lost AirTag, you can also choose to erase it remotely.
Keep in mind that erasing your AirTag will also remove it from your Apple ID.
AirTag Battery Life And Replacement
AirTag uses a standard CR2032 battery, which should last for approximately one year with normal use.

You can check your AirTag’s battery level in the Find My app.
When it’s time to replace the battery, you can use a coin to twist the battery cover counterclockwise and remove it.
Make sure to dispose of the old battery properly and insert a new one with the positive side facing up.
Keep in mind that AirTag contains small parts and can be a choking hazard for small children.
Make sure to keep it out of reach of children and supervise its use at all times.
Overall, by following these safety and security tips, you can ensure a safe and enjoyable experience with your AirTag.
Key Takeaways
Pairing your AirTag with your iPhone, iPad, or iPod touch is a simple process that can be completed in just a few steps.
Here are some key takeaways to keep in mind when setting up your AirTag:
- Make sure your device is ready for setup by removing the wrap around the product and pulling out the tab to activate the battery. Your AirTag will play a sound to indicate it’s ready for pairing.
- Hold your AirTag near your iPhone, iPad, or iPod touch, then tap Connect. Your device should automatically detect the Bluetooth tracker. If the on-screen dialog doesn’t appear after several seconds, lock your iPhone or iPad, unlock it again, and bring the AirTag closer to the Side/Power button.
- Once your device detects the AirTag, follow the on-screen instructions to pair it with your device. You can assign the AirTag a name and personalize it to your liking.
- If you have multiple AirTags, you can pair them all at once by holding them near your device and tapping Connect. If your device detects more than one AirTag, follow the on-screen instructions to pair each one individually.
- If you need to reset your AirTag, press and hold the button on the back until you hear a chime. This indicates that the AirTag is now ready to pair again.
Overall, pairing your AirTag with your device is a quick and easy process that can help you keep track of your belongings.
With just a few simple steps, you can ensure that your AirTag is ready to use and personalized to your liking.

