Are you tired of seeing the wrong weather location on your iPad?
Don’t worry, changing your weather location on an iPad is a simple process.
Whether you’re moving to a new city or just want to check the weather in a different location, this article will guide you through the process step-by-step.
To change your weather location on an iPad, you have a few options.
You can either let your iPad determine your current location or manually input the desired location.
In this article, we’ll explore both methods in detail.
Additionally, we’ll provide tips on how to add a weather widget to your iPad home screen, so you can check the forecast at a glance.
With these easy steps, you’ll be able to change your weather location on your iPad in no time.
Table of Contents
ToggleHow To Change Weather Location On iPad: Purpose Of Weather Location
Changing the weather location on your iPad can be useful for several reasons.
For instance, if you are planning a trip to a different city or state, you may want to know the weather conditions in that area to help you pack accordingly.
Similarly, if you have friends or family members living in a different location, you may want to check the weather conditions in their area to stay informed and connected.
The Weather app on your iPad allows you to view the weather conditions in your current location or any other location of your choice.
By default, the app uses your iPad’s GPS to determine your current location and displays the weather conditions for that area.
However, if you want to change the weather location on your iPad, you can do so in just a few simple steps.
Once you have changed the weather location on your iPad, the Weather app will display the weather conditions for that area.
You can view the current temperature, humidity, wind speed, and other weather-related information for the selected location.
Additionally, you can also view the weather forecast for the next few days to help you plan your activities accordingly.
Overall, changing the weather location on your iPad is a simple and useful feature that can help you stay informed and prepared for any weather-related conditions.
Whether you are traveling to a new location or simply want to stay connected with friends and family, the Weather app on your iPad can help you stay up-to-date with the latest weather conditions.
Step 1: Open The Weather App
To change the weather location on your iPad, the first step is to open the Weather app.
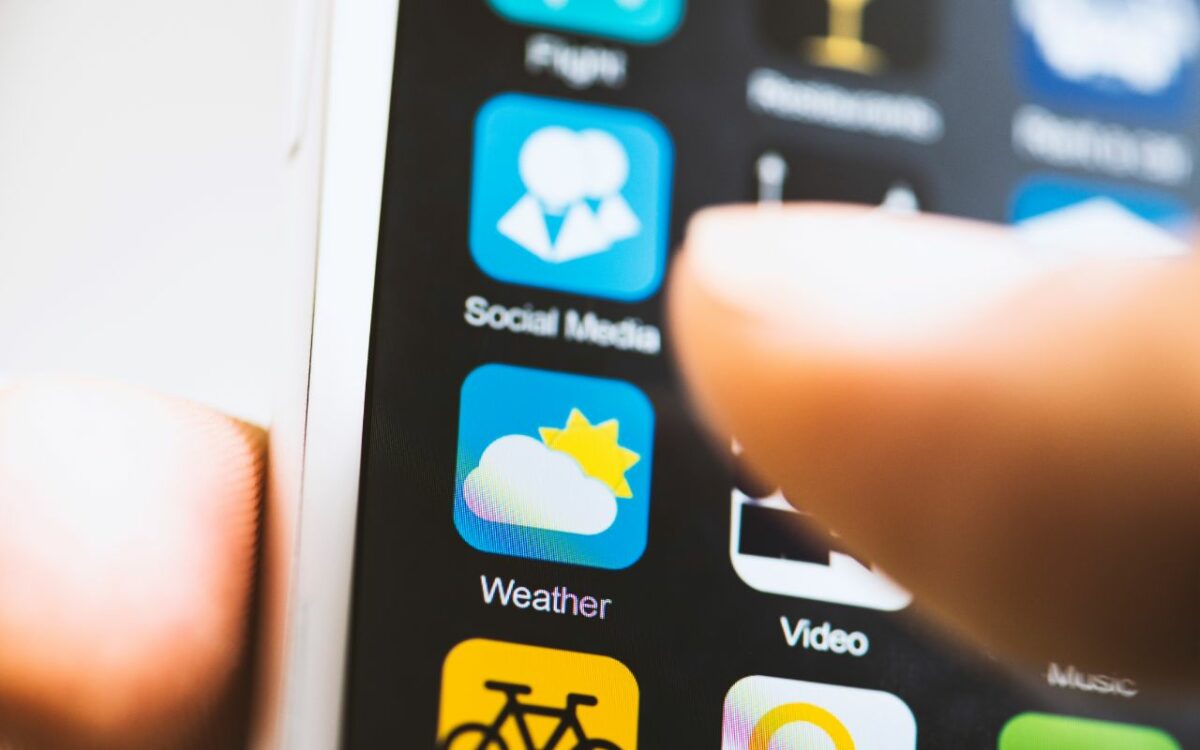
You can find it on your home screen or in your app library.
Once you have located the app, tap on it to open it.
Upon opening the app, you will see the current weather conditions for your current location.
If you have never used the app before, you may be prompted to allow the app to access your location.
You can choose to allow or deny this request.
If you have already allowed the app to access your location, you can easily switch to a different location by following the steps outlined in the search results.
These steps may vary depending on the version of iOS you are using, but generally involve tapping on the search bar and typing in the name or zip code of the location you want to add.
Overall, opening the Weather app is the first step in changing the weather location on your iPad.
Once you have opened the app, you can follow the remaining steps to add or change the location to the one you desire.
Step 2: Access The Weather Location Settings
Now that you have opened the Weather app on your iPad, the next step is to access the weather location settings.
Here’s how to do it:
- Tap on the location button at the bottom of the screen. This will bring up a list of all the locations that you have added to the app.
- Tap on the search bar at the top of the screen. This will allow you to search for a specific location that you want to add.
- Type in the city name or zip code of the location you want to add. You can also use the name of a landmark or an address to search for a location.
- Tap on the location you want to add from the list of search results. This will take you to the weather page for that location.
- Tap on the “Add” button at the bottom of the screen to add the location to your list of weather locations.
Once you have added a location to your list, you can rearrange the order of the locations or delete a location if you no longer need it.
It’s important to note that if you have location services turned on, the Weather app will automatically detect your current location and show you the weather for that location.
If you don’t want the app to use your current location, you can turn off location services for the app in your iPad’s settings.
That’s it! With these simple steps, you can easily change your weather location on your iPad and get accurate weather information for any location you want.
Step 3: Add Or Remove Locations
Now that you know how to access the weather app and change the default location, it’s time to learn how to add or remove locations.
This can be helpful if you are planning a trip or just want to keep an eye on the weather in different areas.
Here’s how to do it:
- Open the Weather app on your iPad.
- If you see your current location’s weather details, tap the Sidebar button located at the top-left side of the screen. If you see a list of locations, skip to step 3.
- Tap the List button at the bottom of the screen.
- In the search field, type the city or location you want to add. As you type, you will see a list of locations begin to appear in a gray bubble underneath the search bar.
- Click on the place you want to add to your list when it shows up.
- The app will now display the weather details for that location. You can repeat this process to add as many locations as you want.
To remove a location, simply swipe left on the location in the list and tap the delete button that appears.
Alternatively, you can tap the Edit List button and then tap the delete button next to the location you want to remove.
It’s important to note that the Weather app uses data from The Weather Channel, so if you can’t find a specific location, it may not be available in their database.
Additionally, if you have location services turned off, the app will only show you the weather for the default location you set.
Now that you know how to add and remove locations in the Weather app, you can keep track of the weather in all the places that matter to you.
Step 4: Reorder Locations
After adding new locations to your iPad’s weather app, you may want to reorder them to prioritize your favorite locations.
Here’s how you can do it:
- Open the Weather app on your iPad.
- Tap the list icon (three horizontal lines) on the bottom right corner to open the locations list.
- Tap and hold the location you want to move.
- Drag the location to the desired position in the list.
- Release your finger to drop the location in its new position.
Repeat these steps for all the locations you want to reorder.
Once you’re done, your locations list will be organized according to your preferences.
Keep in mind that the first location in the list will be the default location displayed on the main screen of the Weather app.
So, if you want to change your default location, simply move it to the top of the list.
Reordering locations is a simple and useful feature that allows you to quickly access the weather information you need.
So, take a few moments to organize your locations list and make the most out of your Weather app.
Step 5: Set Default Location
Once you have added your preferred location to the Weather app on your iPad, you may want to set it as your default location.

This will ensure that the weather information displayed on the app is always for your preferred location, rather than your current location.
To set your default location, follow these simple steps:
- Open the Weather app on your iPad.
- If your current location is displayed, tap the menu icon in the lower right corner. If all your locations are displayed, tap the magnifying glass icon and type in your preferred location.
- Tap on your preferred location to open its weather information.
- Tap the “Add” button in the lower left corner to add this location to your list of saved locations.
- Once your preferred location is added, tap and hold on its name in the list of saved locations until the options menu appears.
- Tap “Set as Default” to set this location as your default location.
Now, whenever you open the Weather app on your iPad, it will display the weather information for your preferred location.
If you want to check the weather for a different location, you can simply tap on that location in the list of saved locations.
By setting your default location, you can ensure that you always have the most relevant and up-to-date weather information at your fingertips.
Key Takeaways
Changing the weather location on your iPad can be a simple process, and it can be done in a few easy steps.
Here are some key takeaways to keep in mind when changing your weather location on your iPad:
- The Weather app on your iPad is the default app that shows the weather for your current location. If you want to change the location, you need to add a new location to the app.
- You can add a new location to the Weather app by tapping on the location button at the bottom of the screen and then tapping on the search bar at the top of the screen. Type in the city name or zip code of the location you want to add, and then tap on the location you want to add from the list. Tap on the Done button at the top right of the screen to save your changes.
- If you want to change the default location for your weather app, you can do so by tapping on the Weather app and then tapping on the menu icon in the lower right corner. If all your locations pop up, tap the magnifying glass icon. Type your desired default location in the search bar, locate the correct location in the search results, and then tap that location to continue. Tap Add to save your changes.
- You can also use an iPad location spoofer to change your location on your iPad. This can be useful if you want to see the weather for a location that is not nearby or if you want to see the weather for a location that is not available in the Weather app. To use an iPad location spoofer, download and install the app on your computer, connect your iPad to the computer through a USB cord, and then enter your desired location in the search box.
- If you are having trouble changing your weather location on your iPad, try removing and adding the widget again. To remove and add widgets in iOS 14, use widgets on your iPhone and iPod touch, and then remove and re-add the Weather app.
Overall, changing the weather location on your iPad can be a simple process, and it can be done in a few easy steps.
Whether you want to change the default location for your weather app or use an iPad location spoofer to change your location, there are several ways to get the weather information you need on your iPad.

